———
Let’s Make The Words Prettier!
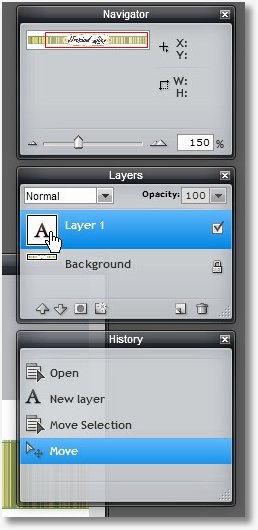
We need to change the font color. All We need to do is have the font layer selected, which is on the right in the layers toolbar. It probably already is. You should only have two layers at this point. The words you just typed, and the original image on the bottom.

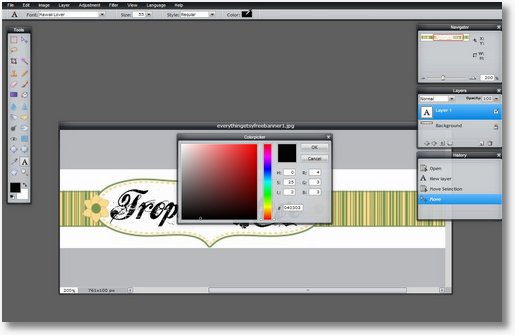
With that selected, make sure you have the “Type Tool” selected as well… the big “A”. And that same font control bar will open at top. Over to the right of where you selected the font, you’ll see a selector for color. That’s where you set your font color. It looks like this when you click it:

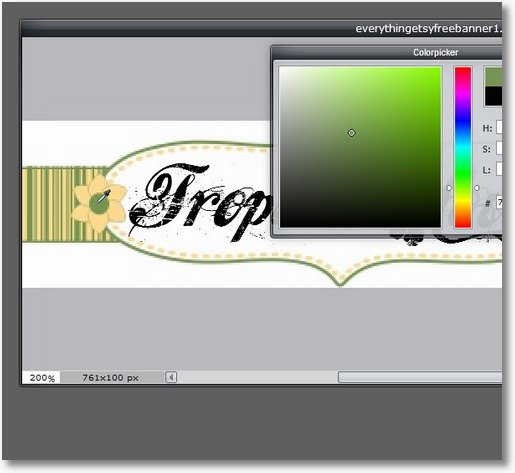
Your cursor becomes a little eyedropper. That means you can click any color on the screen (inside the window) and click to select that color. You can also use the box in the middle of the screen. First, get close to the color you want with the vertical bar on the right, then narrow it down with the box.
I wanted to stay in the same family of colors, so I used the color dropper to click on the flower which copied that green color, then I just moved down and over in the box to get a little darker, but still in the same ballpark:

I could have stopped after that, but this free pixlr.com is pretty feature packed, so I decided to style the text a little further still!
——————————————-
I love this site it is really neat.
Thank for this useful Information. I loved this site because it is a simple guide for photoshop learners.