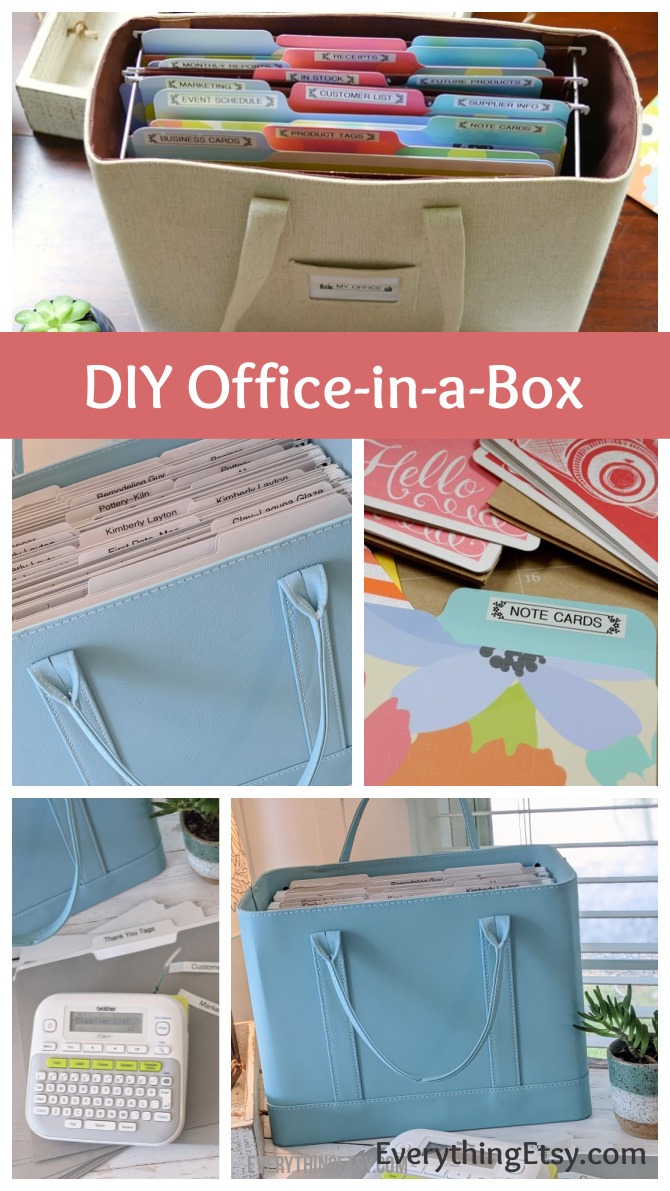
Years ago I wrote a post about getting organized with my DIY Office-in-a-Box. I still get emails about this idea, so I thought I needed to update it with more information.
Organize Your Business with an Office-in-a-Box
Over the years of selling on Etsy I’ve learned that no matter how much stuff I can organize and keep on my computer for business, I still need a spot for a few papers and such. We travel a ton, so I like to keep my business information all in one spot that I can easily take with me on the road…my Office-in-a-Box.
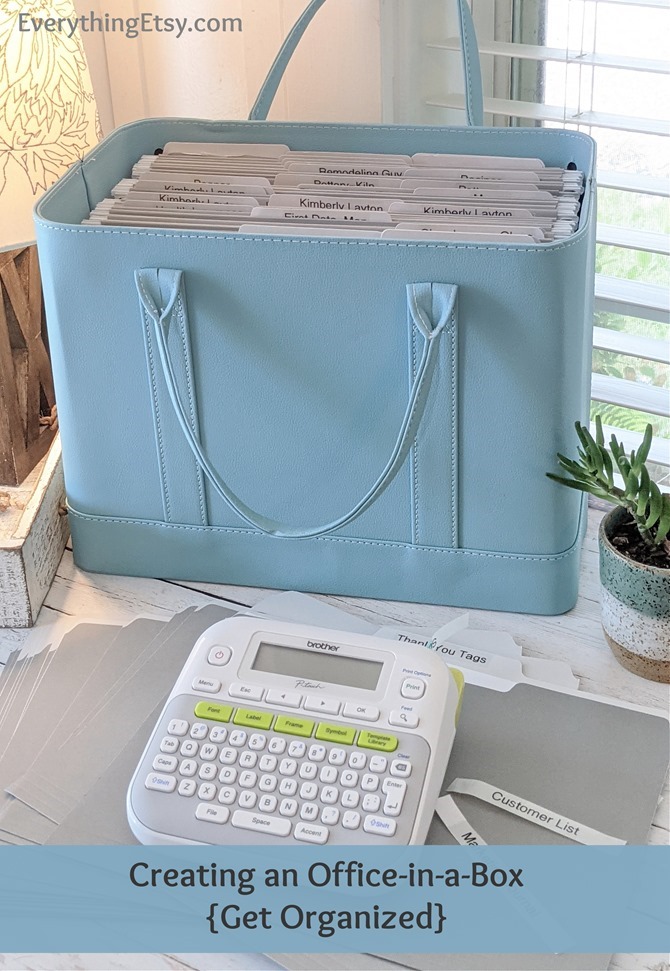
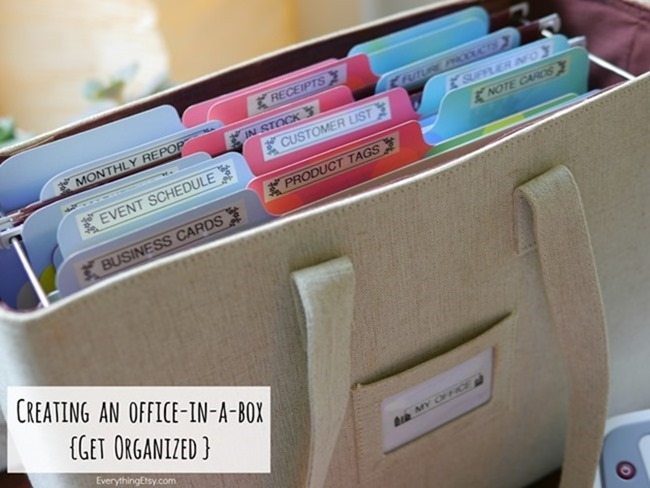
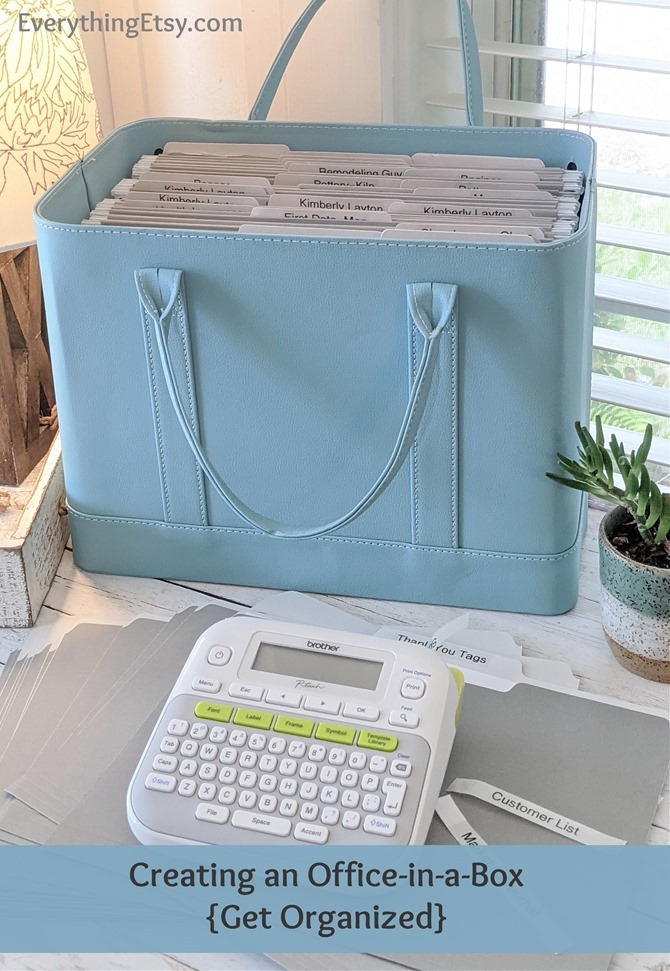
This makes it easy for me to quickly find my supplier information with invoices, receipts, note cards, tags and so much more. It moves easily from my office to the car, and I find myself carrying it around the house with me when I want to sit on the porch or have coffee in the living room. The photo above is of my new office-in-a-box.
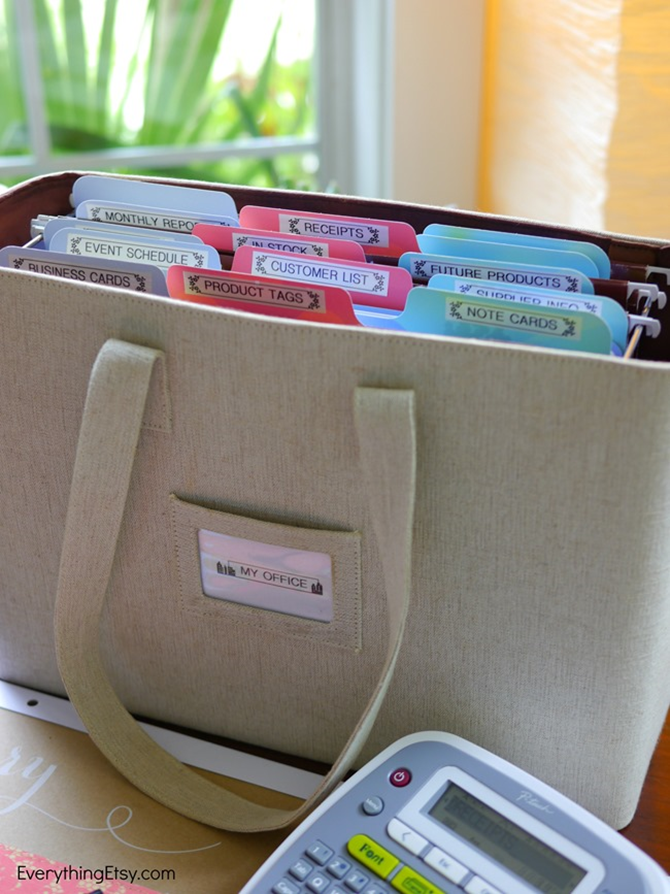
I refresh it every year with new folders { I LOVE new office supplies and pretty paper} and move my old folders to a storage box.
Here’s a peek at how I set up my Office-in-a-Box…
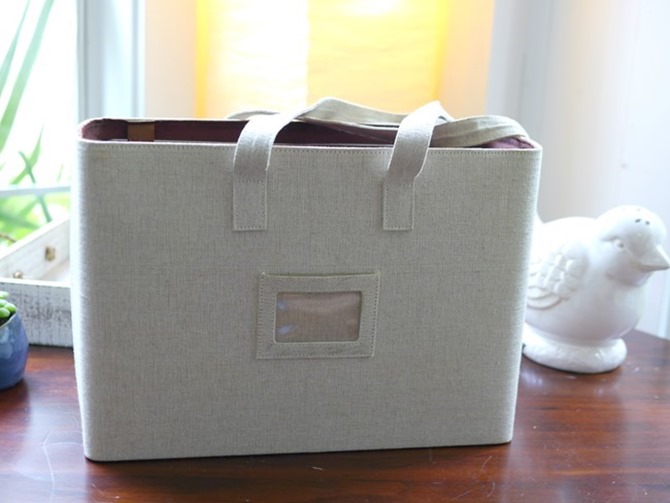
This is my file folder box that I’ve used for years. My husband has a wooden one that looks amazing….but, back to me. This box has hanging folders ready for my new pretty folders to join them.
I’ve found it works best when I jot down my ideas for the folders before I start printing. I usually end up adding a couple before I print, but it helps me to see it on paper so I don’t miss something important. A small business evolves and you need to keep your system relevant. Make the folders work for you.
Some examples of folders…
- Business Cards
- Product Tags
- Note Cards
- Event Schedule
- Customer List
- Supplier Info
- Marketing
- In Stock
- Future Products
- Monthly Reports
- Receipts
The idea is to have a mini office with you wherever you work. Most of the time I have this right by my desk at home, but I’m not stuck with trying to grab just the right folders I need when I travel. You can make a folder for office supplies, your planner, fabric swatches…whatever you need on a regular basis for work.
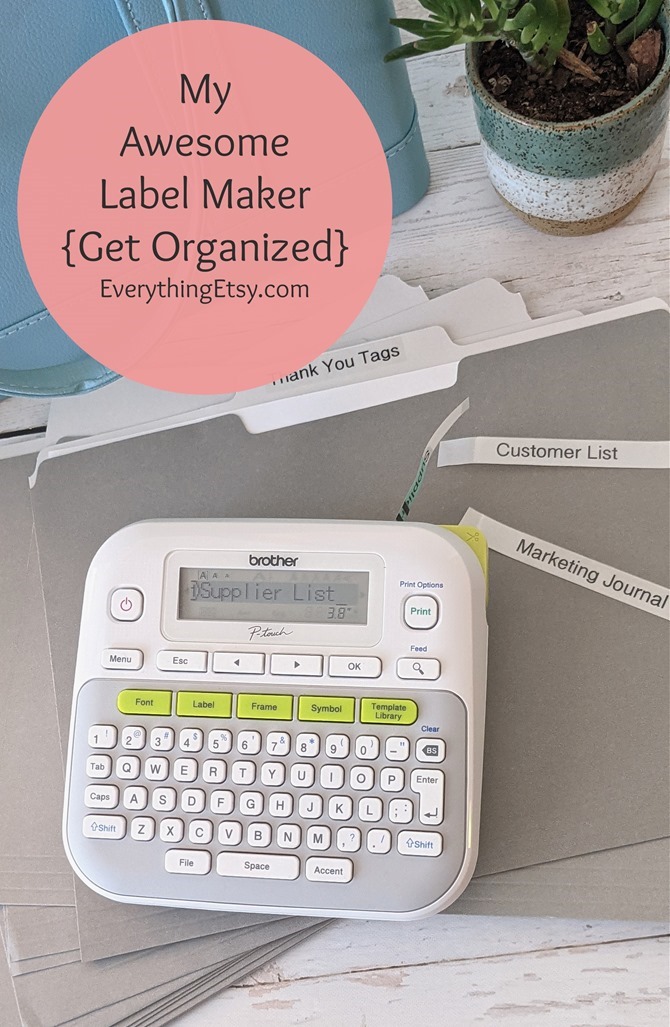
{This is my new label maker…same thing…just updated}
I started by taking my nifty label maker and setting it up…this takes about 90 seconds {just 3 steps}!
Then I picked the font, font size, frames and so much more. This is a label maker like I have never seen! You can customize it and even store your favorite labels into its memory.
As you can see in the photo, I printed my label in the large size first, but then I decided the medium looked better.
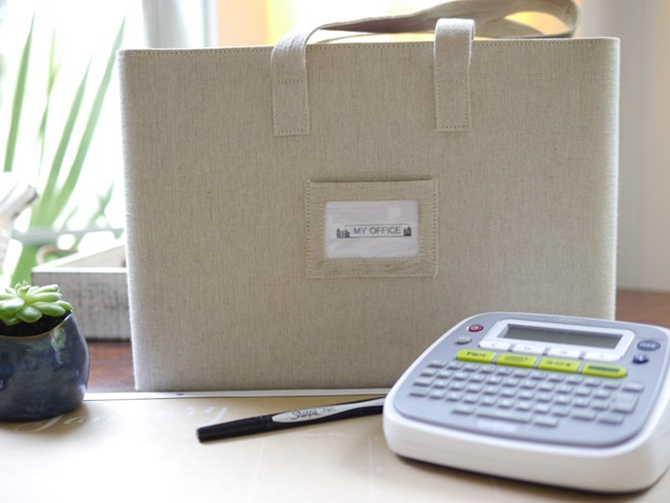
What do you think about the frame around the words…cute, right?!
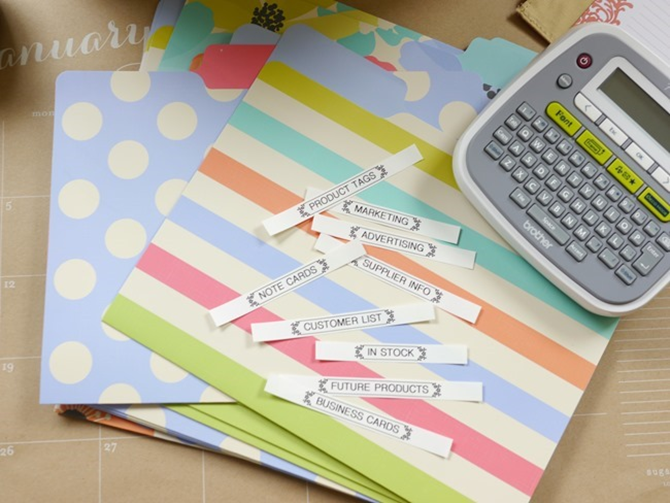
I quickly printed out all my labels.
Then I trimmed my labels, but you can customize your label size and save that step. Next time I have to try that.
The backing peels off in two pieces so you can position your label and then pull off the second piece once you know it’s straight. That saved me from a few really crooked and labels!
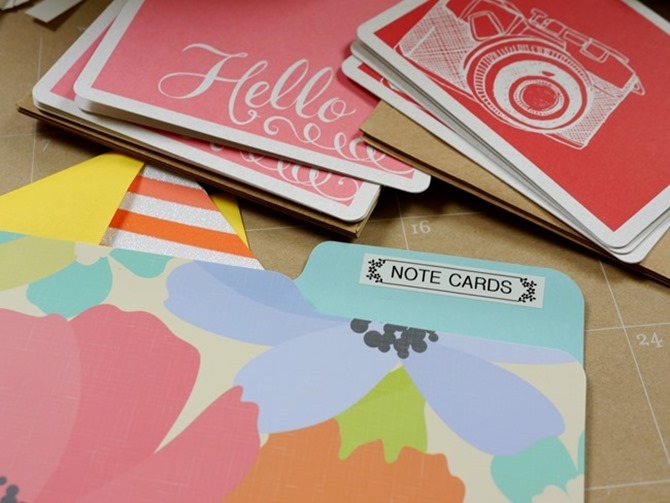
Let’s talk about fonts…I love, love, love them and you can actually choose from a variety of fonts for your labels with just a few clicks. Just awesome!
There are so many fonts to choose from…so that’s fun. It makes it easy for you to let you creative side shine while organizing your world.
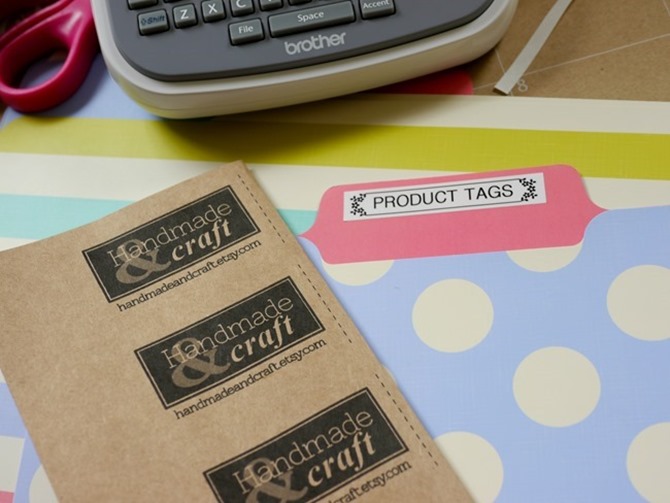
At first I didn’t think the frames would be that exciting, but I was so wrong. I could hardly pick a frame to use on these labels, so I picked one for the front and one for all the folders. Trust me…choosing a frame was the most time consuming part of making these labels. I tested a few, looked at them from different angles…yes, I can get a little OCD with some of these things. You can actually use the graphical display that lets your preview the labels right on the screen before you print.
There are tons of label colors to choose from…I’m trying some in a bright shade of lime for my next organization project. Can you be too organized? I think not!
What’s you favorite way to organize with labels? Do you organize your pantry, linen closet, schools supplies…do tell! I can always use a few more ideas!
So, this is my latest and greatest office-in-a-box…
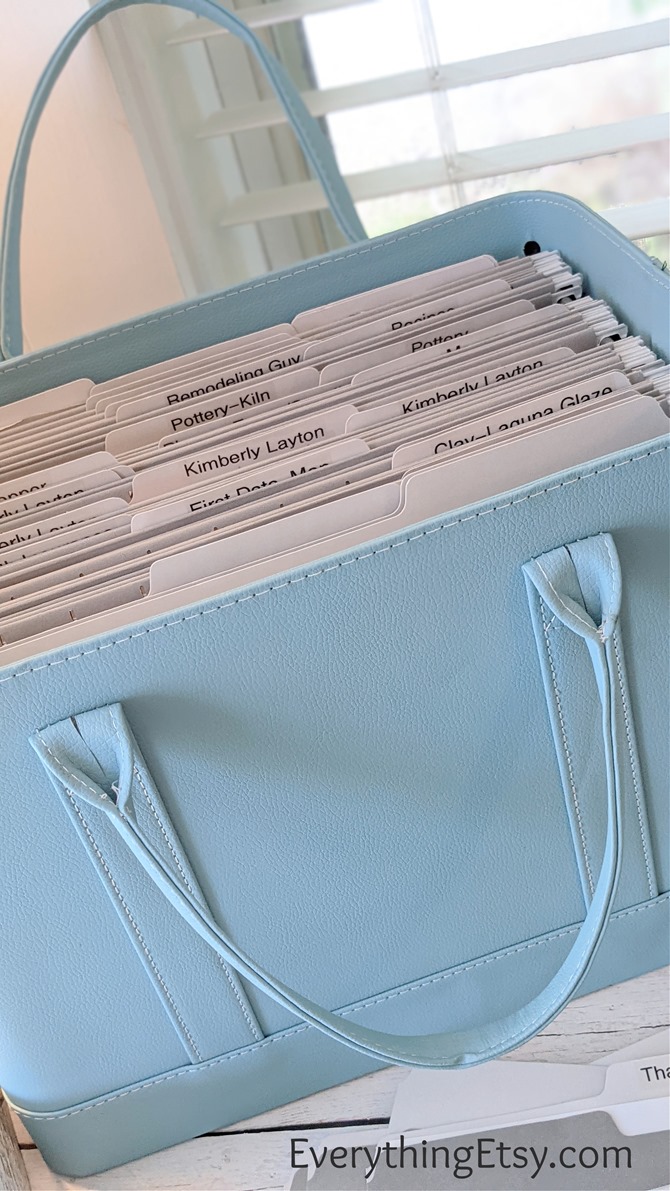
I get emails about where to buy the original file box that I used and it has been discontinued for years and years. It eventually started to have to bottom fall out, so maybe that’s why. I now use a very sturdy one that you see here. I have also changed up my file folders {and hanging folders} to a light grey color. I’m loving it!!! You can pick from so many color folders now!
I also use a clear tape for my label maker. It’s all simple and clean looking, but get as creative as you want when you make your office-in-a-box. I go through phases from super colorful to soft and simple.
You can make this exact box in minutes!!!
These are the supplies I used from Amazon. I could not find this type of file box in any store!!!!
Just click on the item and you’ll be directed to the exact item I used for this new office-in-a-box. Easy Peasy! {Thank you for using these links because I’ll receive a small percentage without it costing you more.}
- My Beautiful File Box with Handles – Also available in black right here
- Brother Label Maker
- Clear Label Tape {WAY cheaper than in the store}
- Basic File Folders {Available in so many colors}
- Hanging File Folders {Available in pretty colors…even pink!}
Order and set everything up in no time at all! Then you’ll be ready to take your office with you whenever you need to…even if it’s just to the backyard…ha!
What do you think? Does this work for you, or are you in need of a 3 drawer file cabinet?
~Kim
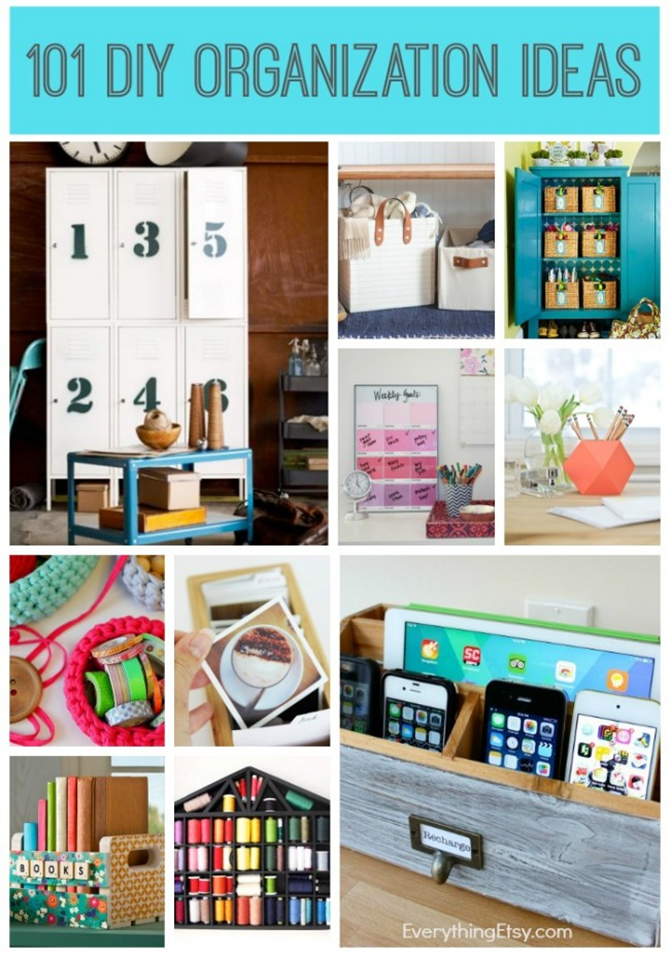
P.S. Need more organizing ideas for your creative space? Check this post out…

What size is the bag? And where did you get it? Such a great idea!!