Looking for a quick project? Check out this spicy little felt taco pin! Dress up your jean jacket or add a bunch to a backpack. They’re sure to make you happy!
Create hair clips by attaching small snap clips to the back instead of the pin back. Easy peasy!
One more idea…you can find a giant plushie taco pillow pattern in my new book right here.
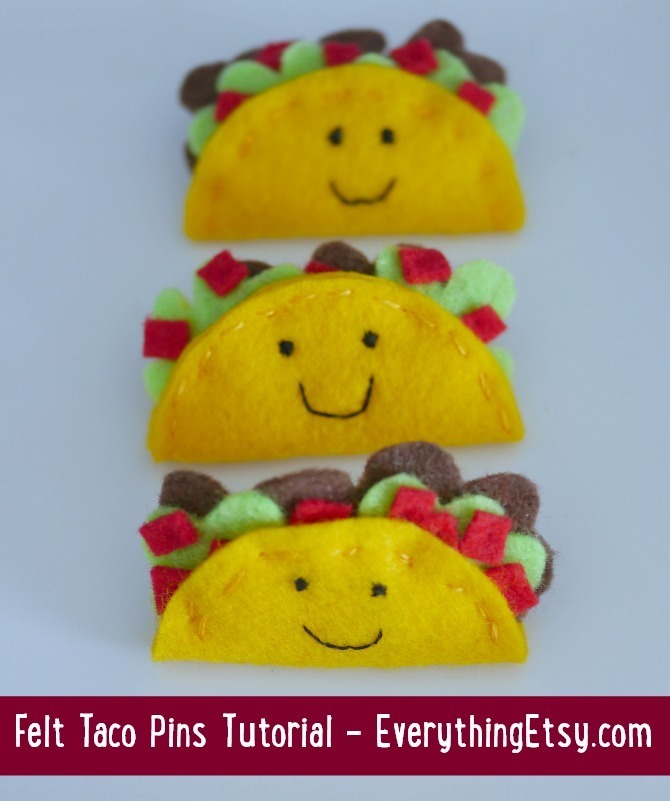
I’d love to share with you how I made these little cuties.
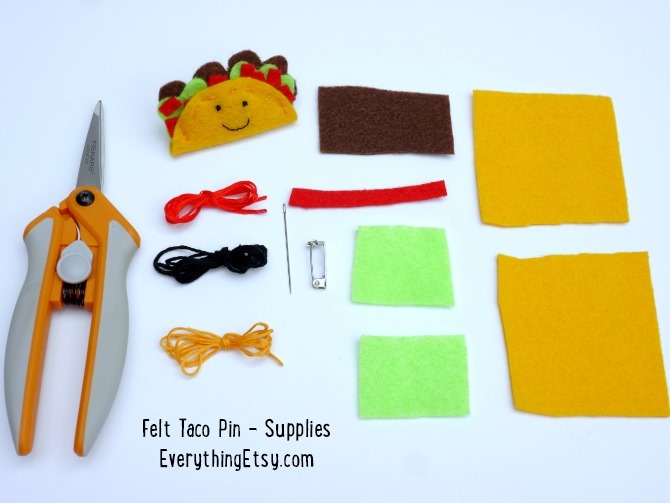
You’ll see these simple supplies…
- 2 – 2 1/2” squares of yellow felt
- 1 – 1” x 2” piece of brown felt
- 2 – 1 1/2” squares of light green felt
- 1 – strip of red felt {see above}
- Yellow embroidery floss
- Red embroidery floss
- Black embroider floss
- 1 – small metal pin back
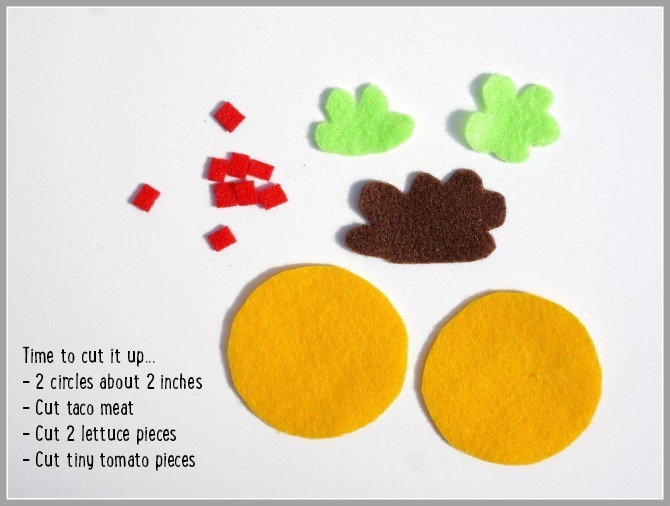
See the above image to see how each piece should be cut. It’s really rather simple and you can’t mess up. Tacos are easy going and no two look alike. That’s one of the reasons they’re awesome!
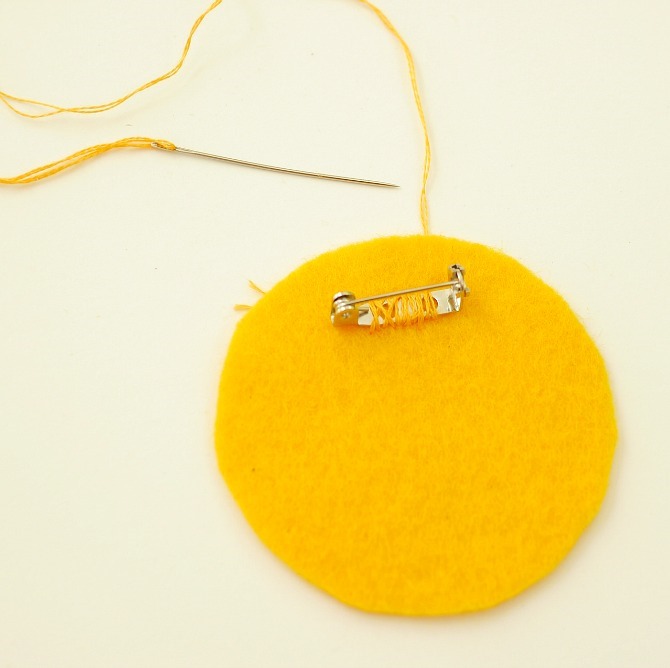 Take one of the yellow circles and attach the pin back with the yellow embroidery floss.
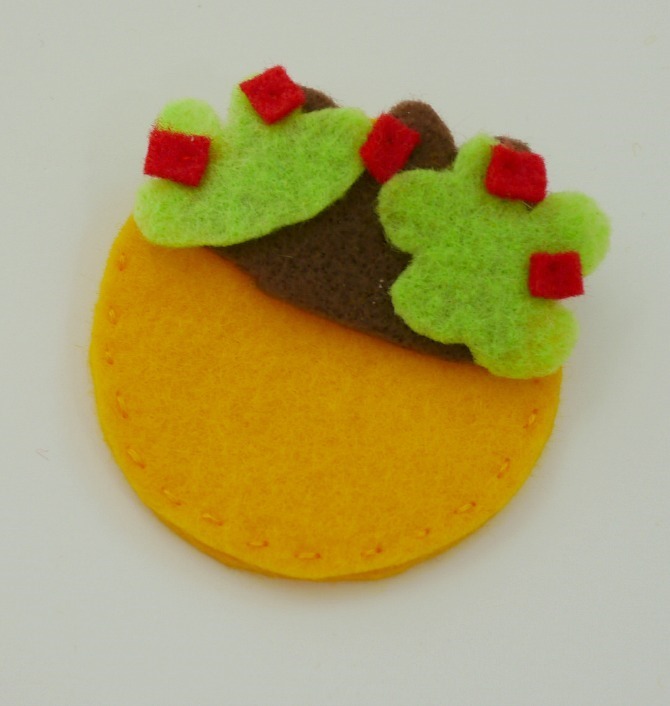
Use a running stitch and yellow embroidery floss as you secure the two yellow circles together.
Then stack the taco meat, the two pieces of lettuce, and sprinkle the tomato pieces on the top. Make sure they will stick out of the top a tiny bit when you fold it.
Adjust everything to make your taco look super yummy.
Then use the red embroidery floss to add single stitches in each tomato piece securing all the layers of your taco with each stitch. This will hold everything in just right.
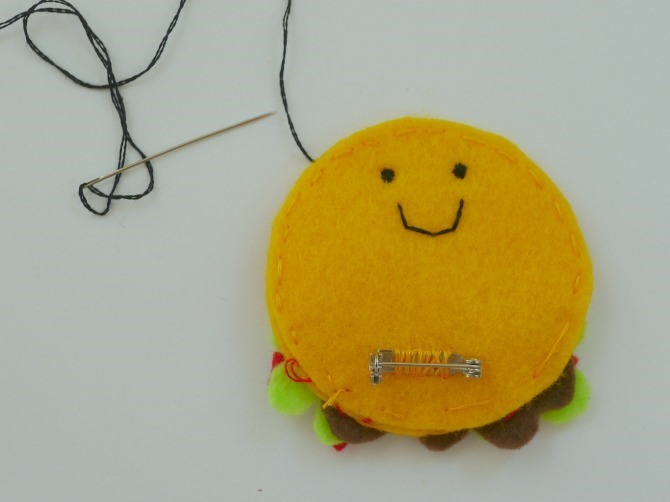
Stitch the happy taco face using black embroidery floss. See the above photo for the placement.
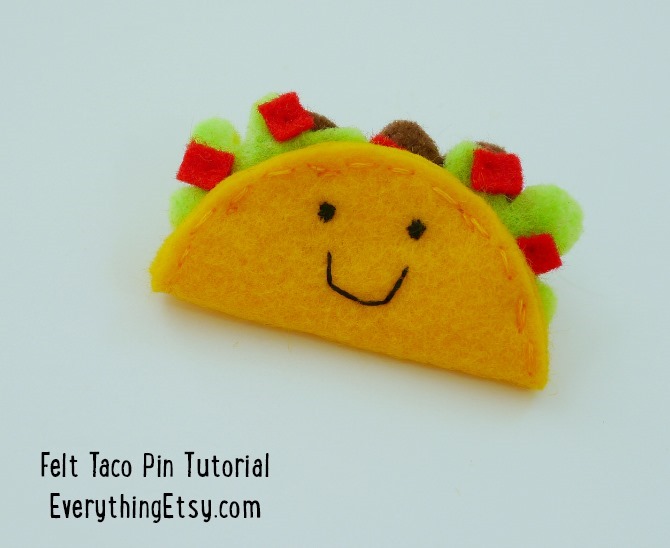
Fold it and add a few extra stitches of yellow around the taco to secure it closed.
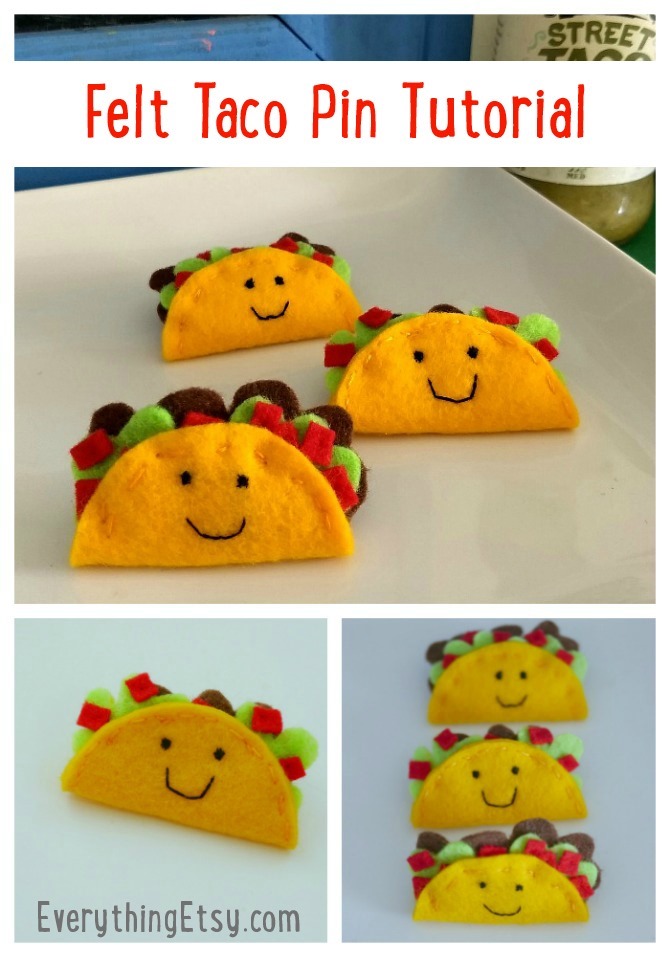
Cute, right?!
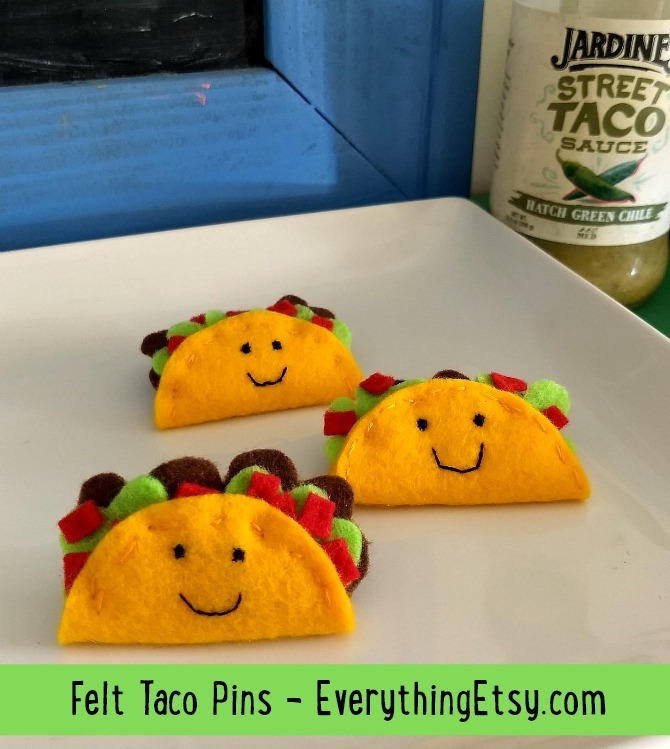
Make a bunch and share them with your friends!
What do you think? Do you like to work with felt?
I have 3 felt craft books published and one more coming soon! So, I guess you can say I like to work wih felt! I’ll be sharing all the book details on that soon.
Have fun with this simple project that’s big on the awesomeness scale!
~Kim
P.S. If you need a few {or a hundred} more crafty tutorials visit our Tutorials Gallery right here.
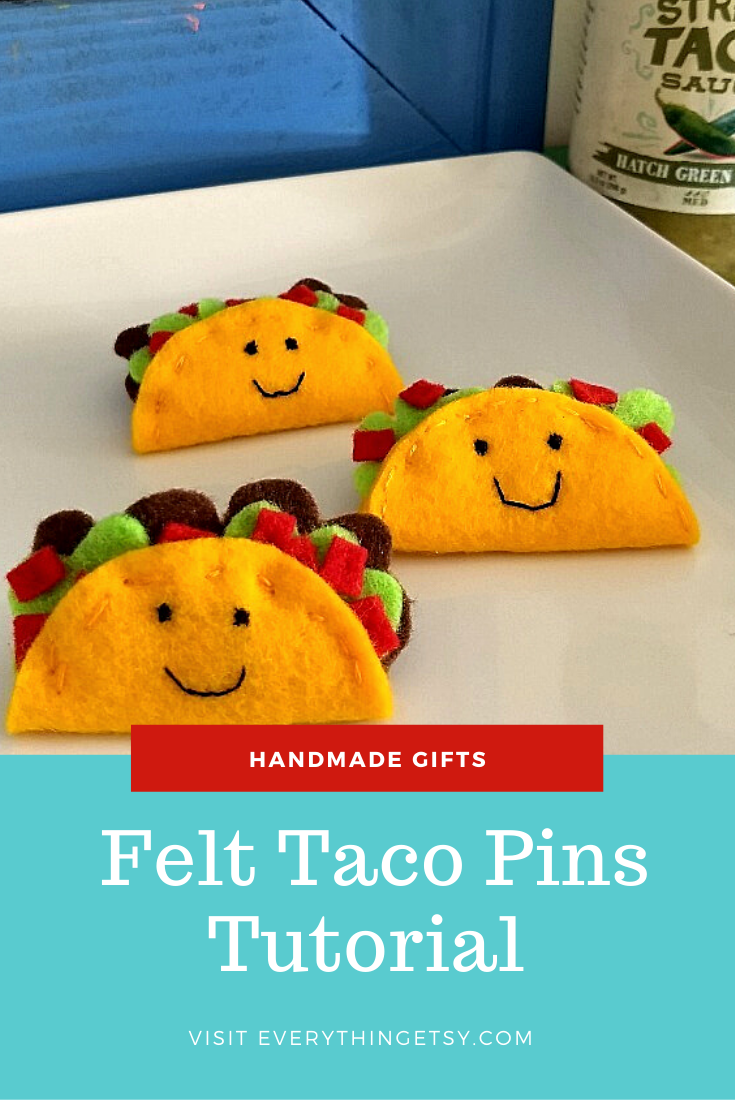
These are so cute… they would be a perfect Girl Scout “swap” project. So happy and fun, and no mess. Plus a great way to use up small scraps of felt from other projects:)
Great idea! It takes the smallest amount of supplies and it’s fun. I love that about little felt projects! Thanks so much for you comment!
~Kim
Hello, Amazing post!
Wow these are cute and awesome. Because of these awesome tutorials. I love your website
Omg, these look so cute!! I love this idea, thank you for sharing!
So cute. With this idea comes the idea that we can make every food like it.
Why do you sew two circles together? Why not just use one circle?
It’s much stronger that way so the pin on the back doesn’t hang funny. I also like the thick look of it. Try it both ways and see which one you like. Thanks for stopping by!
~Kim