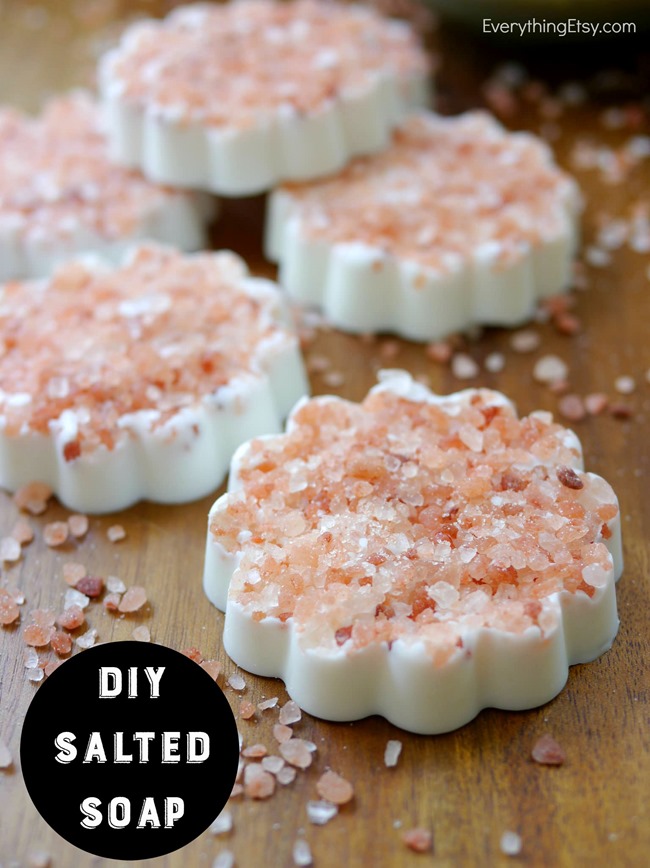
DIY Salted Soap
Looking for a simple and beautiful DIY Gift? This homemade salted soap is just what you need!
I love, love, love projects that can be done in an hour or less. Well, you only need about 30 minutes to create a batch of this soap. Yay!
You can use your favorite essential oils to blend a custom scented gift that suits your personality. Isn’t that what handmade goodness is all about? You decide the scent, the color and the style of these!
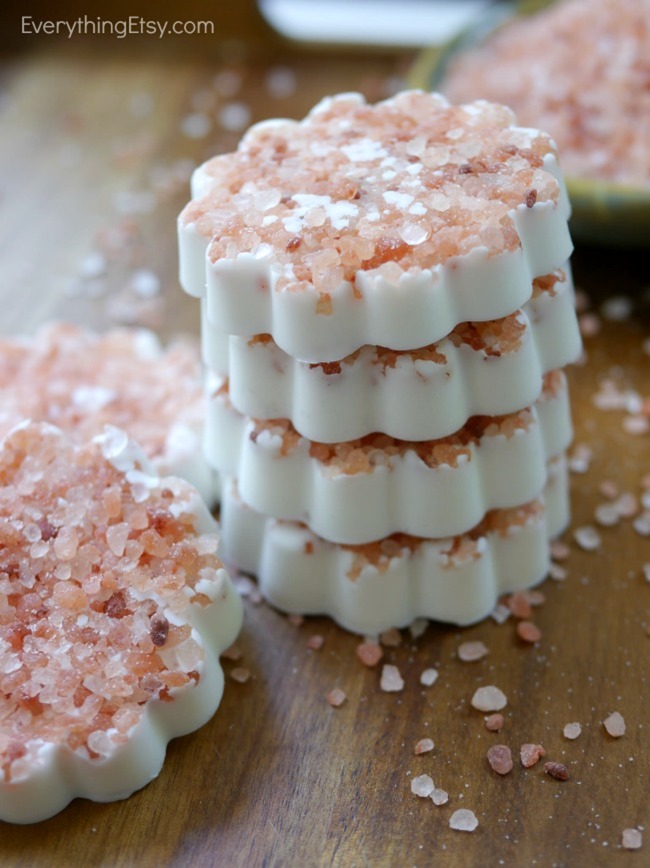
Gather up a few supplies…
- Shea Butter Glycerine Soap Melt & Pour
- Himalayan Sea Salt
- Grapefruit doTERRA Essential Oil
- Soap Molds
I only use doTERRA Essential Oils…click here to get more information about them.
I’ve included the Amazon links above to make your shopping easier. {just click on the supply you want} I plan out most of my projects this way and get it all deliver right to my door…love it. It also helps you to see what products I used.
I used a course Himalayan Sea Salt, but you can easily find it ground up really fine. I just like the way the chunky salt looks.
You can use your favorite essential oil! Lavender is great for relaxation, Citrus will lighten your mood and Peppermint will invigorate. I used Grapefruit because it just smells like sunshine an summer to me. ![]()
Time to make them!
You can use any size mold you wish, so I’m going to explain how to make them by the cup.
Start with a cup of your melt & pour soap {This soap is very white, which I love!} and cut it into chunks. Add it to a large glass measuring cup or bowl.
Microwave it on high for 30 seconds. Then stir. Repeat this until it’s melted completely. Do not go more than 30 seconds at a time.
Add 5-6 drops of essential oil to it and stir. You can add less, but I like the scent strong. Start with 3-4 drops for a light scent.
Pour a thick layer of Himalayan Sea Salt in the bottom of each mold.
Then very gently drizzle a little soap mixture in each one. I like to add just a thin layer of soap on the bottom of 6 or so, and then go back to the first one to pour it to the top of the mold. The thin layer starts to harden and it seems to help keep the salt in place a bit more.
Move them to the refrigerator for 30-60 minutes depending on the size of the mold. You want it to harden enough to pop out of the mold easily.
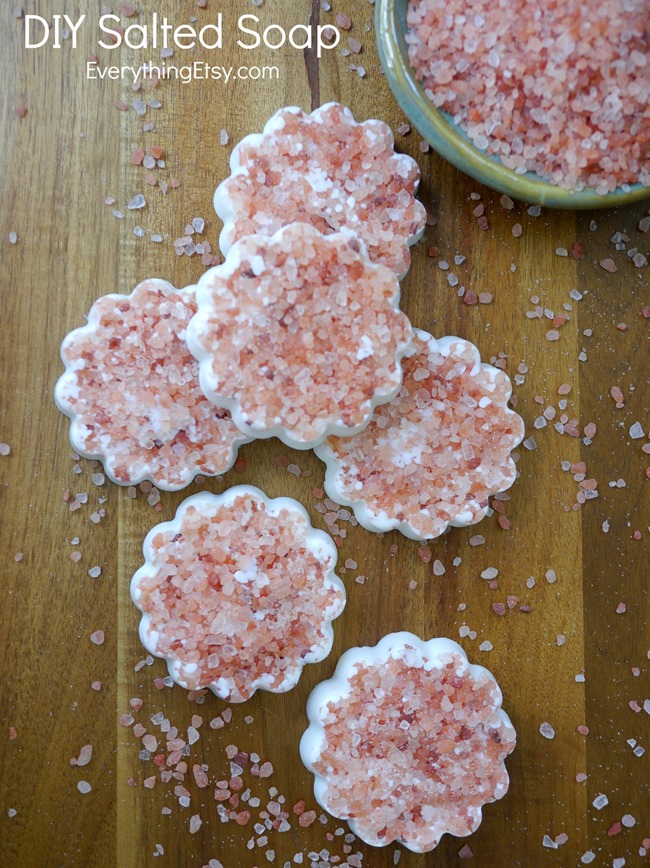
Pop out all the soap on a piece of wax paper or tray. Sprinkle a bit more salt on the top to fill in any spots that are empty. You can push slightly at this point to make the salt more secure.
You can use them in a couple hours, but I let them sit overnight before wrapping them up.
It’s super easy and I can’t get over how beautiful they look! Have fun making them, and I’d be happy to answer any questions in the comments below.
—————————————————————
If you are interested in learning more about essential oils I can help! I’ve been using them for over 5 years and I’m always amazed at how well they work for everything from aromatherapy to occasional sinus discomfort. Read more about the essential oils I use right here.
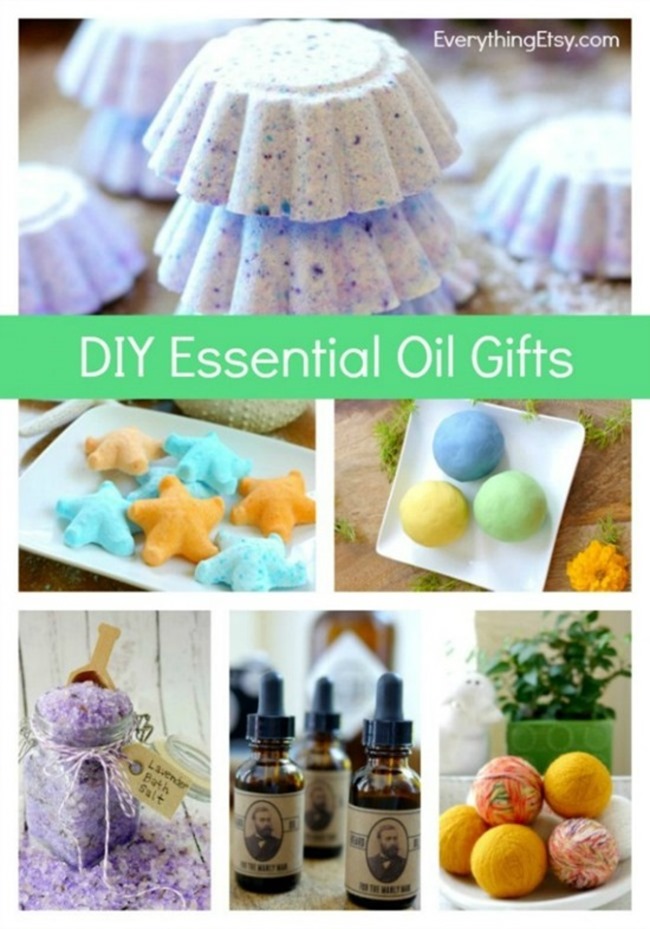
If you like this soap project, then you will love these…
DIY Essential Oil Gifts!
It’s amazing how many different gifts you can make with a few supplies!
Learn how you can join as a consultant for $35 and get wholesale prices on all your essential oils {with no minimum or required monthly orders}. It’s the largest essential oil company in the world…let me show you why! Click here to read more.
So, you see how my love of DIY goodness and essential oils can start to blend together…ha! I hope you’ll try some of these quick projects. Let me know how they turn out!
Have fun!
~Kim
Theses seriously look delicious! Like cookies 。◕ ‿ ◕。 Bookmarked this! I gotta try it. Thanks!
I agree with Piper. Those things look good enough to eat! Beautiful work .
April Williams
Creator of Eluna Jewelry Designs
http://www.elunajewelry.com
How many soaps can you make from the supplies listed? I need to make approximately 36 and would like to use the flower mould.
Oh my would love to try these
Oh dear, I must thank you for this amazing craft recipe, I was looking for a handmade gift to give to my friend.
DIY salt soap is a fun and easy project for those who want to make their own natural skin care products. The process involves mixing lye, distilled water, and oil together, then adding salt to the mixture.
Affordable Piano Moving Services in Muskegon MI