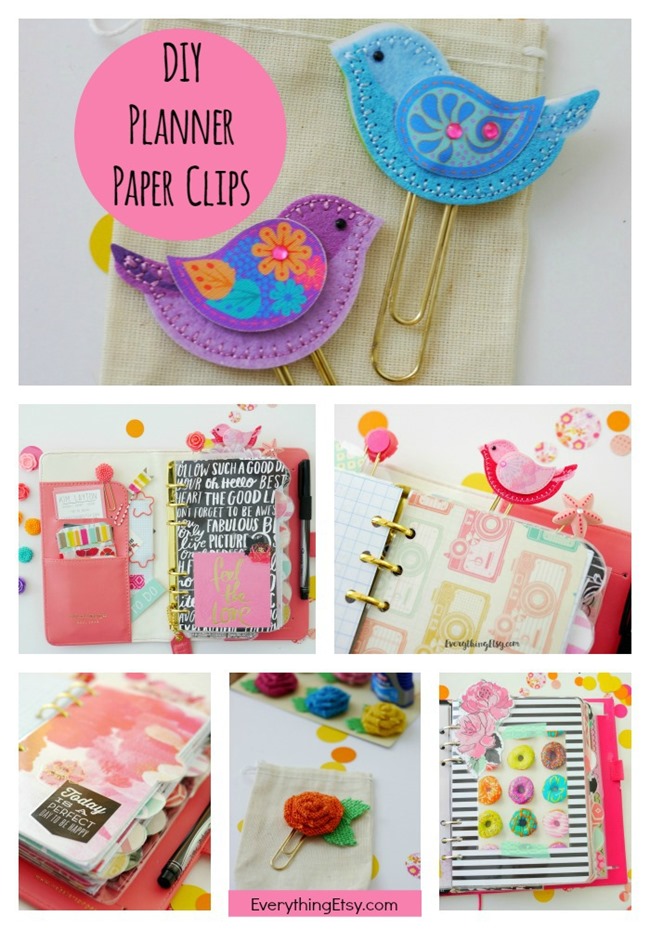
DIY Planner Paper Clips & Pretty Planner Ideas
There’s something about a pretty planner that makes my life so much better!
I’m all for being organized and not forgetting to pick up the milk from the store with a simple list, but I personally need a bit of color and pretty things to make me pay attention. Boring lists make my eyes glaze over, and I lose all motivation in actually doing what I need to do.
So, if you’re like me you might enjoy these simple and pretty DIY planner paper clips! I’m also sharing a peek into a couple of my pretty planners for inspiration.
You’ll find more info on how I use my Filofax right here. I put everything in it! I have a Color Crush planner for my projects, and I love how I can throw it in my purse an just go with all my work right there.
Now, on to making some adorable planner paper clips that will make you happy every time you see them…for real.
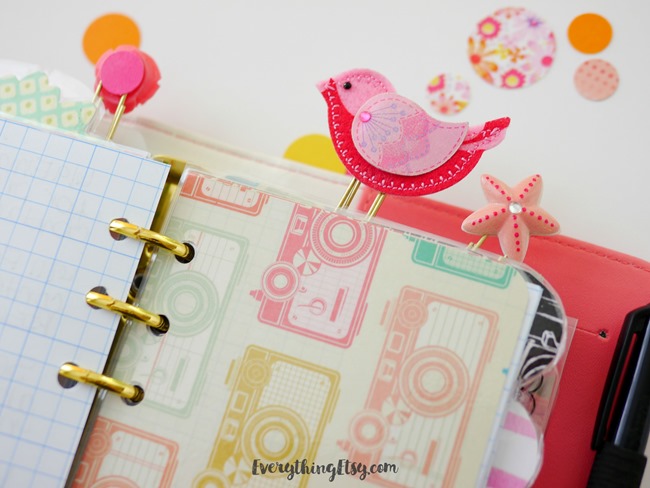
Pretty cute, right?
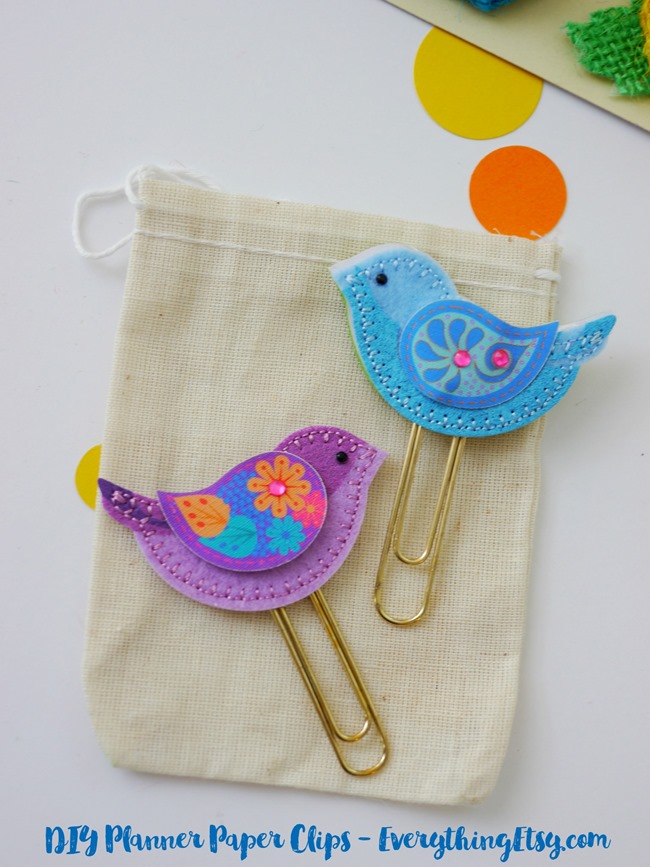
These birds are some of my all-time favorites!
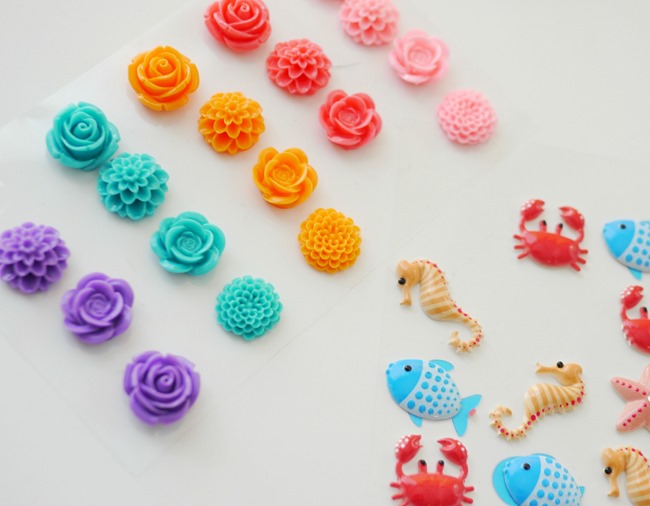
Start with a fun shopping trip to the craft store to collect tons of stickers that will work.
You’ll want there to be at least two of the same kind or have enough space so you can add a paper dot to the back. {You’ll see why in a second, but shopping is the first fun step!}
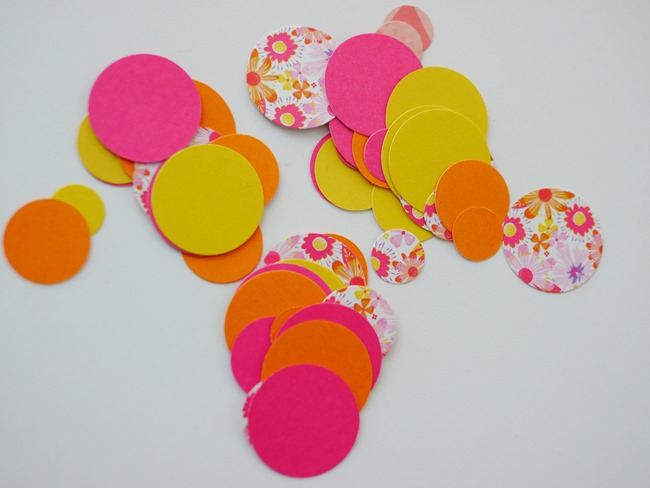
I have a bunch of pretty dots made already from a few sizes of hole punches. You can also find packs of dots in the store, but I thought it was easier to use my punches and matching paper.
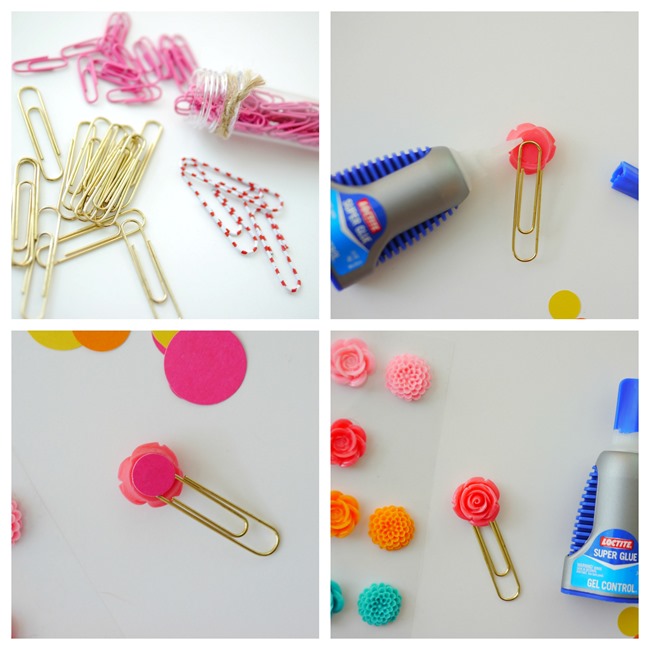
You’ll need paper clips…I use a few sizes.
Super glue is the best, but make sure it’s gel!
Once you gather your supplies you’re all set to get creative! You will be giddy with just how easy it is to make pretty paper clips!
Here we go…
- Choose a sticker and a dot or two matching stickers
- Pick the best size paper clip for the sticker
- Add the sticker to the top of the paper clip
- Flip it over and add a bit of super glue
- Add your matching dot or sticker and press
- Set it aside and let it dry
Make a thousand of them!!!
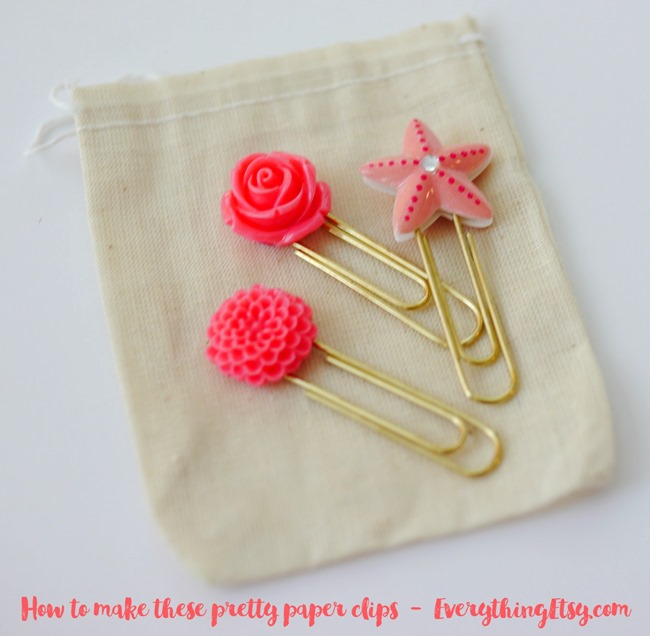
You can make sets of them and share them with your Planner Girls!
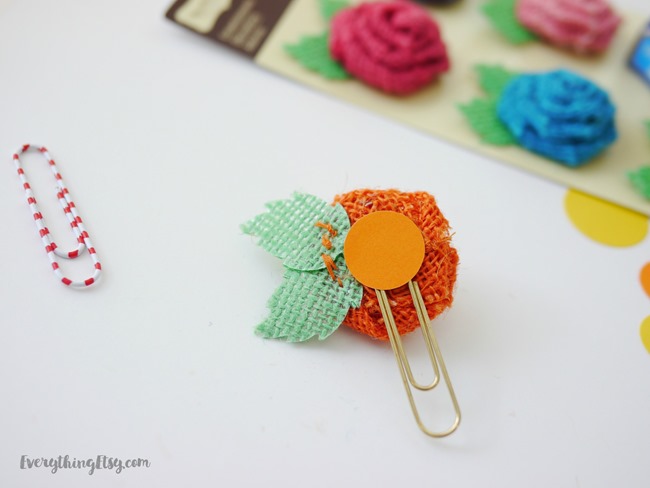
This one is made with a very big flower…do it the same way.
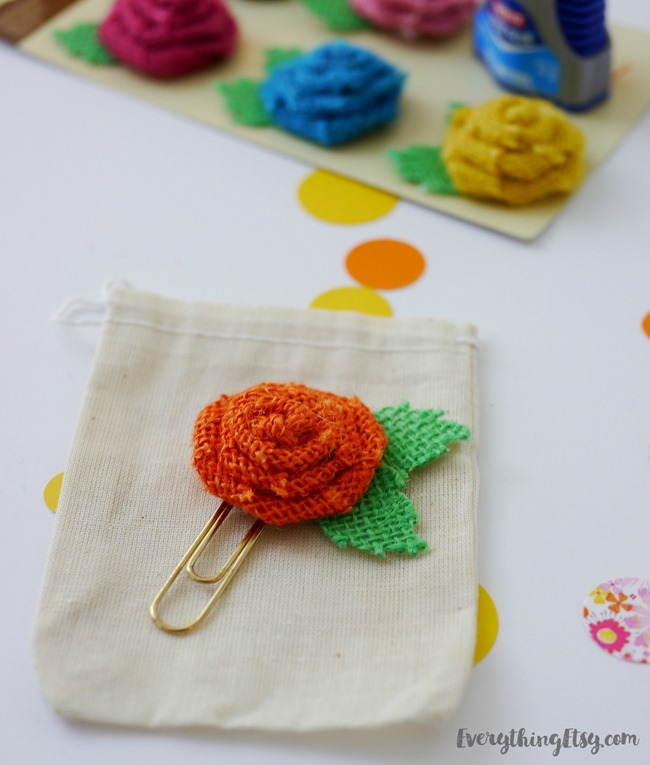
Pretty, pretty, pretty!
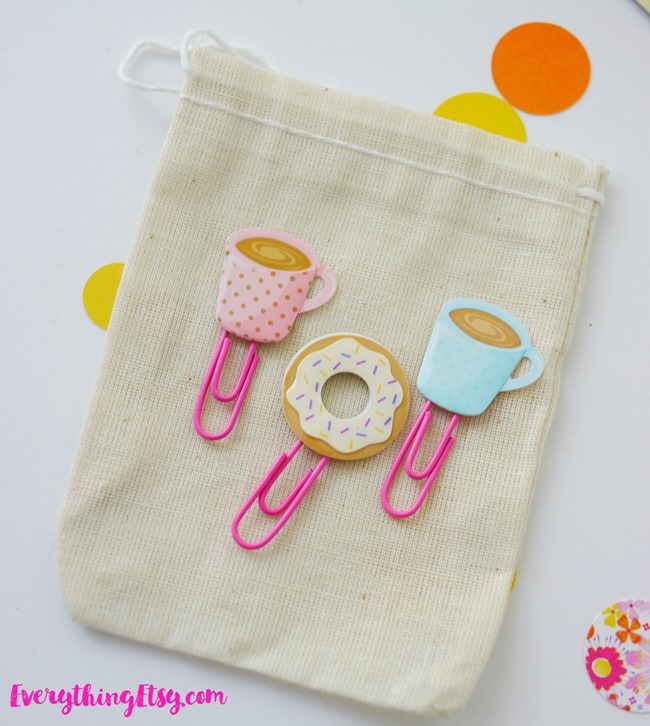
Make a few like these for your coffee lovin’ friends.
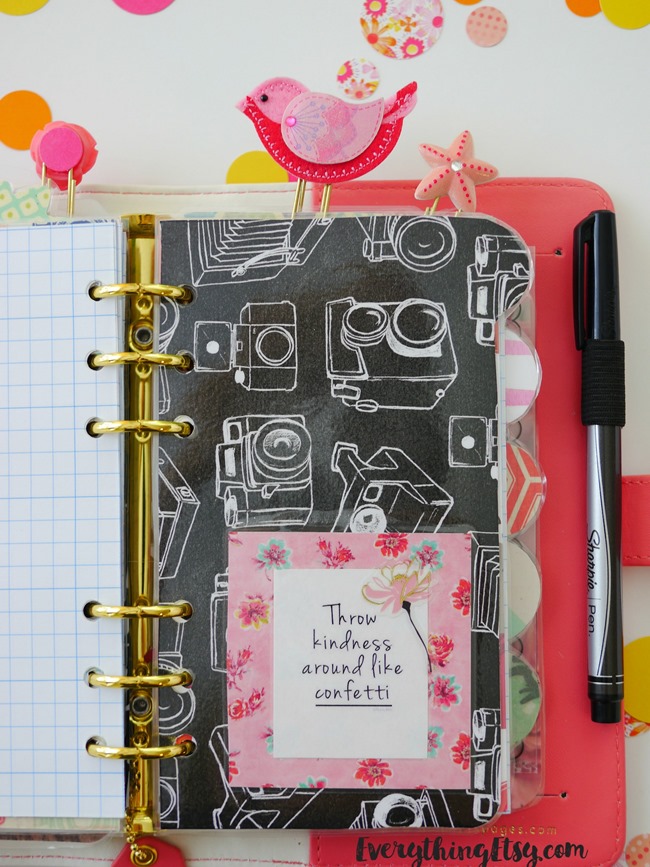
Add them to any page of your planner. I usually mark something I’m working on, but you can just randomly place them where they look best.
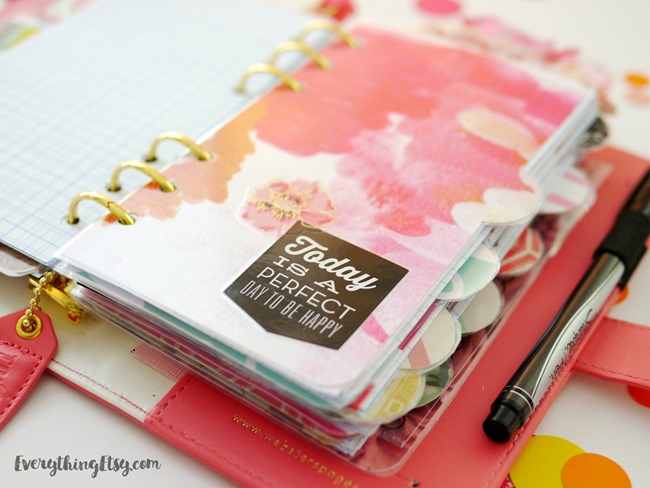
This is one of my dividers in my Color Crush planner. I made all my dividers so I could pick my favorite colors and paper for each one. I decorate them with stickers and such, then I laminate them.
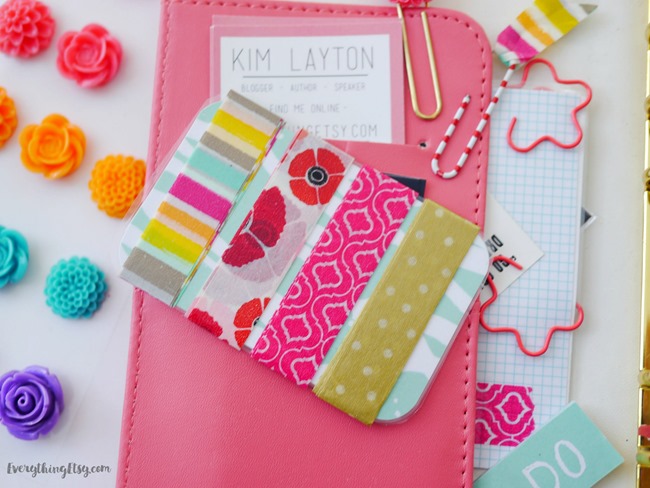
I carry a couple of these in each planners. I wrap washi tape around a laminated credit card size piece of pretty paper, or I use old Starbucks gift cards.
They fit great in the little pockets and keep my favorite washi tape right where I need it.
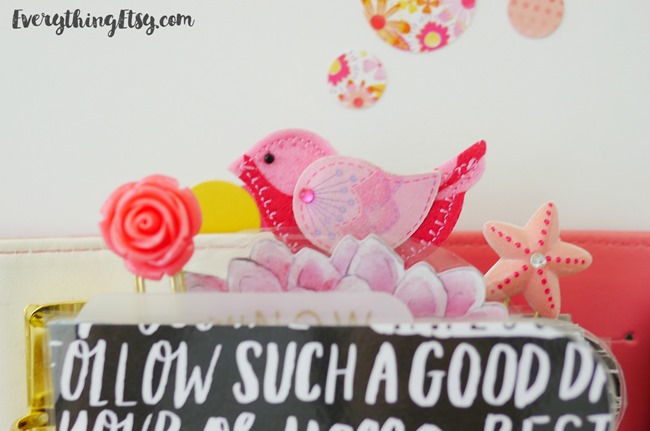
I love how they peek out of the top a bit!
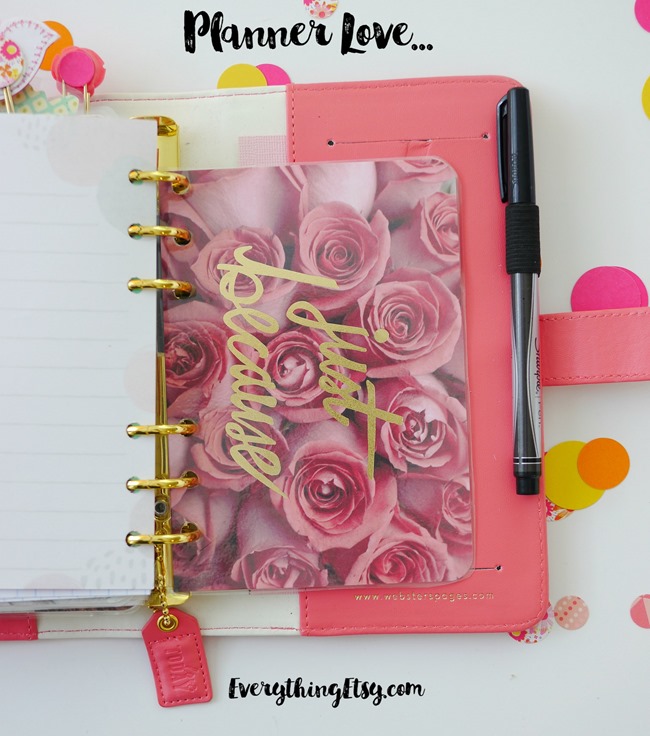
I add pretty postcards in my planner. This one is from A Beautiful Mess…it was in one of their monthly kits.
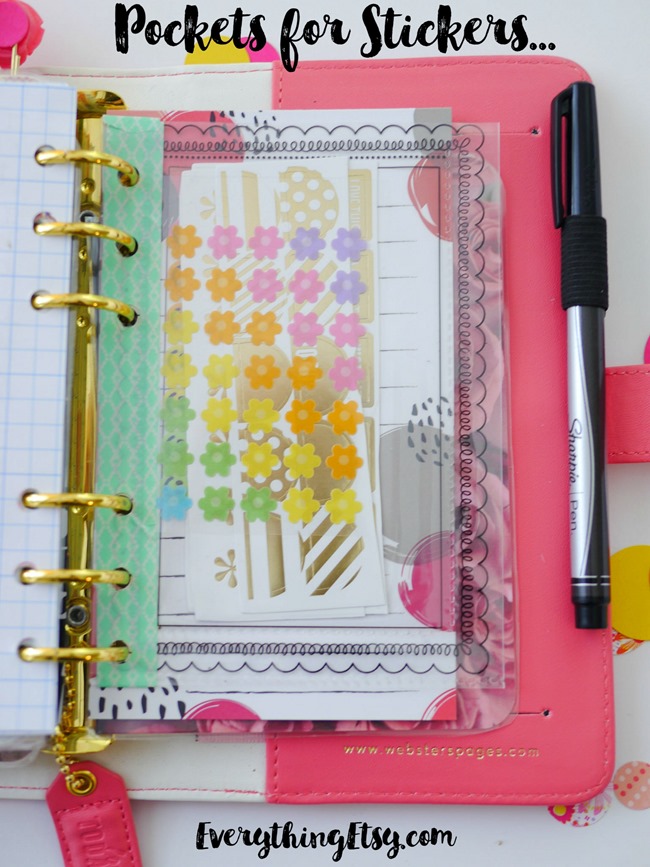
I add little pockets for stickers by cutting up old clear planner pockets {they were bigger} and adding washi tape to the side where I punch the holes.
I cut out random large flowers and laminate them for a bookmark of sorts.
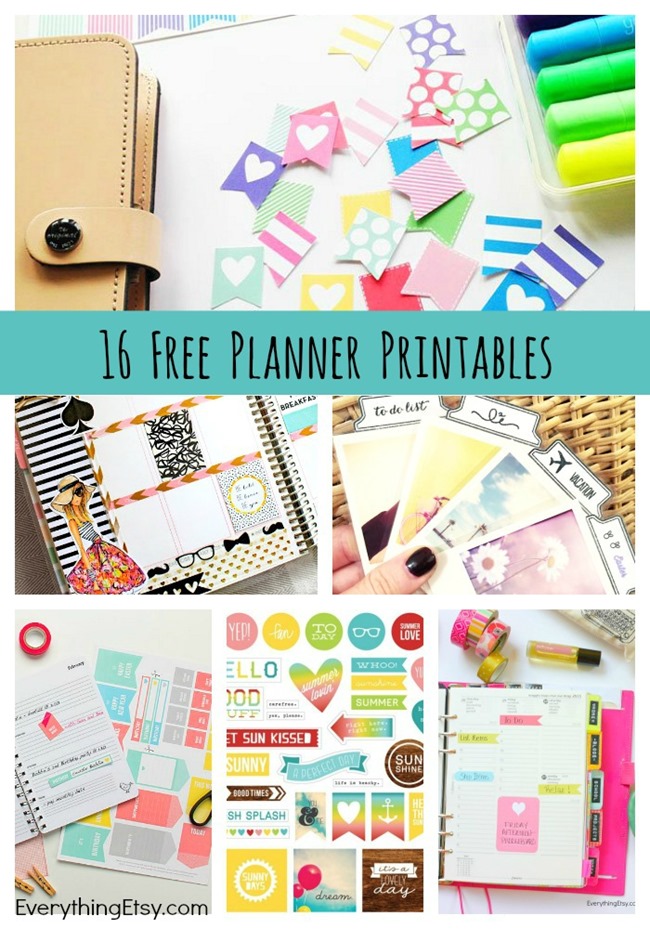
If you’re looking for some great planner stickers that you can print out right now and use, you’ll love these…16 Free Planner Sticker Printables!
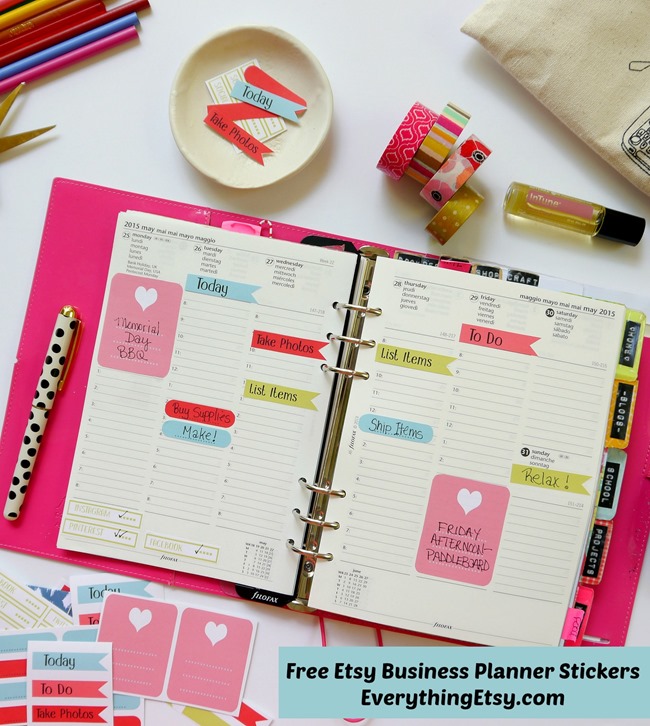
I made these free planner stickers for you…download them here.
What kind of planners do you use???
I’d love to hear about them. I have a small collection that I switch between depending on the season. I’m a fan of Filofax and these new Websters Pages Color Crush planners.
If you have to plan and be organized why not make it pretty???
~Kim
Love these! What a brilliantly simple idea – so perfect for customising a planner! Can’t wait to make some myself!
Hannah x
http://crafternooncabaretclub.com
Hi Hannah!
Thanks for stopping by and I hope you’ll try some soon! Once you start it’s kinda hard to stop because of all the cute stickers out there. 🙂
~Kim
Those birds are adorable! What a fun idea and a great way to use felt scraps!
Great ideas! Thank you so much for sharing.