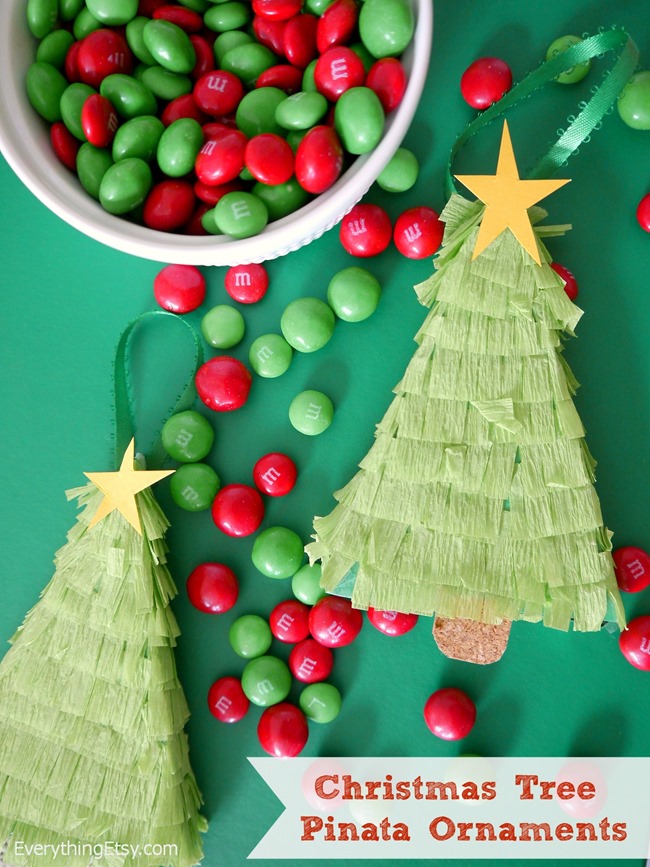
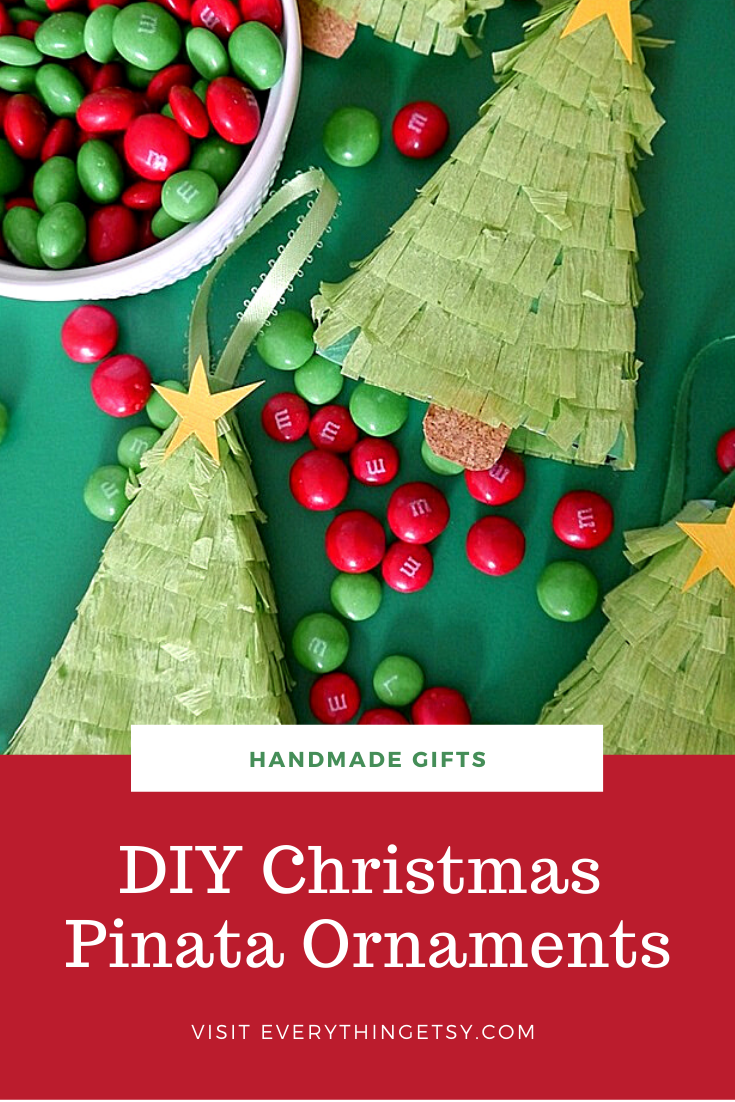
Christmas Tree Piñata Ornaments are my new favorite! These mini piñatas will brighten up any tree or package. They’re great to give to little guests that stop by during the holidays…what’s not to love about a mini piñata full of candy???
These ornaments are super easy to make {my kind of project} and the supplies are simple and inexpensive. You can make a batch of these with your children, or throw a cute crafty party and let everyone create their own…fun, fun, fun!
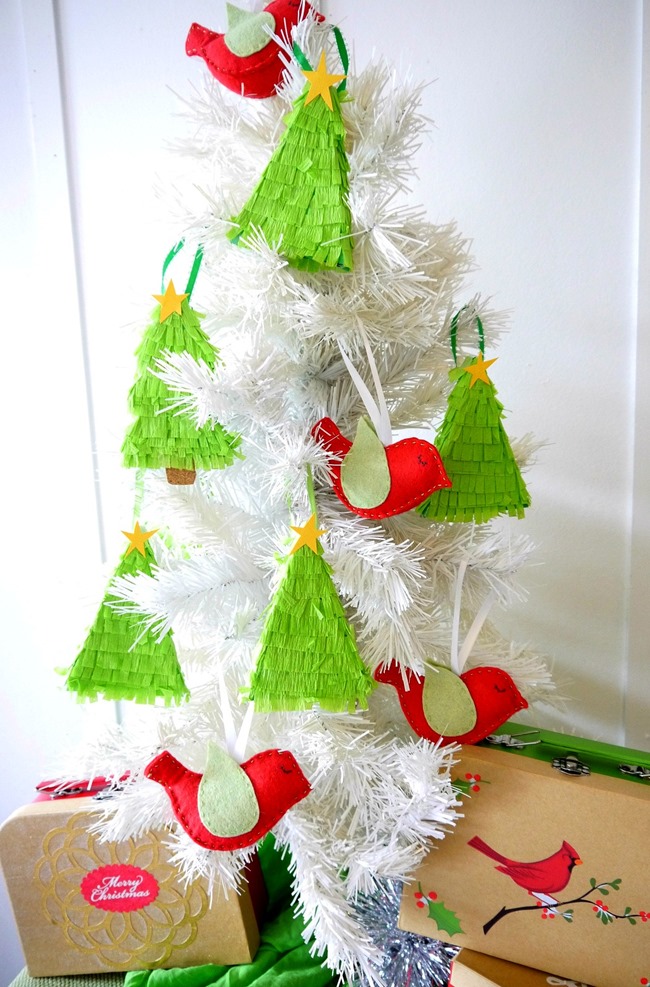
I started decorating with them, and my boys have been circling the tree since I hung them up. I get the feeling some could go missing!
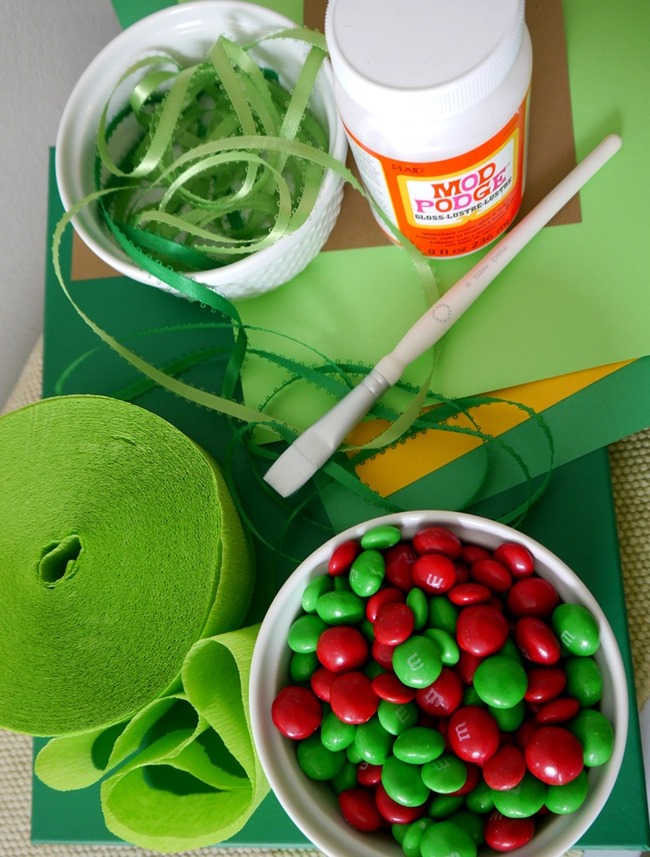
Christmas Tree Piñata Ornaments
Supplies…
- Cardstock in green
- Mod Podge
- paint brush
- candy
- clear tape
- green crepe paper party streamer
- scissors
You might be able to substitute some items from around the house, but this is what I used to make these. You’ll love how easy these are once you get started!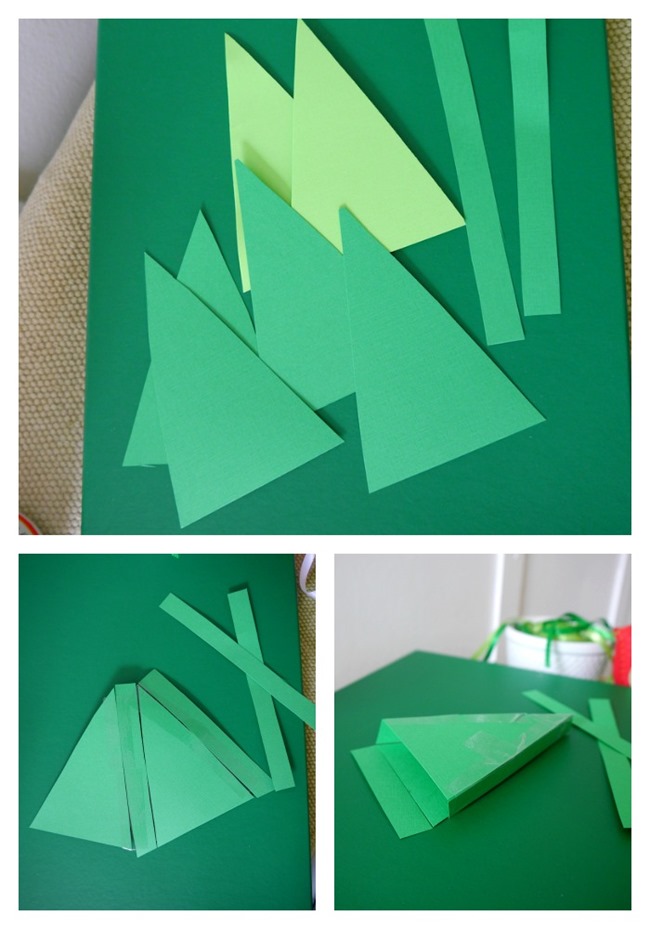
Cut your cardstock into triangles. Mine are about 4 inches tall, but you can adjust them to the size you prefer. I made a template from the first triangle so I could cut them all the same exact size.
Then I cut strips of cardstock. You can choose how wide you want the edge. I cut mine about 3/4 of an inch wide. You can have them in any length you want and just trim off the excess.
Next, I taped one triangle to a strip and repeated it. I made sure to tape the whole length of the triangle.
Fold it to resemble a box and tape the along the edge.
Add a small strip of paper to the bottom and only tape one side so it can be filled later.
This is the fun part!
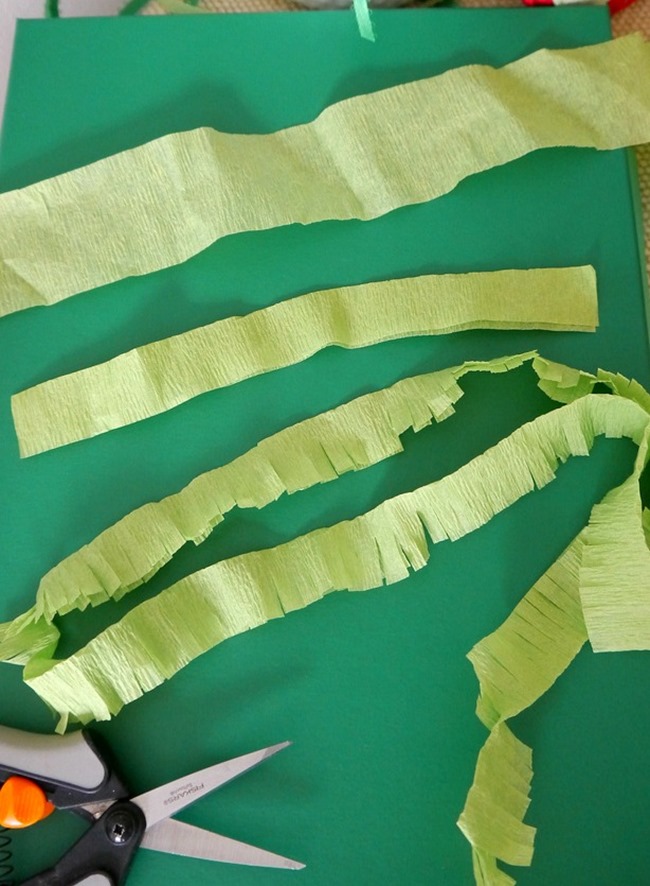
Cut about a foot of crepe paper and fold it in half.
Make small cuts all the way down to create festive fringe.
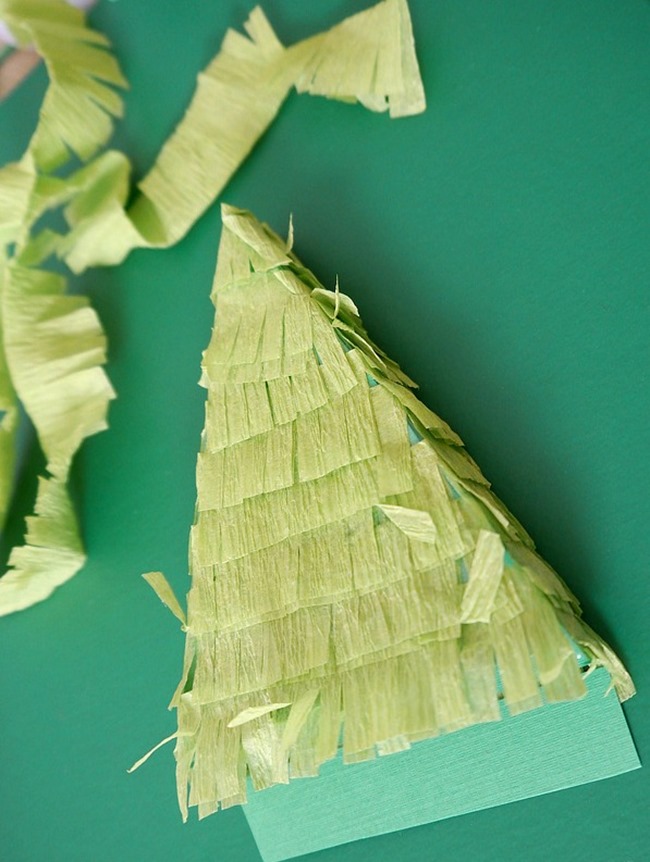
Staring at the bottom I used Mod Podge to secure the crepe paper to the box. Just dab a bit on and stick your crepe paper to it. Slowly work your way around and around until you reach the top. You want the fringe of one layer to hang over the one below it.
You can take a small piece or ribbon and secure it under a row or two near the top of your box {on the back}. This is what I should have done! It was harder to attach the ribbon at the end. Lesson learned!
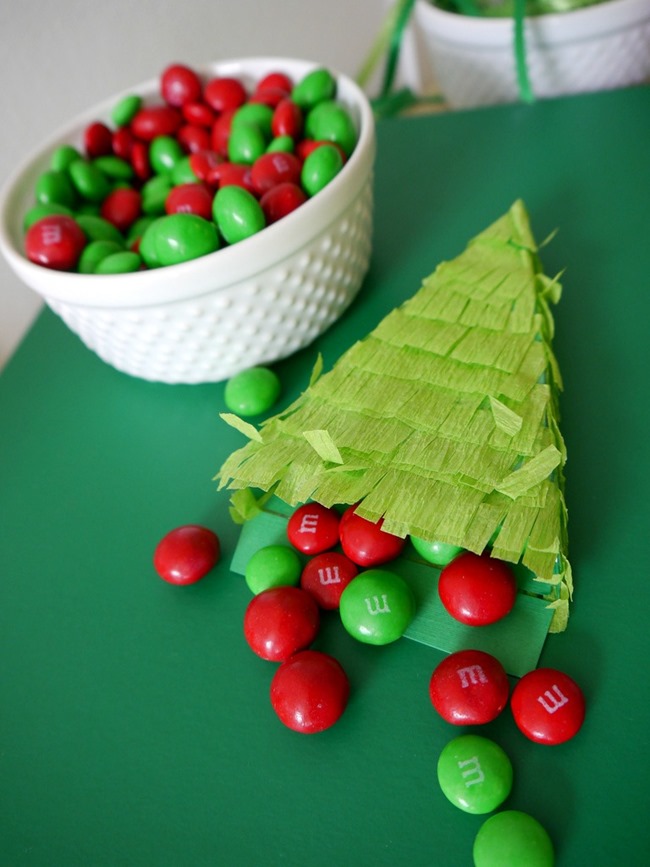
Let it dry and then fill it with candy!
Tape it closed.
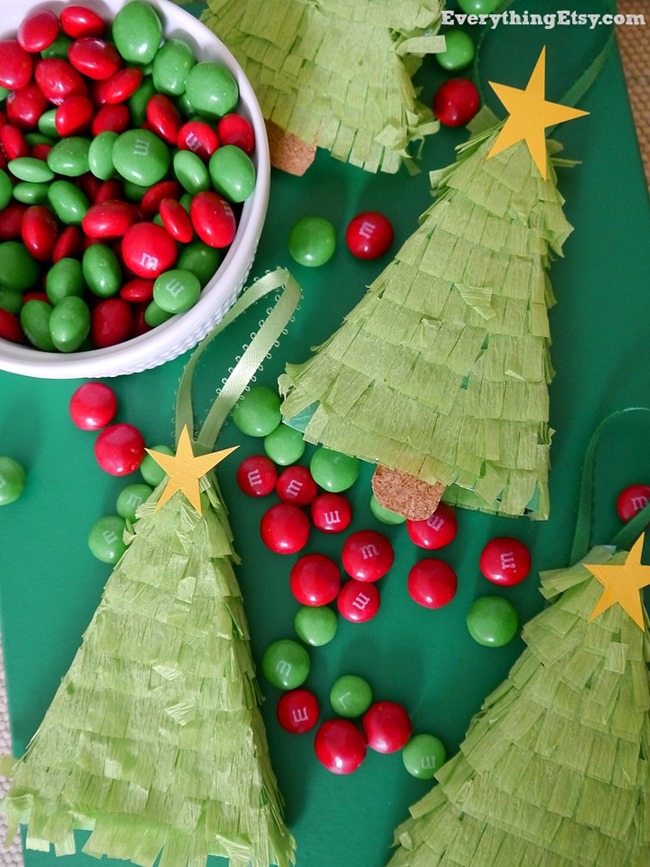
I topped it off with a star and ribbon to hang it on the tree.
You can add a little brown square to the bottom to create a trunk of the tree. I did this on one and it looked cute. Have fun with it. Add some mini dots for ornaments…whatever.
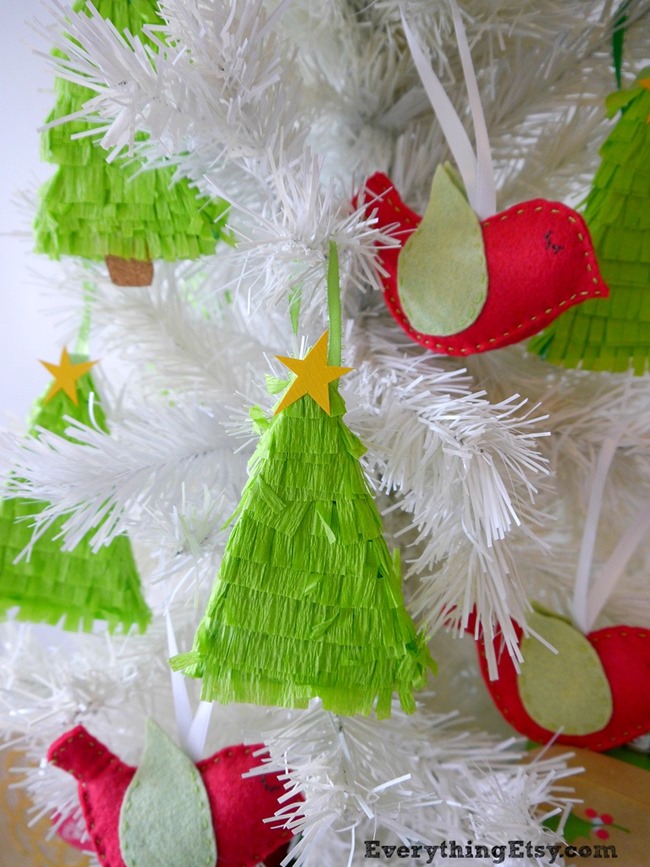
They’re festive and fun for all ages!
Who wouldn’t love to crack open their own little piñata???
Have you made any handmade ornaments this year? You might enjoy this amazing list of 101 Handmade Ornament Tutorials!
Happy Holidays!!!!
~Kim
what a super cute idea! i might play around with the idea and turn them into christmas name tag pinatas!
ugh! so much work it would be to add to my already full christmas list—but worth it? absolutely. my kids would LOVE this!
thinking of doing this for 80 4th graders. wondering if there is an easier way to make the tree part? Taping 80 of them ahead of time would be quite time consuming, but the end result is so cute.