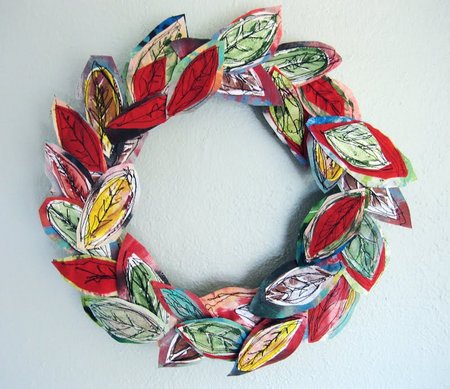
Fall is my favorite season but because I live in Southern California I miss all the changing colors of the trees so I decided to create a fall fiber wreath full of all my favorite colors of the season! This is one of those projects that could have many variations and make use of different materials so feel free to put your own spin on it!
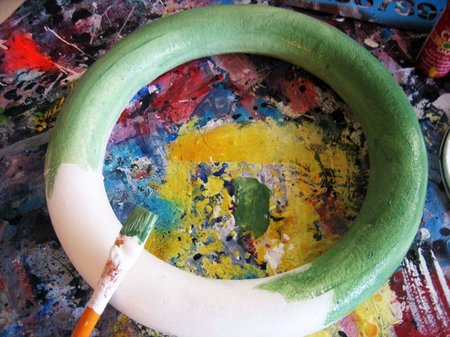
Start with a styrofoam wreath and paint it in a solid color and then set it aside to dry.
While the wreath is drying use stamps, drawings of simple leaves or even a simple painted shape of a leaf on the surface of canvas or fabric.
I used my own hand carved stamps on top of Claudine Hellmuth’s Studio Sticky Back Canvas .
I love the sticky back canvas it is the perfect weight for this project and can even be printed on! Another variation could be to even print out a sheet full of leaf images!
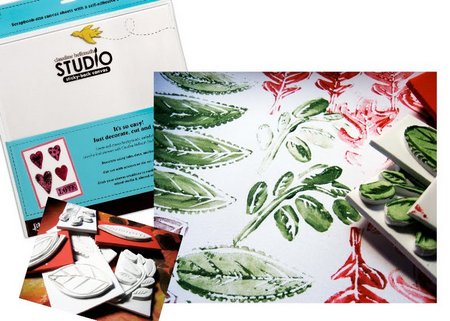
I filled three 12×12 sheets full of leaf stamps in a variety of fall colors.
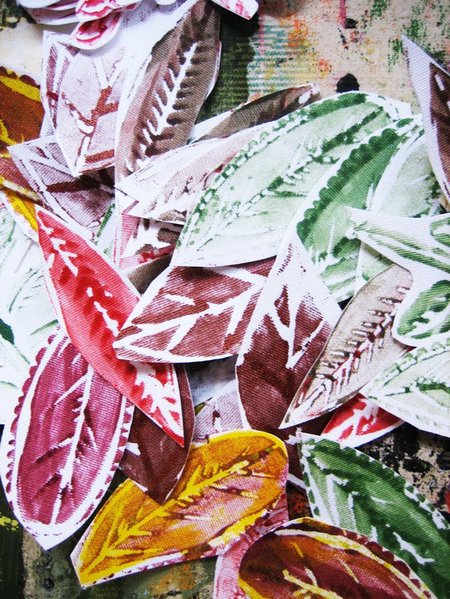
Cut out all of your leaves- its ok not be perfect with this step- just the general shape will be fine.
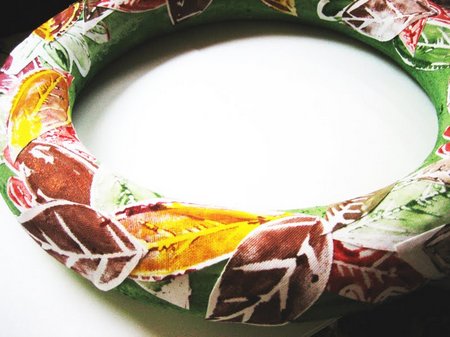
Take half of the leaves, peel off the backing and stick them to the wreath- these leaves will cover the ugly styrofoam. If you are not using Sticky Back Canvas simple glue your leaves to the surface of the wreath with hot glue.
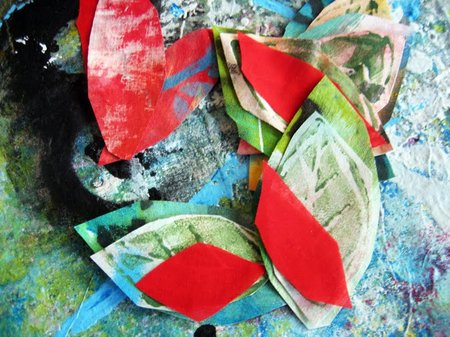
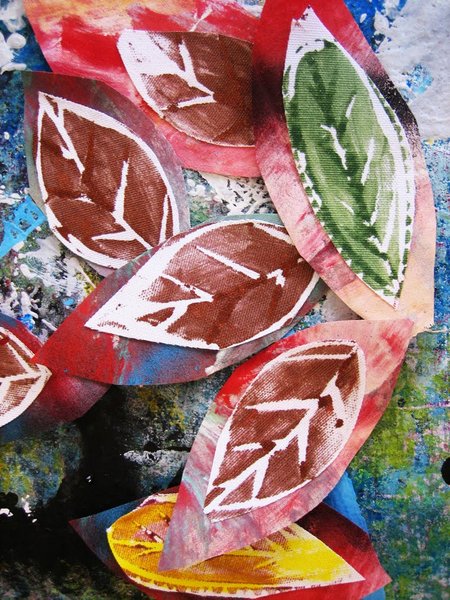
Take the other half of your leaf images and layer them on top of colorful scraps of fabric or canvas. I used a variety of my hand painted scraps in my favorite fall colors.
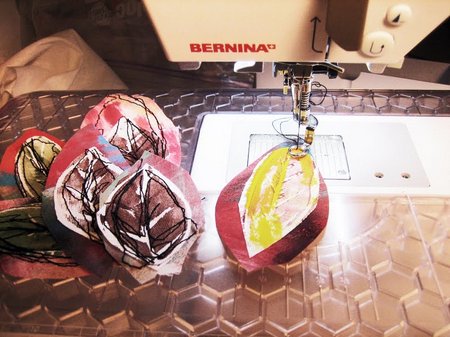
Sew the layers together and trace the lines of the leaf images with your sewing machine. I used my machine because I LOVE the look of free motion stitches (and I am totally in love with my Bernina!) But if you do not have a sewing machine or don’t like sewing- a variation would be to glue your layers of fiber together and the use a black fabric or permanent pen to add contrasting lines to the surface of the leaf.
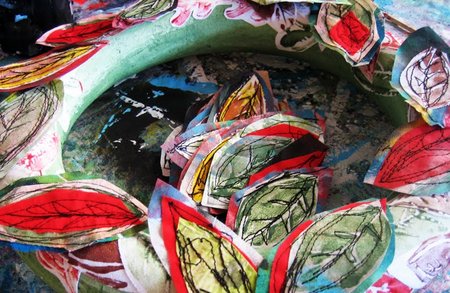
When you are satisfied will all of your stitching lay out all of your leaves on top of the wreath and arrange them along the surface.
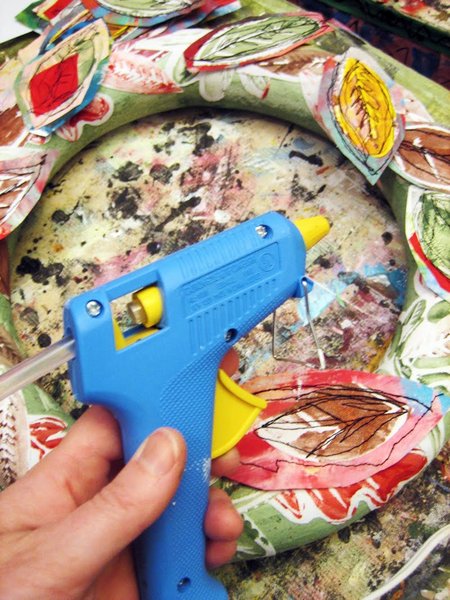
Use a hot glue gun and glue your leaves onto the surface of the wreath- if you don’t have a hot glue gun, craft glue will work just fine.
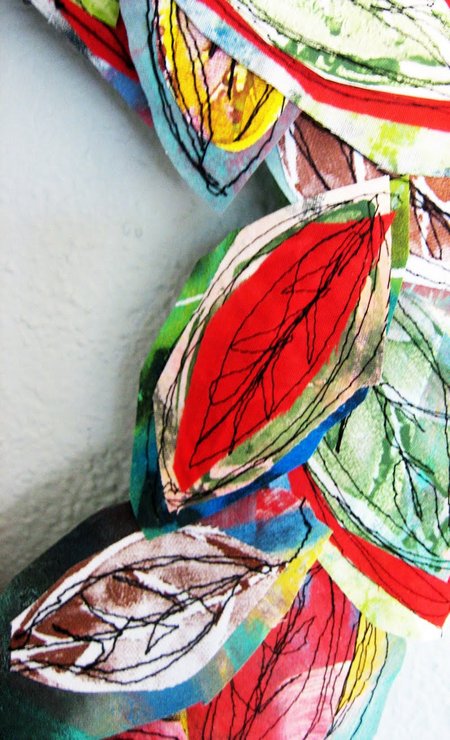
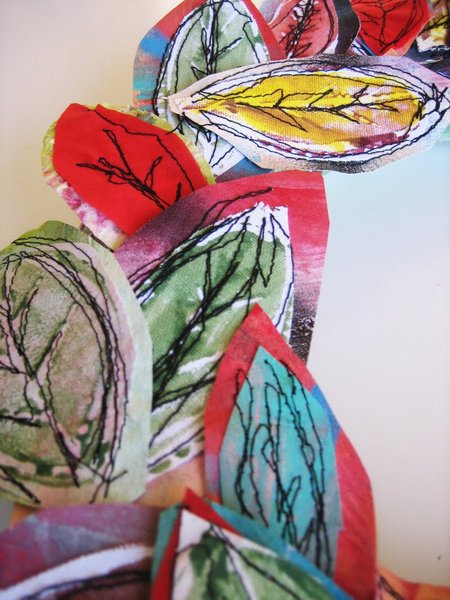
Layer your leaves as you glue them down and try to build up a surface with color and size variations.
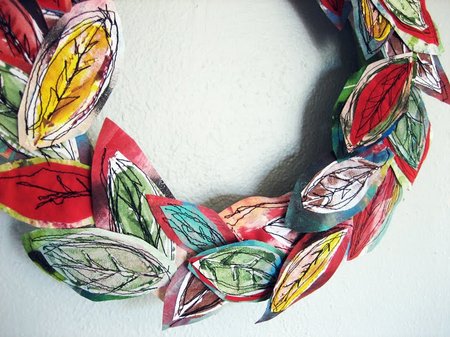
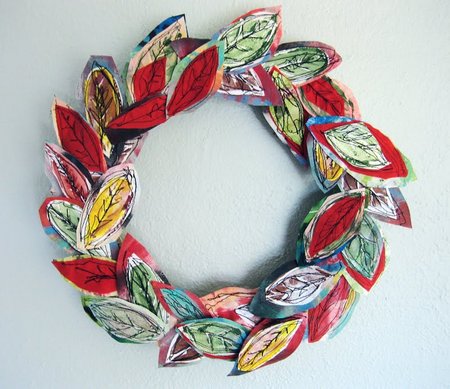
When you are finished, hang you wreath on the wall, a door or even use as a table centerpiece!
Visit Alisa’s blog to see her newest tutorial on a fall placemat. She has a fabulous Etsy shop full of beautiful creations. If you’re looking for a great gift for the holidays, don’t miss HER BOOK and DVD. Wow! This girl has talent! 🙂
Wasn’t that an awesome tutorial??

Great Fall Wreath!
What a neat project! Thanks.
This is very cool. I’ve never seen a wreath quite like that. I love how colorful it is. Great tutorial! 🙂
Wonderful piece!
Wow. That is gorgeous. And an unreal tutorial. Thanks for sharing!
Thanks for stopping by my blog and leaving a comment on our Baby Grand, the Lion King! Gerber Puffs saved the day when he decided he did not like his hat! A few Puffs and photographs were made!! Life is good. Blessings.
L-O-V-E this!!
This is awesome! What a wonderful texture you can get!