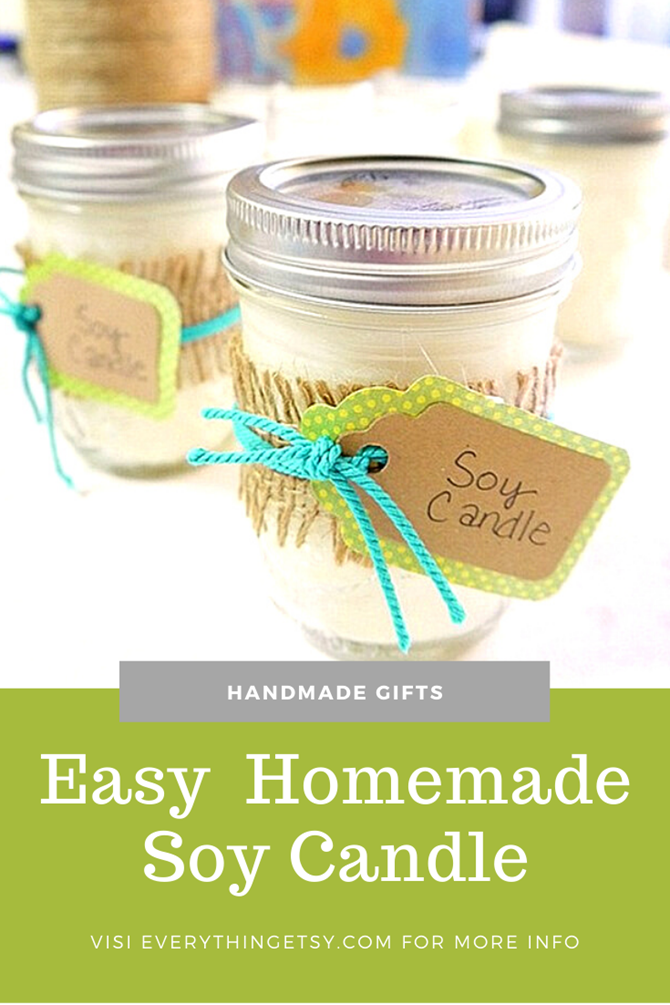
Let’s talk about one of my favorite handmade gift ideas. It’s easy to make, easy to customize and always awesome! DIY Soy Candles make fabulous gifts! Create a big batch of them in less than an hour.
Add soy candles to gift baskets, decorate your home for a party, or stack them in the pantry for when the lights go out! They always make great small gifts for neighbors and teachers. You really can’t go wrong making some right now. While you’re at it you can make some of these bath bombs and lip balm…they’re some of my favorite handmade gift ideas every Christmas.
These DIY candles are 100% natural soy wax. I added a bit of essential oil for a light scent, but that part is optional.
Here’re all the details so you can get started on them right away…
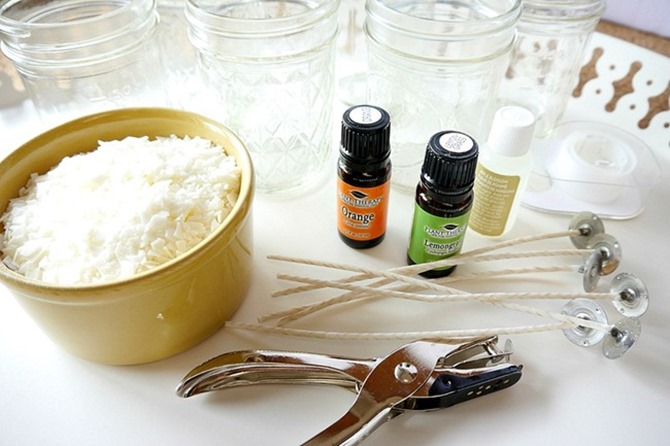
DIY Soy Candles – Supplies
- Natural Soy Wax
- Natural Candle Wicks
- Small Mason Jars
- Orange, Lemongrass and Lemon Essential Oils
- Tape
- Hole punch
- Glass measuring cup or bowl
You can find the exact products I used by clicking on the links in the supply list above. {I will make a small percentage from Amazon, but it will not cost you more…thanks!} That might make it easier for you. I’ve had trouble finding soy wax and candle wicks that I like in the store.
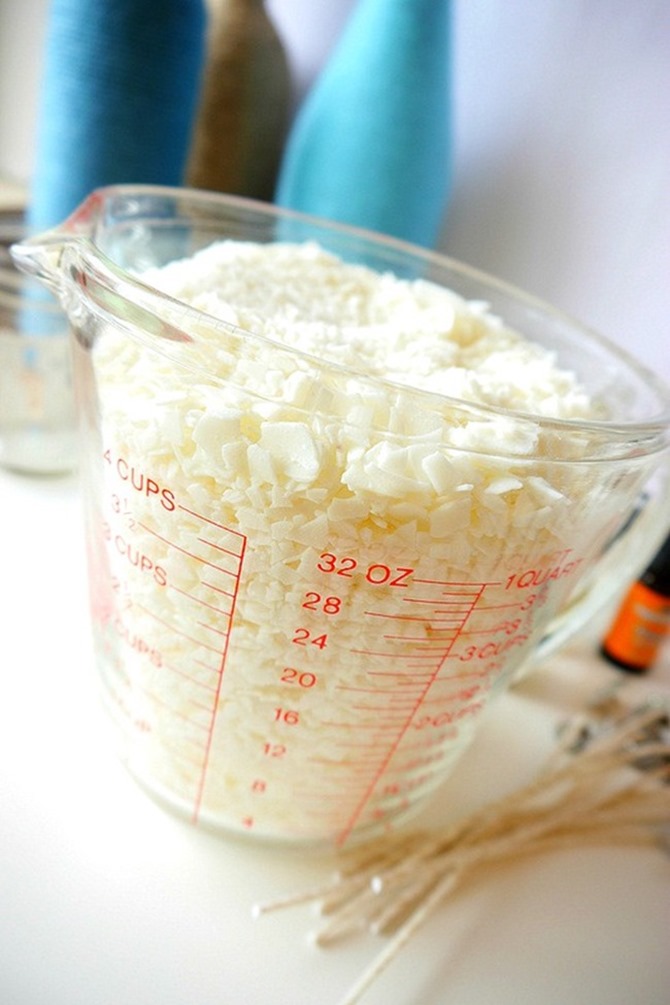
Start by filling your large measuring cup or glass container with soy wax and heat it in the microwave on high…check it every 30 seconds and stir.
Once your soy wax is completely melted you can mix in 10-15 drops of essential oil. You can change the amount according to how strong you want the candles to smell.
Create your own blends or keep it simple…it’s hard to really go wrong.
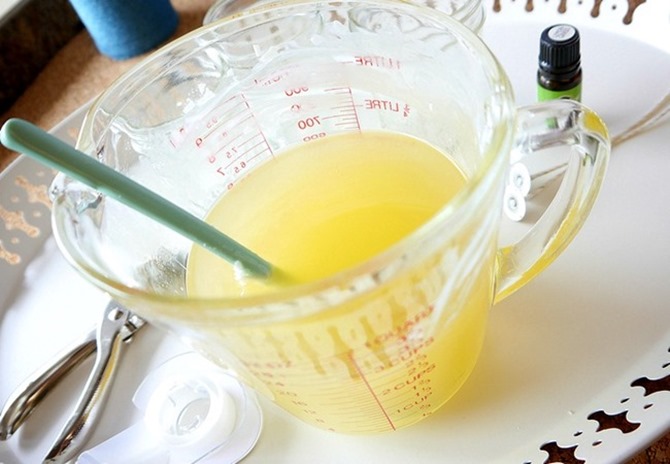
Have your mason jars ready to fill and slowly pour the soy wax into the jars. You’ll want to have them in a spot where they can sit and dry for awhile without moving them. If you move them too soon you’ll end up with soy wax up the edges of your jar where you don’t want it…trust me.
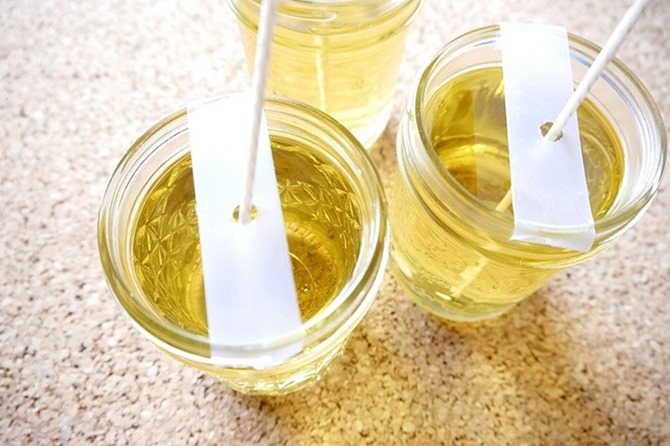
To hold the wicks in place while the soy wax dries I created a little holder with what I had around the house…tape and a hole punch.
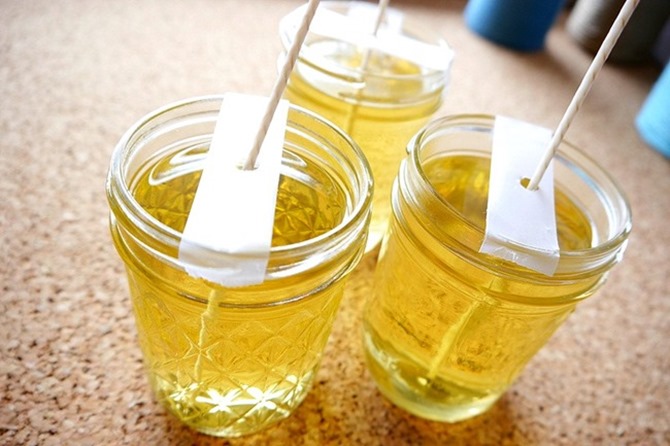
I just punched a hole in the tape. Put the wick in the jar and slid the tape {the hole} over the wick and secured it to the sides. It worked perfectly!
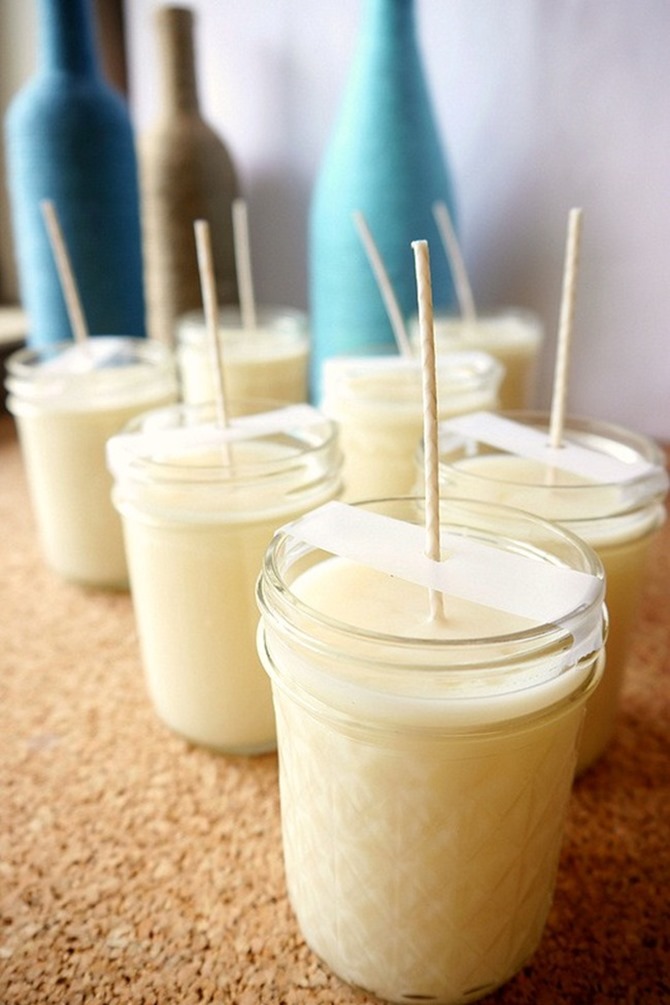
Here’s what that look like in a hour or less. You can let them dry a few more hours or overnight before trimming the wick and closing them up with the lid.
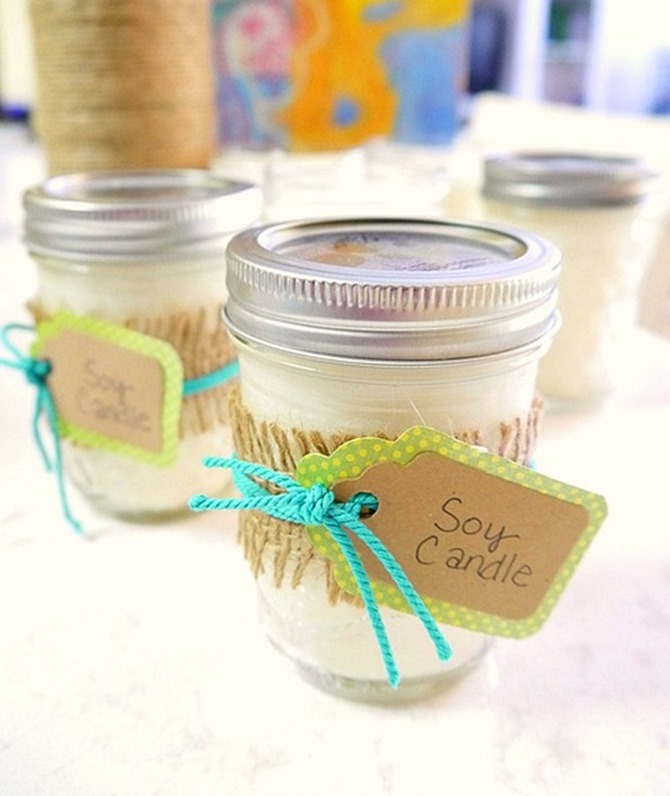
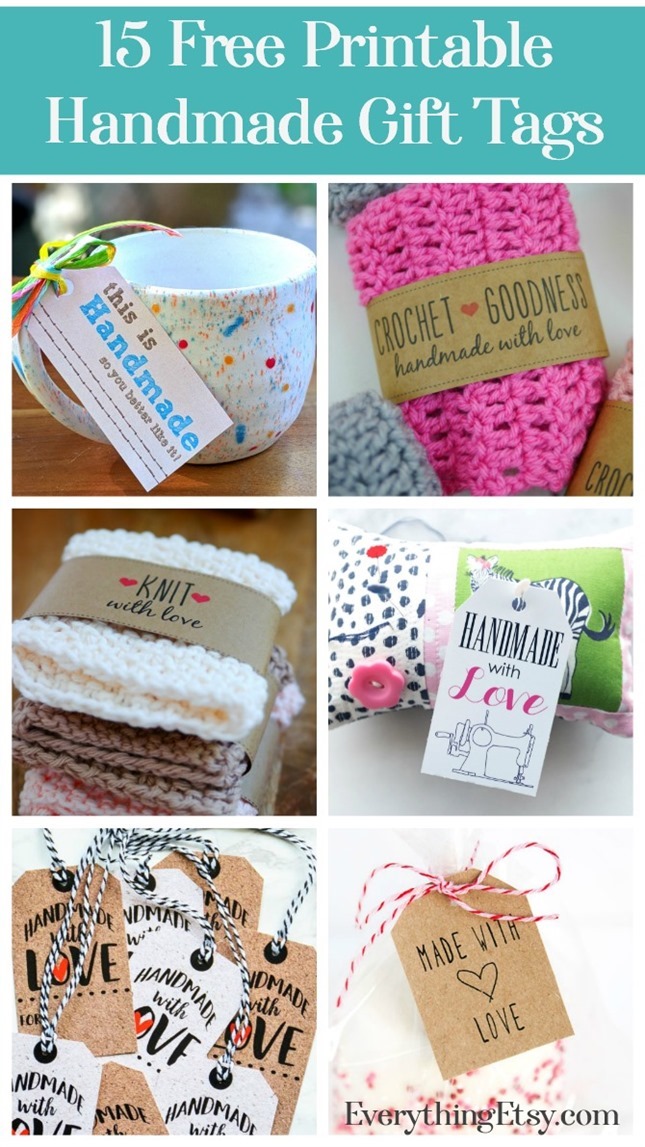
I decorated the jar a bit with a tag, but there are a million ways to do this part. Just use up some of the craft supplies you have already. You can even print out these fun handmade labels in a ton of colors.
TIP: You can add a small box of matches inside the jar before you close it up. That way they don’t have to search for matches. This is also good for emergency candles…it’s hard to find matches in the dark!
If you have any questions, please leave them in the comments and I’ll try to help you out. It’s so simple I know you’ll enjoy making them!
Have you ever made candles?
~Kim
Great tutorial! I’ve been considering making candles. I love to burn candles, especially in the dark winter months, plus I think they make lovely gifts.
Please let me know if you have any questions if you try to make them! They are one of the easiest things to make! 🙂
~Kim
It’s so beautiful!
Egg NS is a Nintendo emulator for Android smartphones, offering a great Nintendo experience.
https://eggns.net/
I am overjoyed to have discovered this piece of writing, which has greatly pushed my comprehension to the next level. Excellent work, and please keep it up