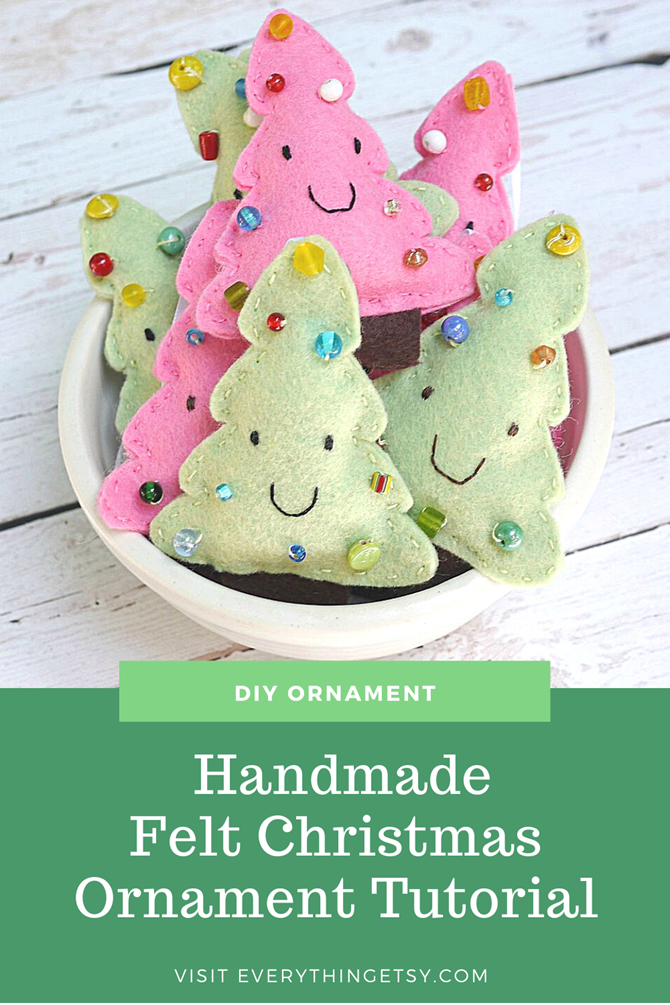
Do you love handmade ornaments as much as I do? They always get a special spot on our tree.
I know some of you are wondering why I’m posting about ornaments already. Well, some people like to start their handmade projects this time of year. If that’s not you just pin this to your holiday Pinterest board and come back to it when you’re ready.
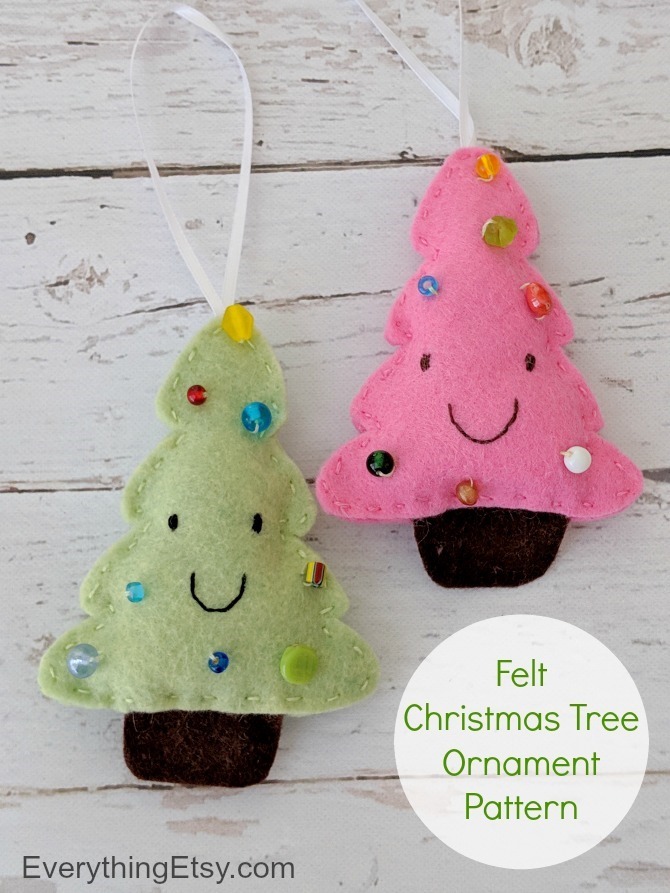
Start planning for the holidays by creating a batch of felt Christmas tree ornaments with this easy tutorial. You can add them to the top of your holiday packages, exchange them with friends or make them with your children.
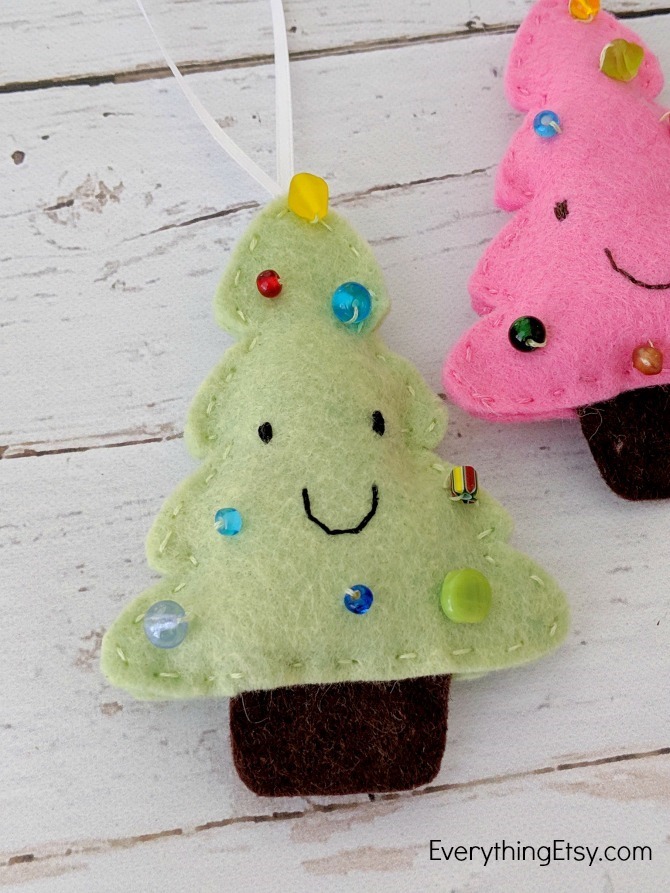
Make them in your favorite colors!
Felt Christmas Tree Ornament
Supplies needed…
– felt of any kind
– stash of tiny beads
– embroidery floss in matching colors and black
– white ribbon
– Polyfil {stuffing}
– scissors
– embroidery needle
– pattern from this post
The supplies are very inexpensive and easy to find. I used a wool blend felt for these Christmas trees, but any felt will look fabulous!
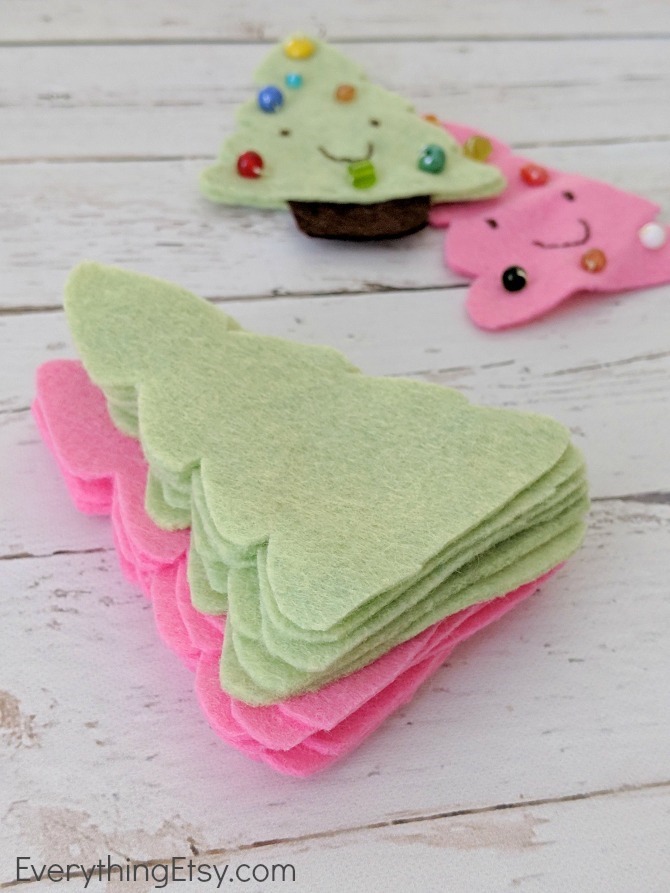
Start by downloading the pattern here…Christmas Tree Ornament Pattern.
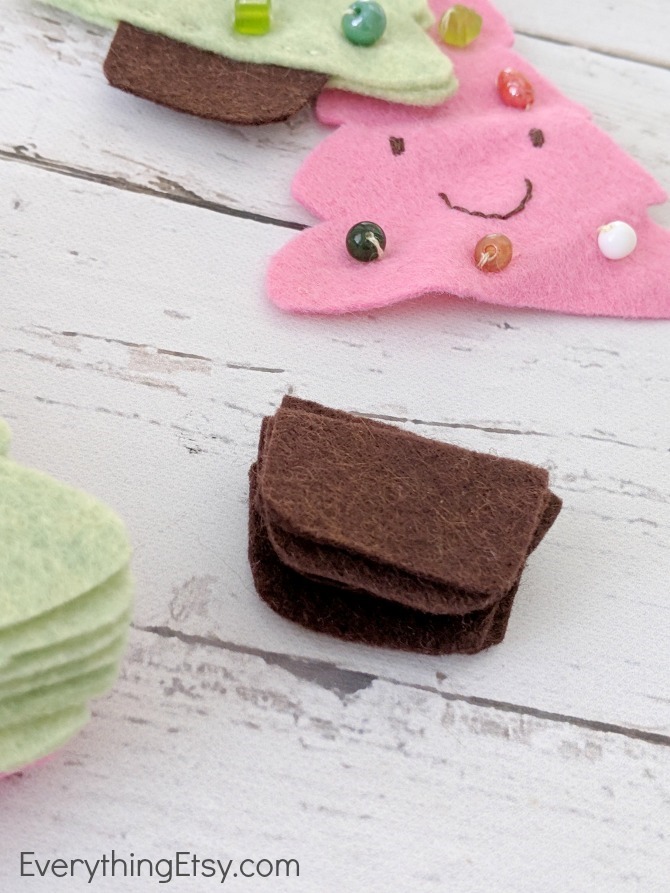
Cut out two tree pieces and one trunk for each Christmas tree.
Felt is pretty all stacked up and ready to use. I usually cut enough for 5 or 6 at a time.
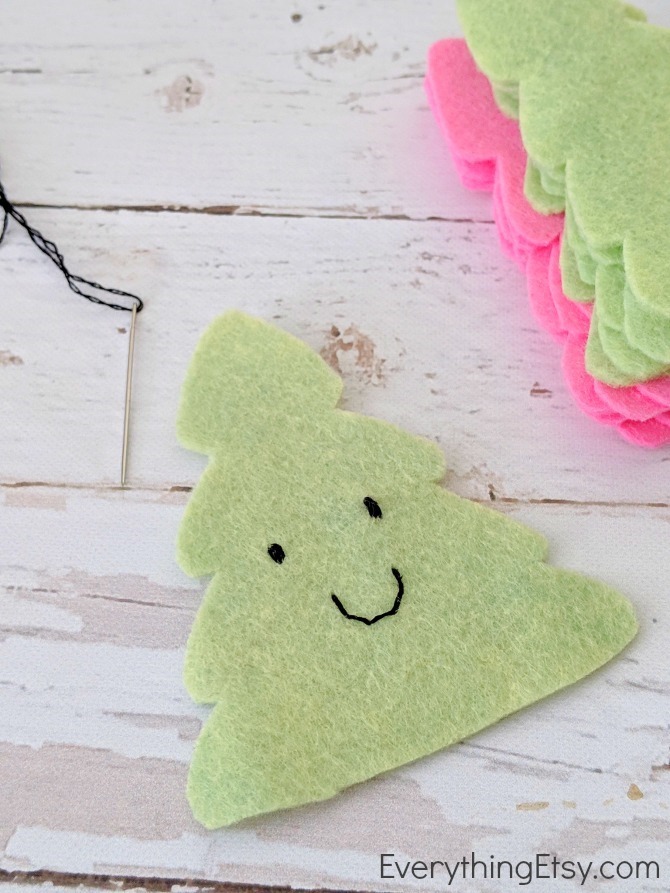
Take black embroidery floss and stitch a mouth and two eyes. There’s no wrong or right way, just make it a happy Christmas tree.
Embroidery floss has six strands, and I take 2-3 strands to stitch with when I work on details like this. It’s totally up to you, use all 6 if you wish. It will just look a little darker.
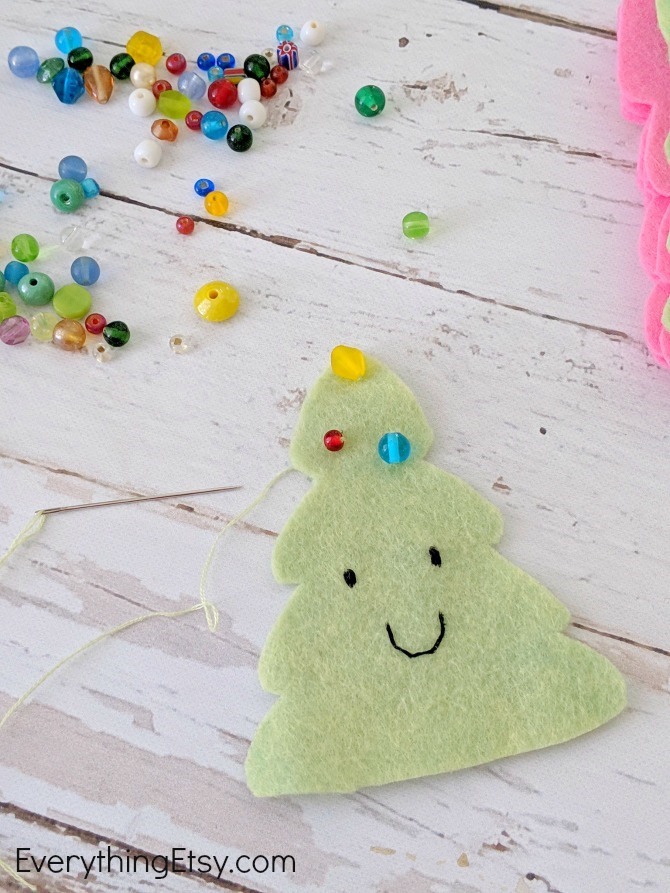
I took two strands of the light green embroidery floss and added the beads randomly around the tree.
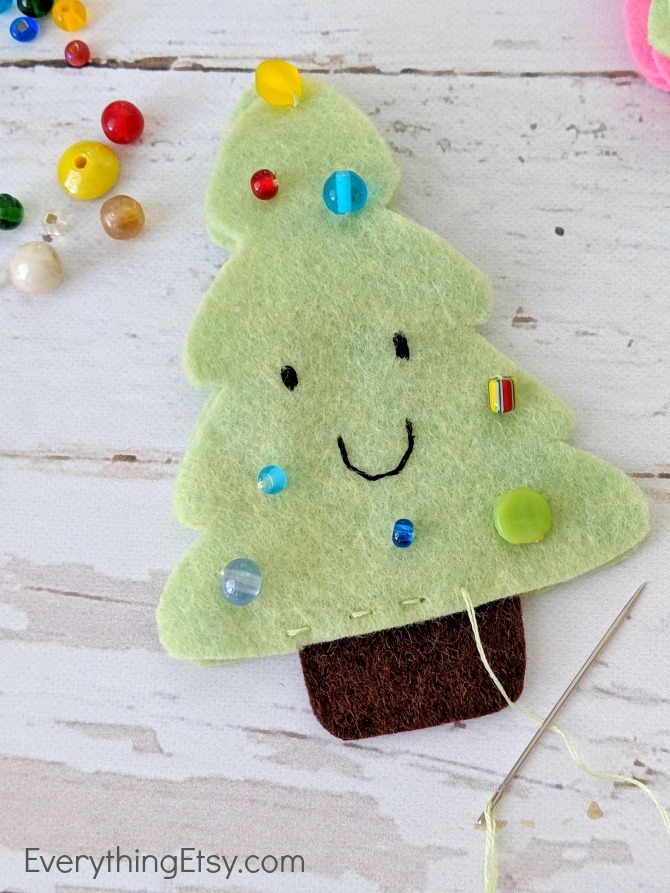
Then I sandwiched the truck between the two tree pieces and started stitching them together with a running stitch. Again, with two strands of light green embroidery floss.
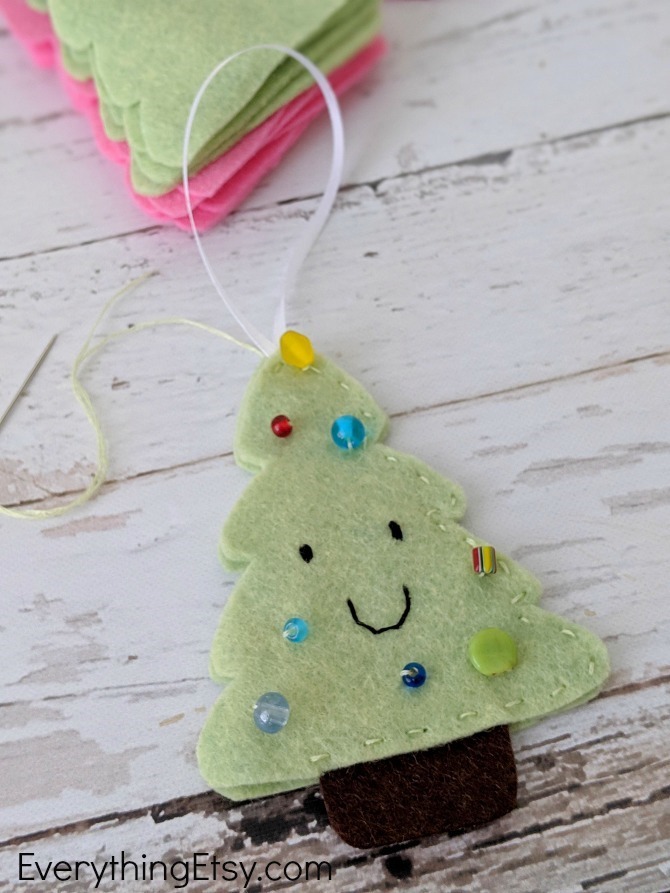
Work your way stitching around to the top. Cut and sandwich your hanging ribbon at the top. Add a couple stitches there to secure it and continue around the other side of the tree. Stop with enough room to stuff the tree.
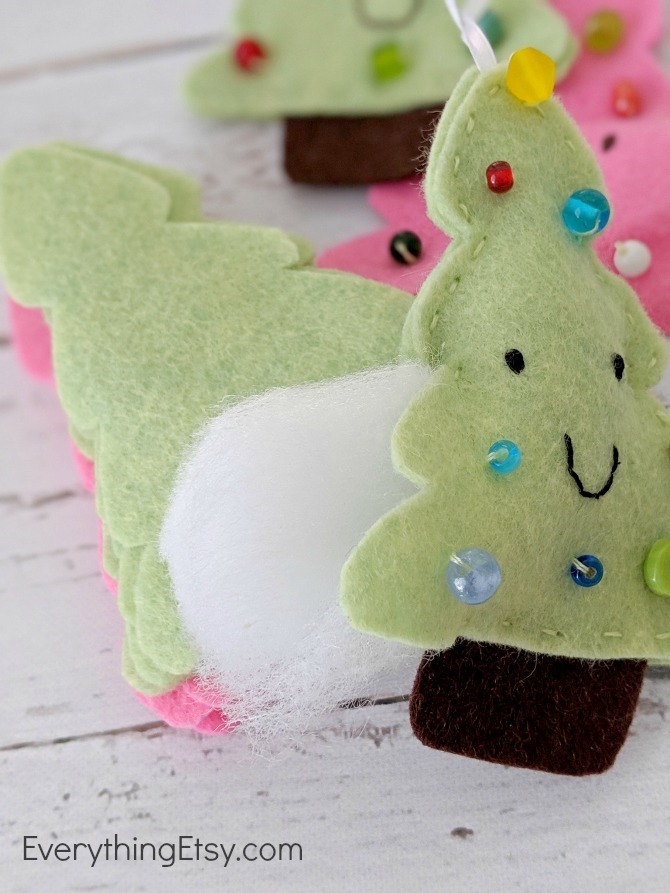
Add stuffing and gently work it around. Do not overfill it or it will look lumpy.
No one needs a lumpy Christmas tree!
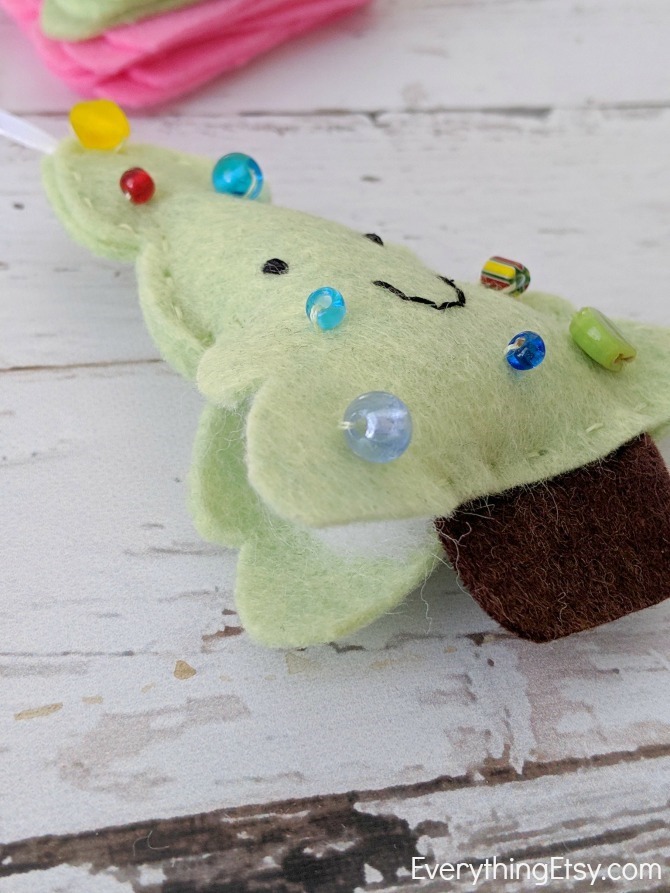
Make sure all the stuffing is clear of the opening and continue to stitch it closed.
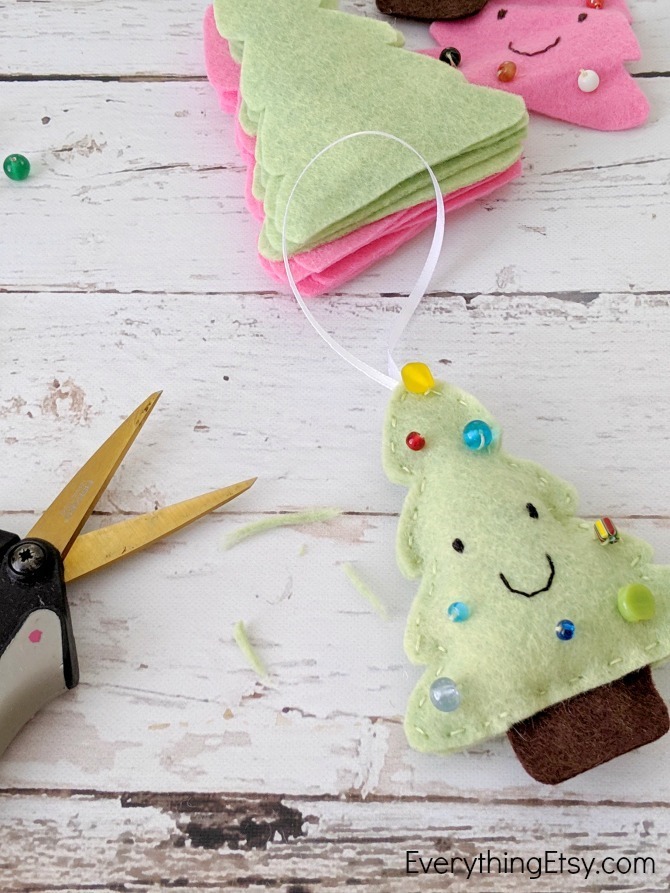
Trim it up. This make a world of difference!
It measures about 3 3/4” tall and 3” wide.
Pretty cute, right?
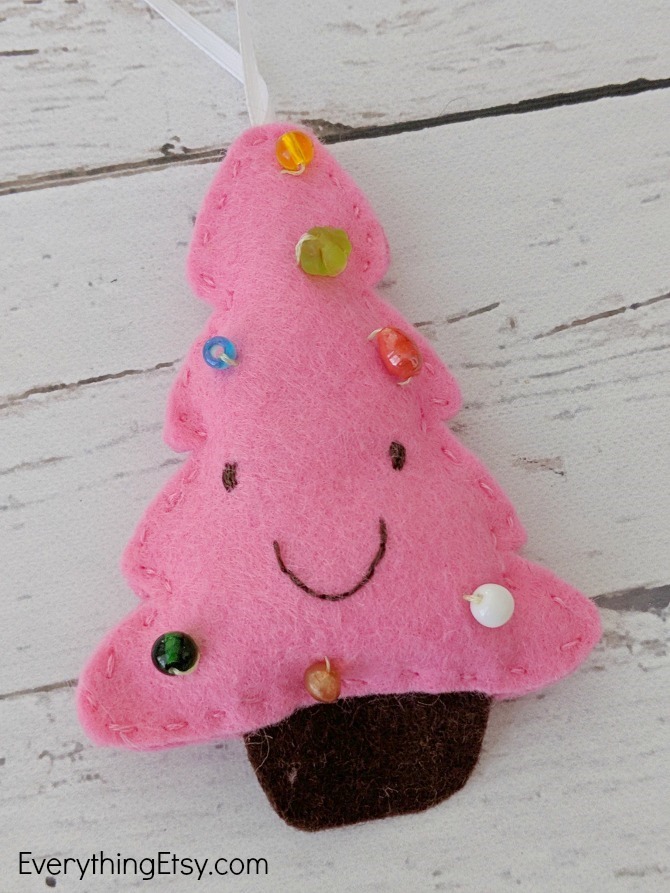
I have pink and green ones everywhere.
I did add some for sale in my Etsy shop…click right here to get your own little Christmas tree.
It’s a great time of year to start making those Christmas gifts!
There are thousands of ideas in my Tutorials Gallery. Check it out and make the holidays extra special with something handmade.
Do you have a favorite handmade gift you like to give? I’d love to hear about it in the comments!
~Kim
Lots of ideas on these 101 lists…click here for more information.

Thanks for sharing this interesting information I never expect this from you. Keep going
I always get worried about ordering from overseas stores that I don’t know. However, I was looking for a unique gift to send to my family, who I visit often, and found it on this site. The process was seamless and the gifts arrived in a timely manner. I’m so glad that I found this site! Sending Gifts to Germanyhas become a lot easier for me like never before.
These little guys are so easy to make and are a great way to show off your creative side. Whether you’re a DIY beginner or a seasoned pro, these instructions will have you up and running in no time. Neurosurgeon Calvary Adelaide
This project is easy to follow and only takes a few hours to complete. With a little creativity, you can create a unique ornament that will be sure to brighten up any tree! Design and Construct Builders Melbourne
This project is easy to follow and requires only a few supplies, so it’s perfect for beginners. You can even customize this ornament to match your unique personality. Don’t miss out on this festive trend this year! Dental Crowns Chatswood
Do you love giving gifts but hate picking out what to give? Or maybe you’ve been wanting to do something special for Christmas this year, but don’t know how? This felt Christmas tree ornament tutorial is for you! It’s easy to follow and you’ll have a beautiful ornament in no time. New Home Builders Brisbane
Do you love felt Christmas tree ornaments? If you do, then this DIY tutorial is for you! We’ll be showing you how to make a felt Christmas tree ornament in just a few easy steps. This is a great project for beginners, so be sure to give it a try! floating floorboards adelaide
If you’re looking for a quick and easy way to add a little festive cheer to your Christmas tree, you’re in luck! This felt Christmas tree ornament tutorial will have you up and running in no time. Electrician Wynnum
This project is easy to follow and can be completed in just a few hours. Whether you’re a beginner or a seasoned crafter, you’ll be able to create this adorable ornament in no time at all. So get crafty and start shopping for your supplies today! High end builders Perth
This project is simple and easy to follow, and it only takes a few minutes to create. You can customize the ornament to fit your own personal style, and you can be sure that your tree will look amazing thanks to this fun and festive addition! Electrician Double Bay
This project is simple and quick to put together, and it looks adorable hanging from your tree. electrician joondalup
This tutorial is easy to follow and will have you creating your very own felt Christmas tree ornament in no time! pre purchase building inspection newcastle
Its look colourful and great desings.Thats very interesting blog.Thank you