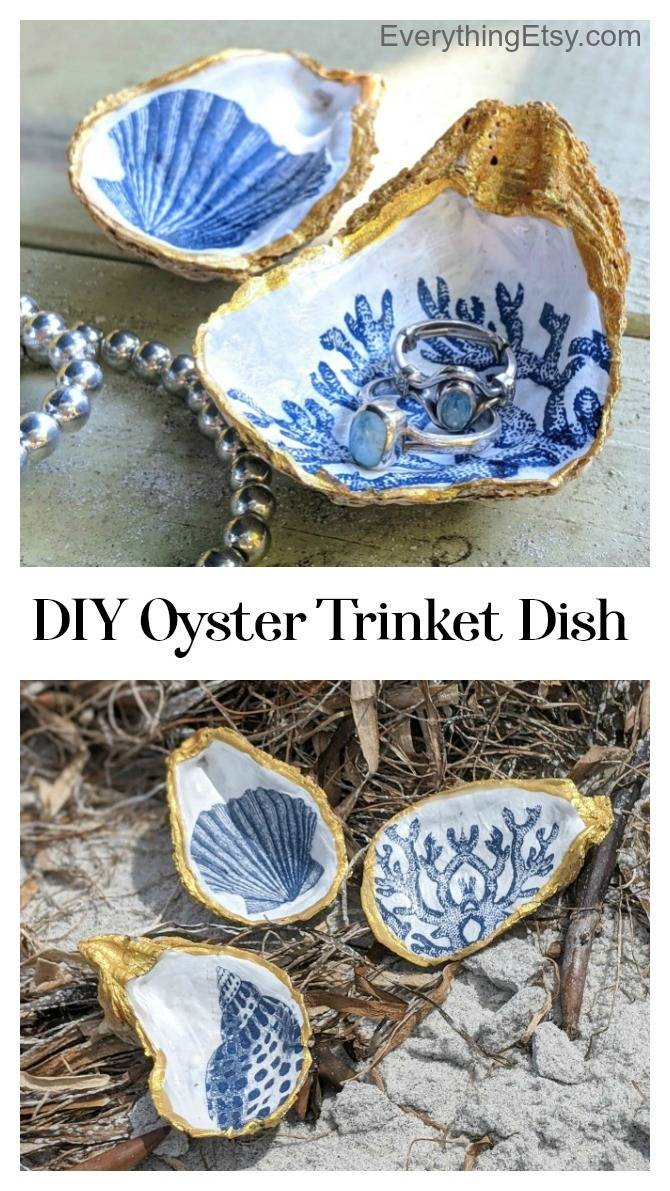
Love the beach? Love oysters? This oyster shell trinket dish tutorial is perfect for your next project. It’s such a satisfying DIY gift because they end up looking oh-so-fabulous while spending pennies for each one. That works for me!
So, this all started with a family seafood fest at Aunt Pam’s that included everything you could ever want like crab cakes, shrimp, crab dip, crab legs and oysters in various forms. I actually think there are restaurants that don’t serve up that much food in an afternoon!
I brought home a large bucket of oyster shells to DIY something beachy. Well, I washed ALL of them and let them dry on our back porch in the sun. I’ve had them sitting around for months while I gathered up lots of creative oyster ideas. This is the first of many oyster projects since I have soooo many! In hindsight a small bag might have been a better option…ha!
Well here’s a creative way to use a dozen or so oysters.
DIY Gift – Oyster Shell Trinket Dish Tutorial
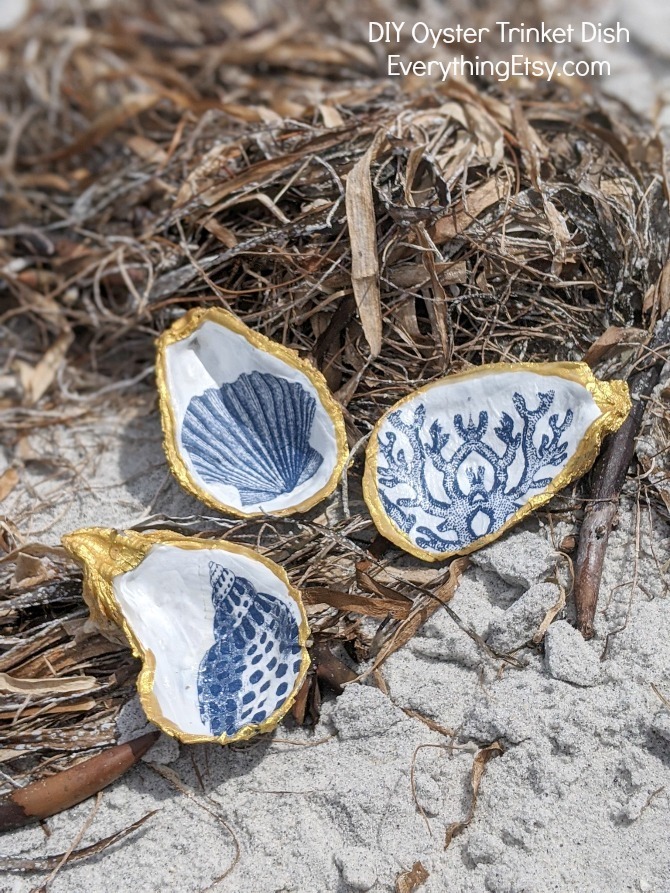
These oyster trinket dishes can easily be made in a couple hours. Most of that time is spent waiting for paint or Mod Podge to dry.
Kids might like to try a variation of this on a beach vacation, or you can make them for a crafty afternoon with your friends. {Maybe with wine?}
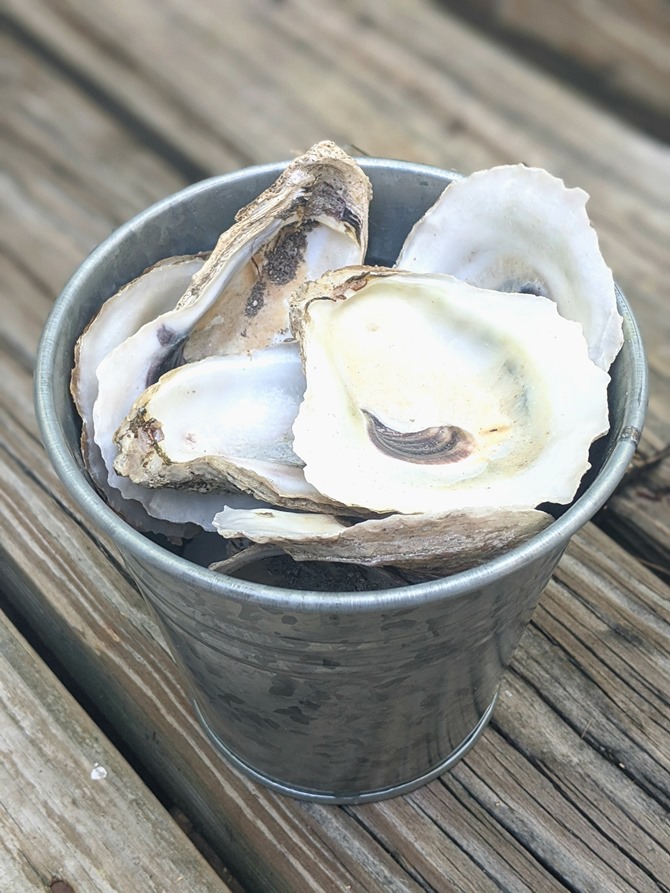
To get started you’ll want to have clean and dry oysters. I usually wash them in a bucket of water with a touch of bleach. Then I leave them outside in the sun for at least a day or two to make sure they no longer smell…just saying.
You’ll also need white acrylic paint, Mod Podge matte finish, Gold Metallic DecoArt paint, decorative napkins with a white background, scissors and paint brushes.
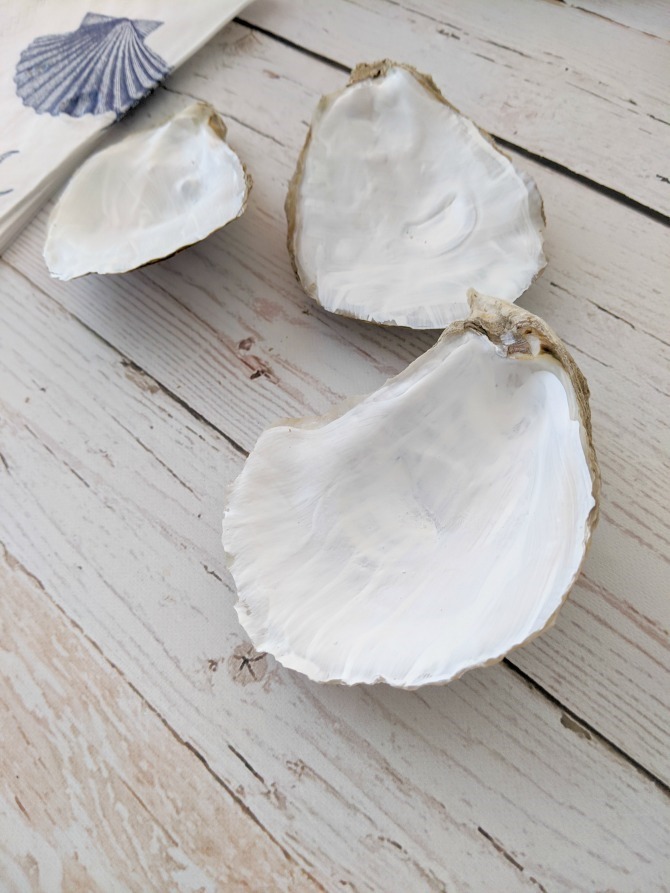
Paint the inside with a coat of white acrylic paint. Let it dry and paint it with a second coat…or not. It’s up to you.
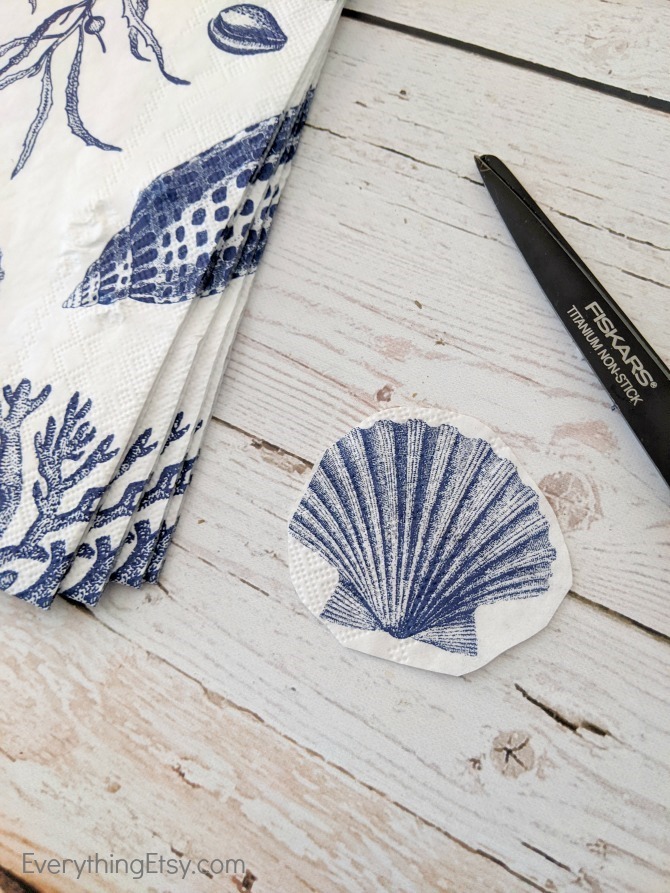
Cut out the image you want to add to your oyster. You can trim close to it, but it doesn’t need to be perfect.
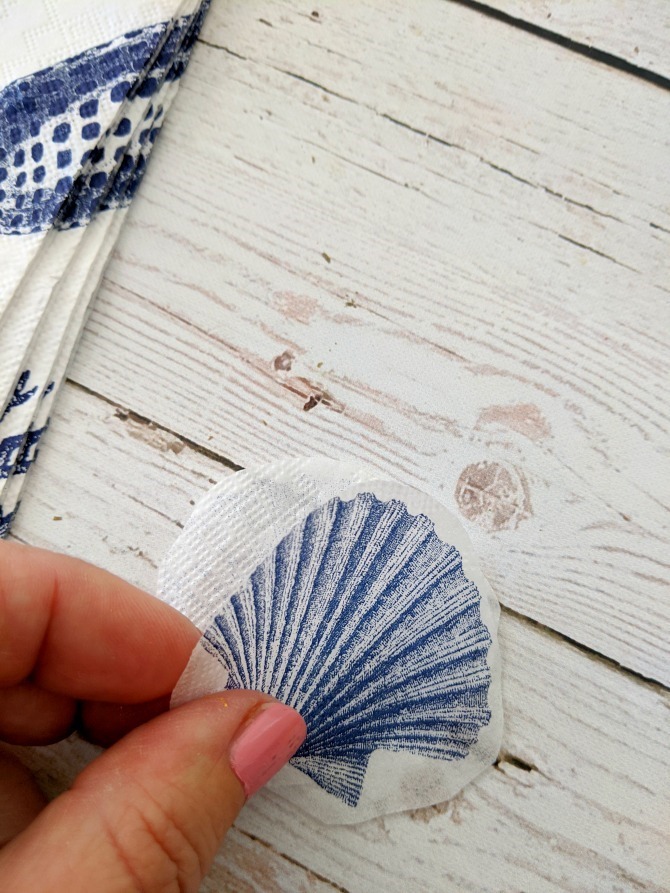
Peel away the top layer of the napkin to use.
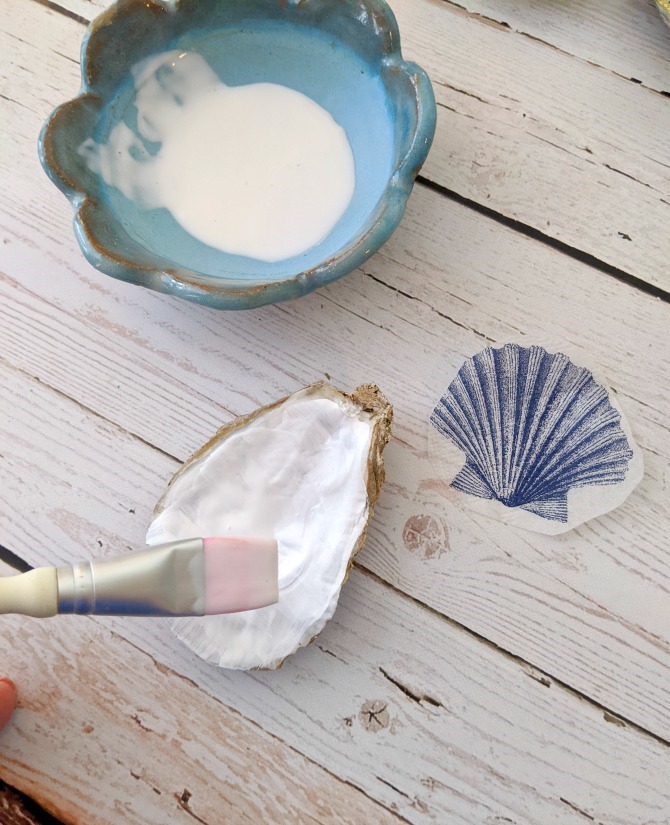
Add a thin layer of Mod Podge to the oyster.
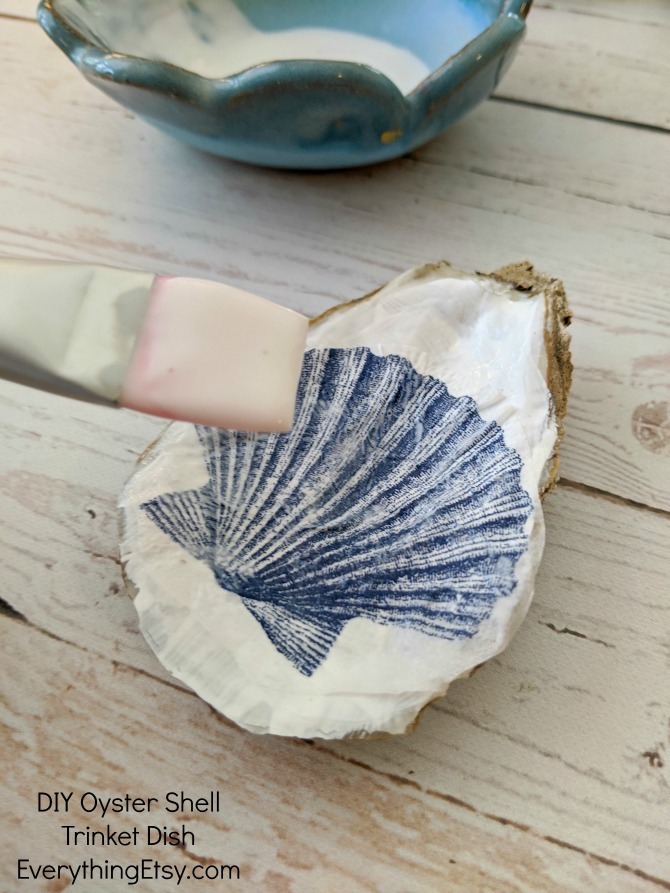
Gently place the napkin image on the oyster and pat it down.
Very gently add a thin layer of Mod Podge over the whole image.
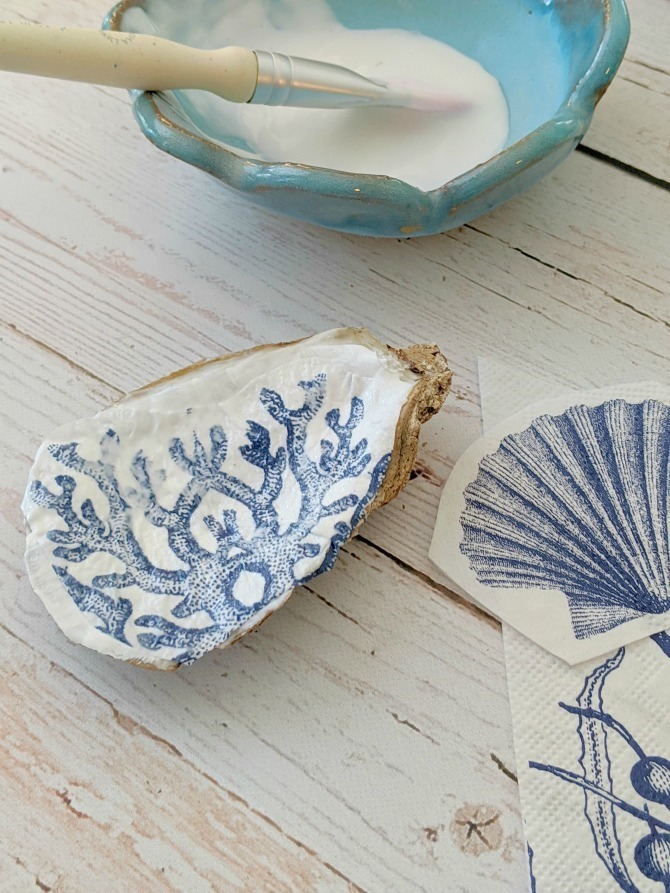
Let it dry and add a second coat of Mod Podge.
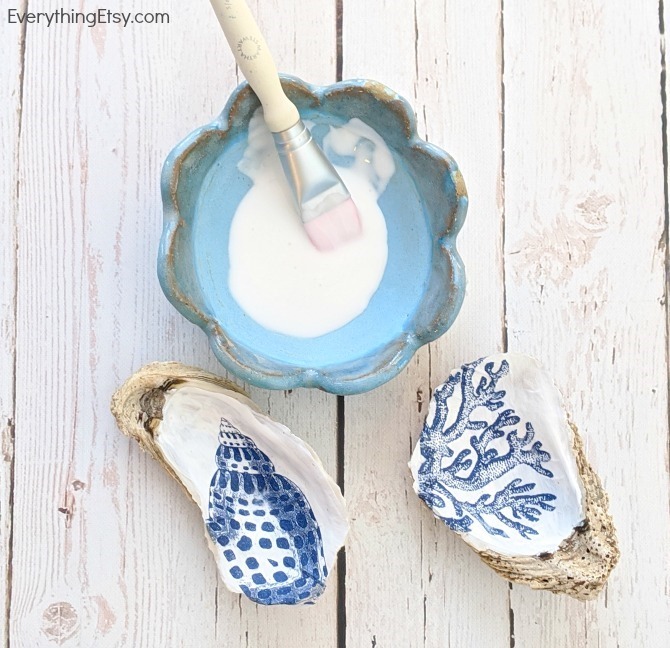
Let it dry completely.
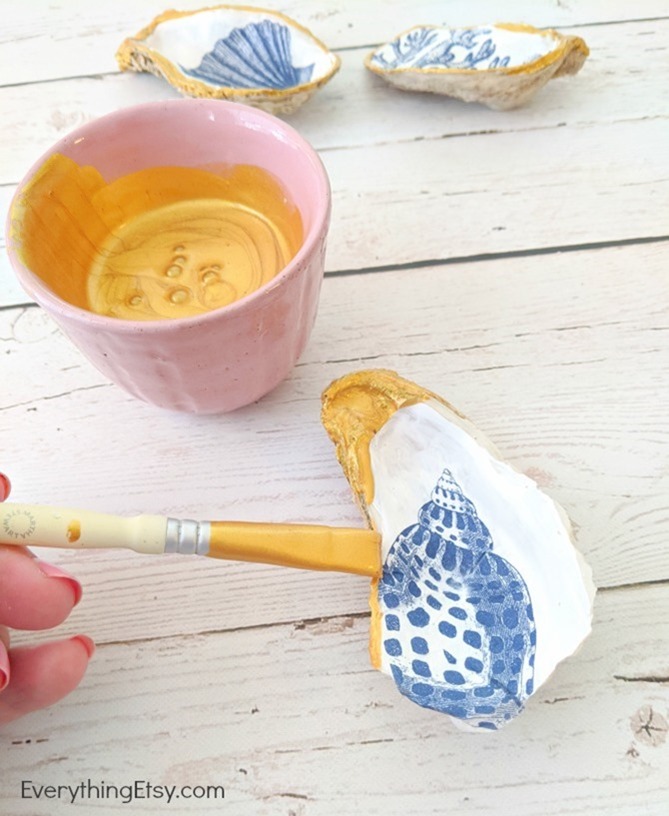
Paint the edge of the whole oyster with gold metallic paint. Let it dry.
I did add a light coat of clear semi-gloss spray paint, but that is completely optional.
Let it dry and you are all set!
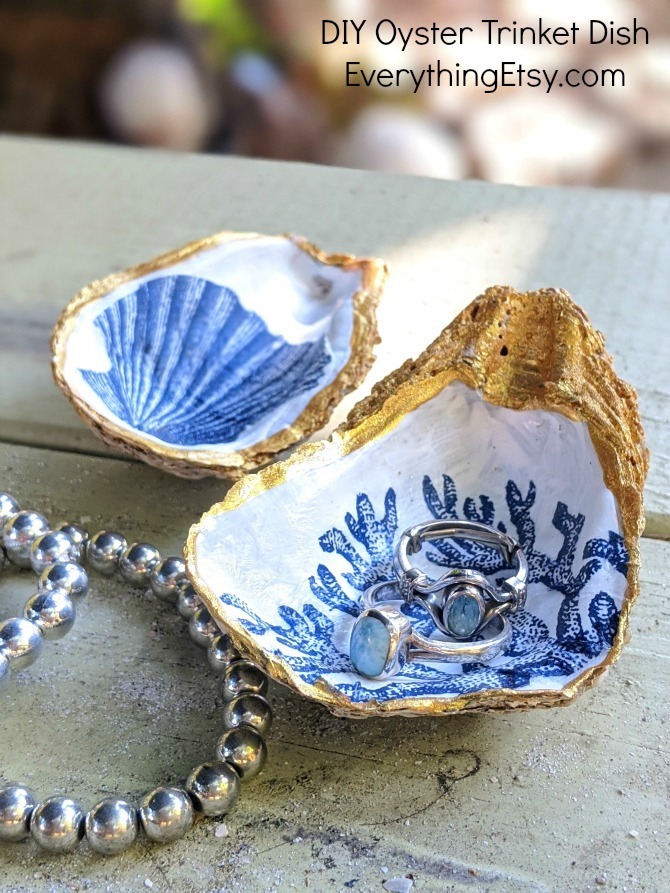
They are the perfect DIY gifts!
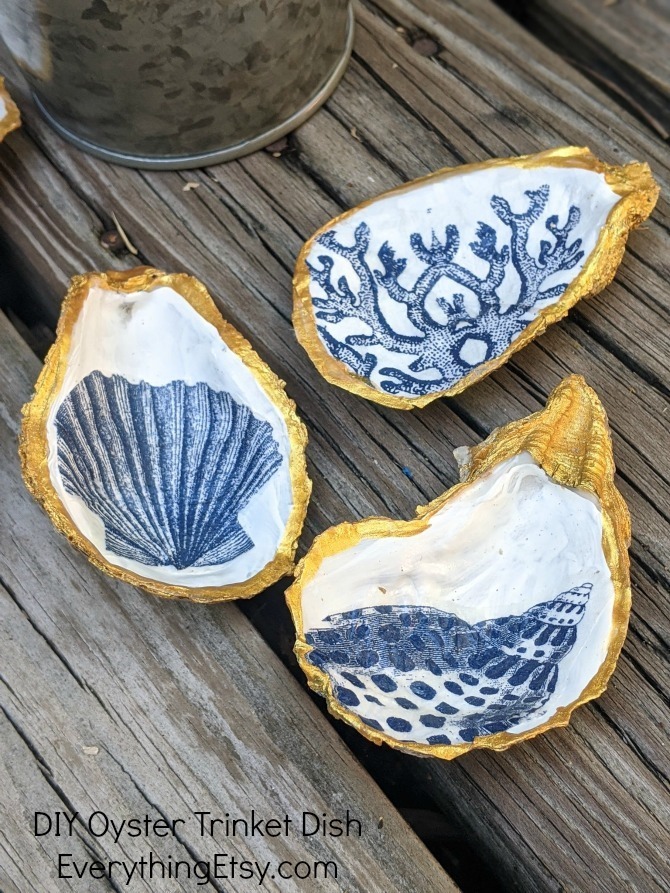
What do you think?
Here are links to some of the exact supplies I used. They’re Amazon links to make life a little easier to know what I ordered. {affiliate links} Plus, I love getting cool, crafty supplies delivered…It’s like a present…ha!
Have fun with this! Make a bunch and share them with your friends! Visit our tutorials gallery for tons of easy handmade gift ideas!
~Kim
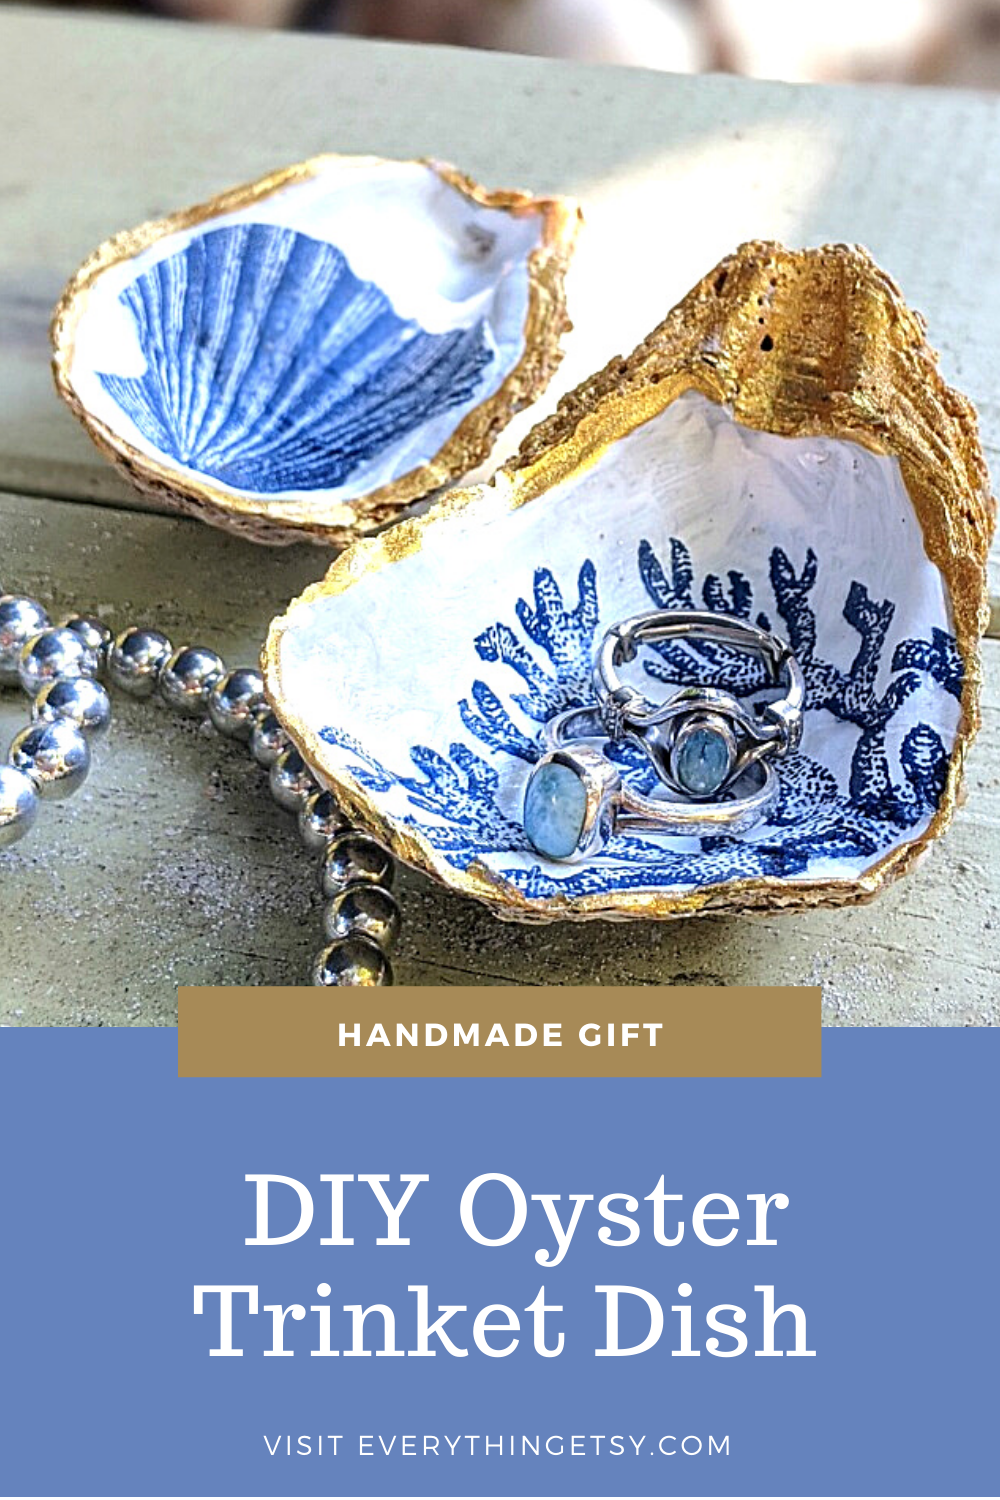
This is so pretty, Kim! I love the combination of blue and white. Have a happy new year!
Thanks so much, Erica!
~Kim