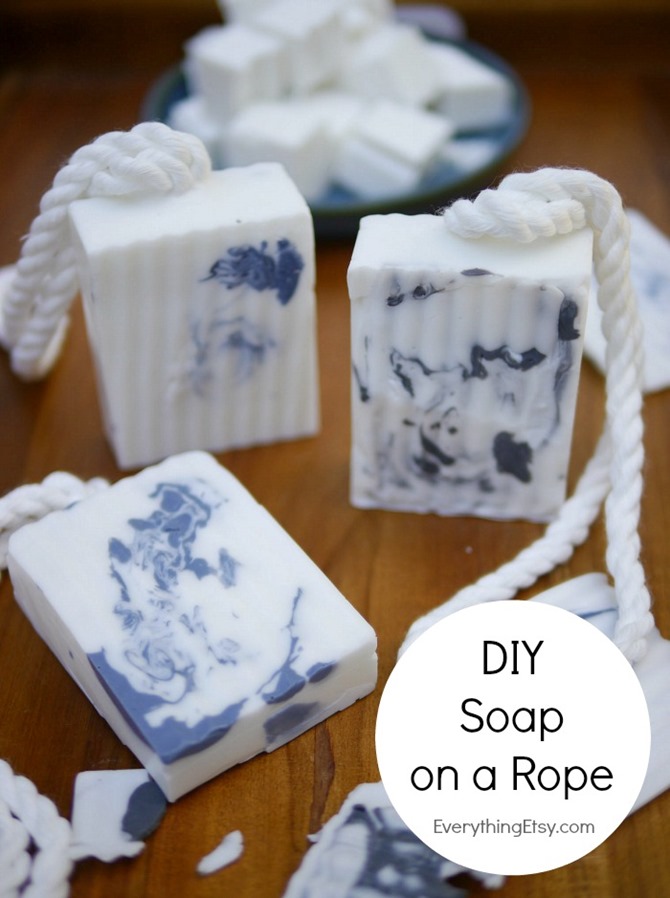
Need a handmade gift for men? Well, this DIY Soap on a Rope will make your day! It’s easy, smells amazing, and they make great gifts!
I was a kid in the 70’s when Old Spice Soap on a Rope was a popular gift. So, this is kinda like that with a twist…or a swirl.
I’ve used my favorite doTERRA Essential Oils in these, and you’ll realize right away that this isn’t your daddy’s soap on a rope…ha!
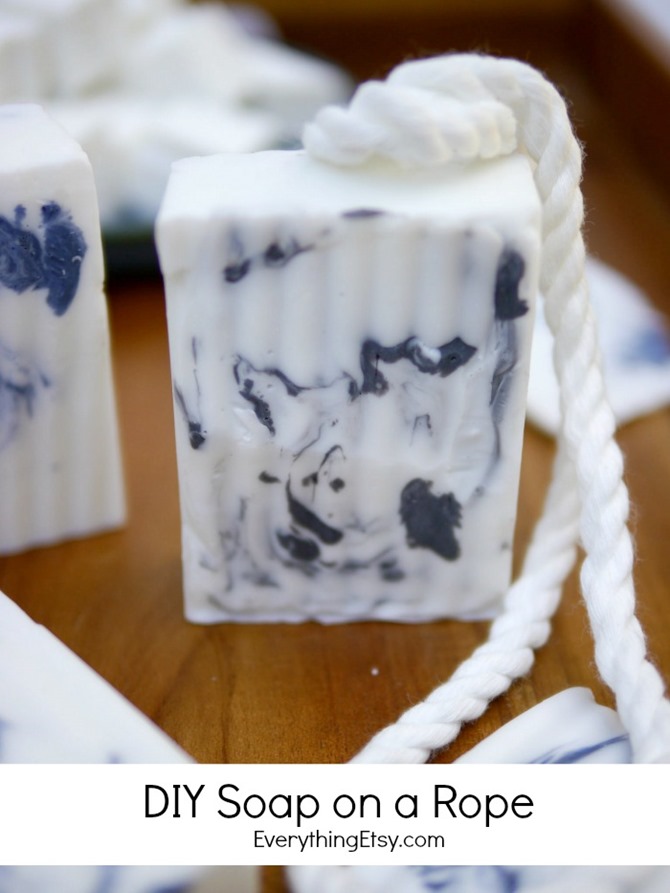
This is an easy melt and pour soap project, but when you add the groves it looks like a fantastic cold pressed soap that took weeks to cure.
I used basic supplies from the craft store {well, my Amazon craft store}. You can easily make a bunch of these in no time at all.
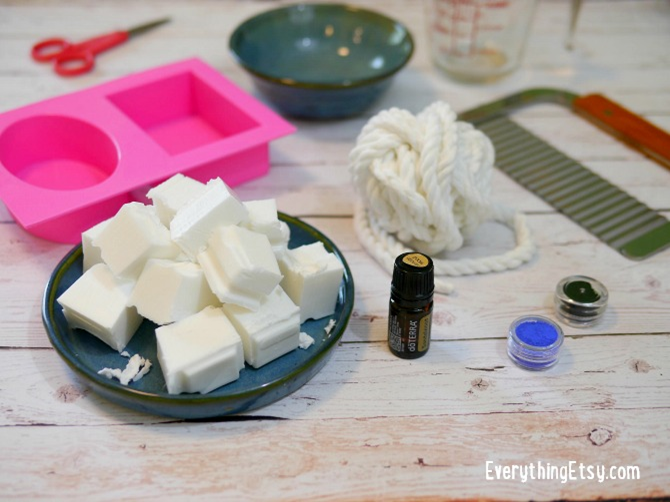
Supplies I used –
- 8 inches of 17mm/ .28 inch Rope
- 1 1/2 cup Shea Butter Melt and Pour Soap
- Chunky Soap Silicone Mold
- Colored Mica Powder Dye {blue and black}
- 3-4 drops Sandalwood doTERRA Essential Oil
- Wavy Soap Cutting Tool
- Glass Measuring Cup
- Scissors
- Spoon
I’ve listed links about to some of the supplies on Amazon. {I will make a tiny bit from any purchases you make but it will not cost you more. Thanks for your support!}
I love getting my supplies delivered right to my door. I hate running around to stores only to find out they don’t carry what I’m looking for…argh! It ruins my creativity!
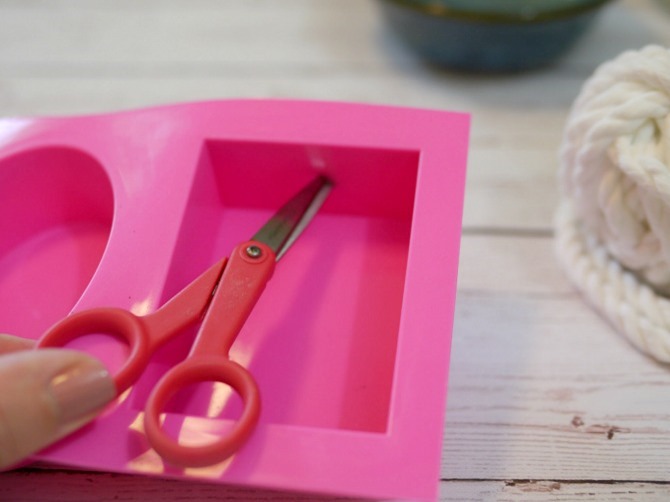
I’m using this awesome chunky soap mold so I can easily add the rope in the center without worrying about it showing through to the front or back of the soap. It also gives me room to shave off a bit and create the cool grooves on each side.
The first step is to cut a tiny hole in the top, center of your mold like you see in the image above. The smaller the better.
Just so you know…you can reuse this mold later for regular soap. If the hole is small enough the silicone mold holds you melted soap in place perfectly when you gently pour it. Cool beans, right?!
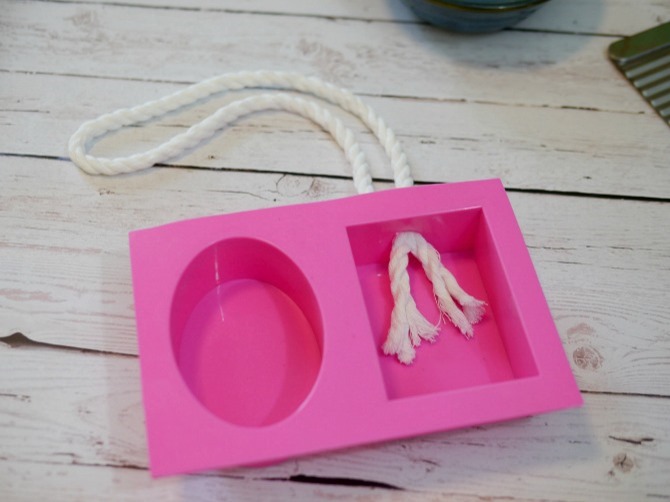
Fold your rope in half and push it through the hole from the inside of your mold.
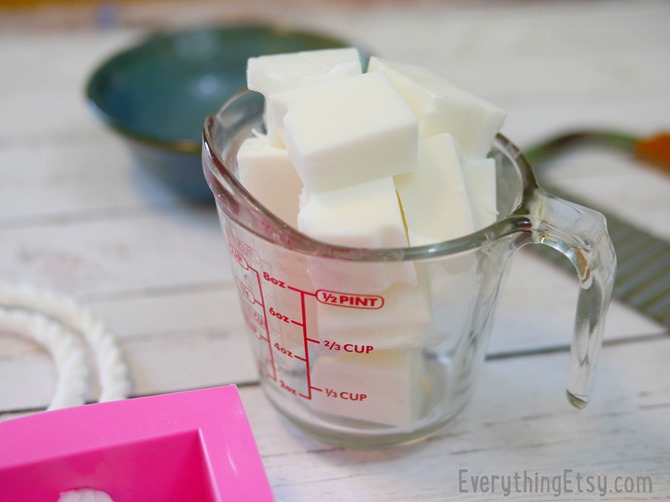
Cut the soap into chunks. Add them to a glass container. I like to use measuring cups because it makes it easier to pour. I used just over a cup of soap.
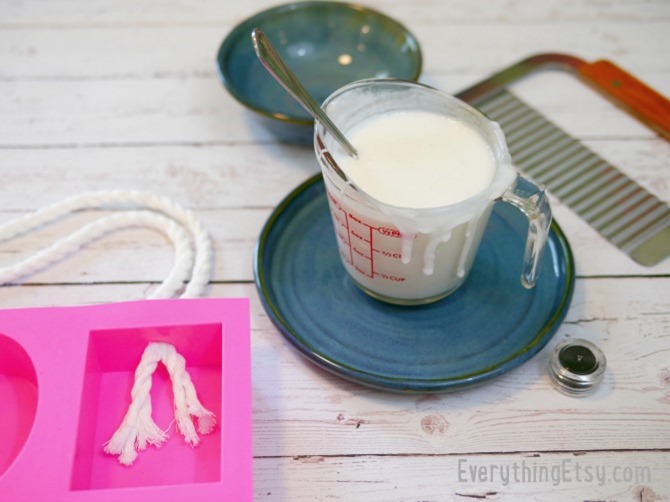
Melt the soap on high in the microwave for 30 seconds. Stir. Melt for 30 seconds more. Stir and stir. Melt for 20-30 seconds and then stir. Make sure you have no clumps left.
You can heat it for another 20-30 seconds if you need to, but it’s best to heat the soap as little as possible. It can boil and make a huge mess. So, sometime you can stir a bit longer and any remaining small clumps will melt.
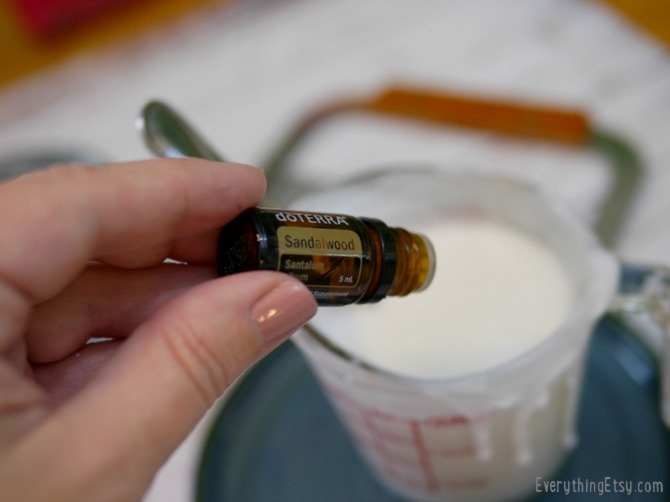
Add essential oil. I used doTERRA Sandalwood Essential Oil. Your home will smell so, so good while you’re making this soap!
Sandalwood is very beneficial to the skin; it can help reduce the appearance of skin imperfections and it promotes a healthy, smooth complexion. Sandalwood has a sweet, woody aroma that can enhance mood and is frequently used in meditation for its grounding effects.
If you have any questions about this or other essential oils just email me at Kim@EverythingEtsy.com.
You can purchase it at a wholesale price through my site {become a wholesale member} right here.
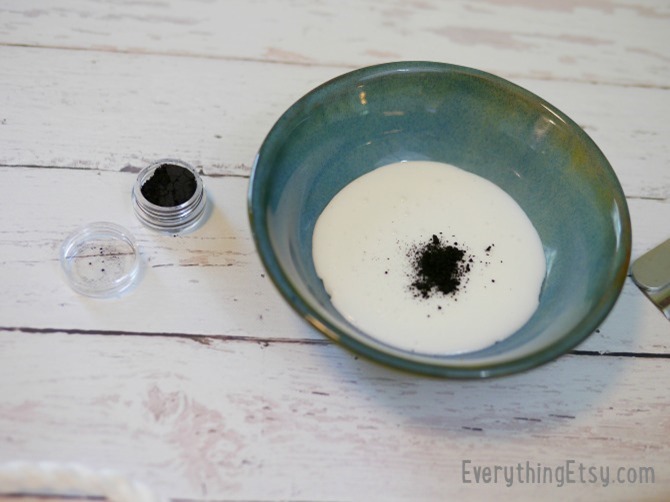
Pour a small amount of soap into another bowl and mix in colored mica powder. Use as much as you need to create the color you want. Start with an sprinkle and add from there. A little goes a long way!
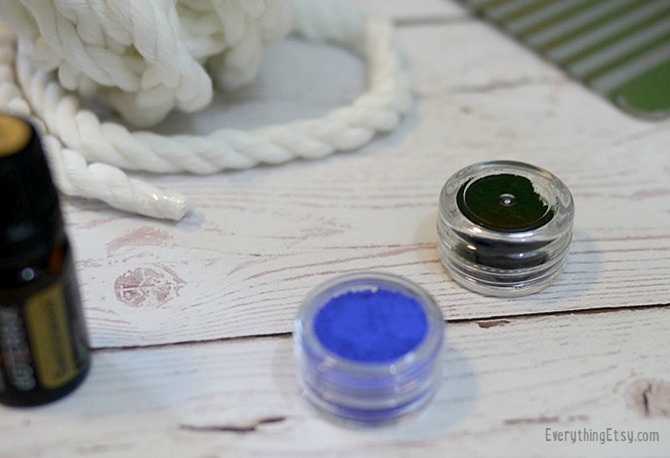
I use this mica powder for soap and other projects when I want intense color. I’ve found that it works better for me than soap dye in liquid form for bright colors, black, or blue. Stir it until it has an even color.
Never use regular food coloring! It will not blend and it will ruin your soap.
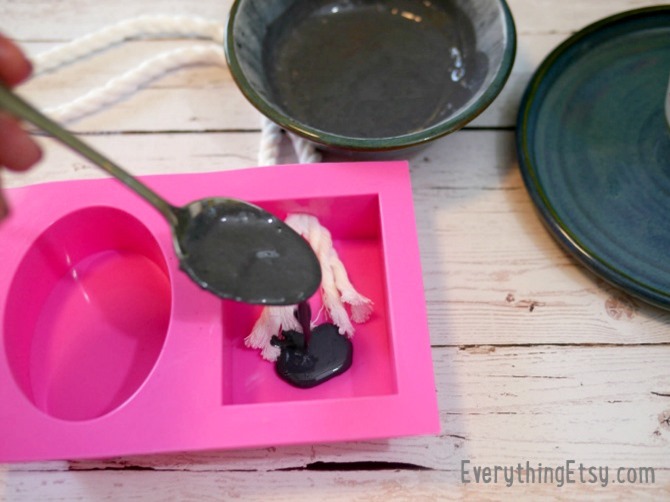
I started by taking a spoonful of colored soap and drizzling it around the bottom of the mold.
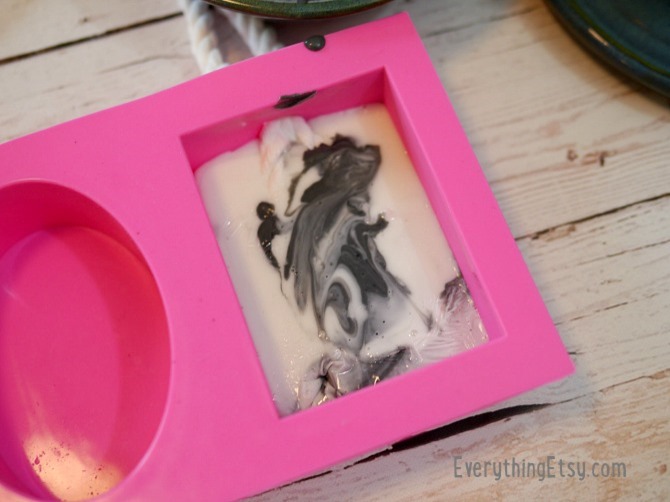
Then I slowly poured in the while soap to fill about half of the mold.
Add more colored soap drizzled on top of that. You can use you spoon to slightly swirl the colored soap {gentle, gentle}.
Alternate white and colored soap until the mold is very full.
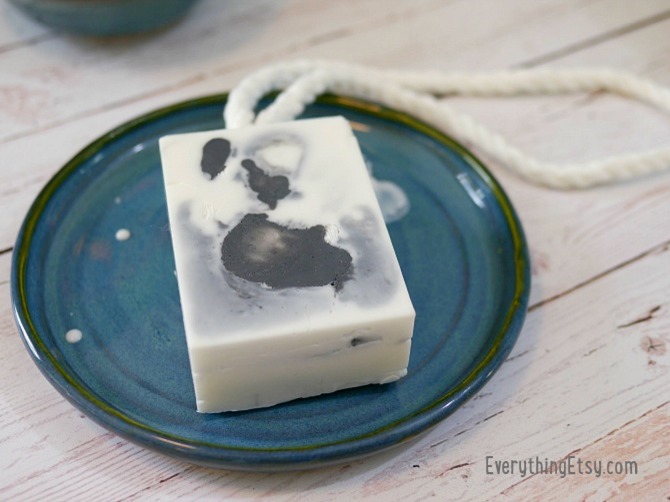
Let it set. It can take a couple hours. Patience! It might set sooner but you wouldn’t want to mess it up by trying to remove from the mold too soon.
When it is dry you can pop it out of the mold easily. It will look like the photo above.
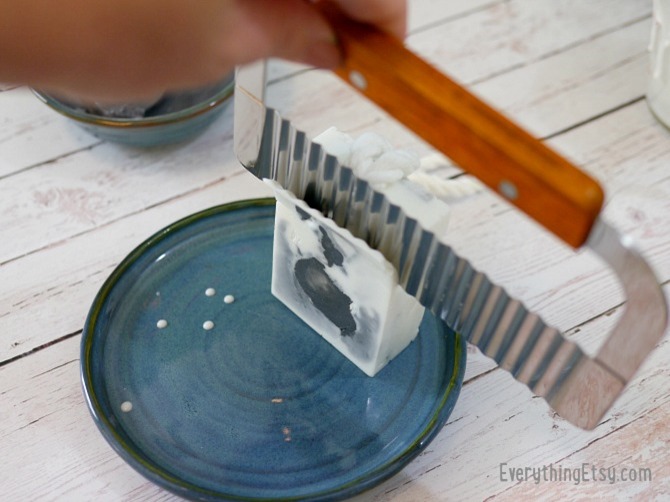
This is where the magic happens!
Take you wavy metal soap slicer and try to evenly slice off a thin layer of soap on each side. It can be a bit tricky at first, so just don’t try to slice too thin of a layer. If you do, just repeat until it looks great. It should have a handmade rustic look. Perfection isn’t the goal!
I found that it was best to look down at your soap as you cut.
Side note – The wavy metal slicer is one of my all-time favorite craft supplies!
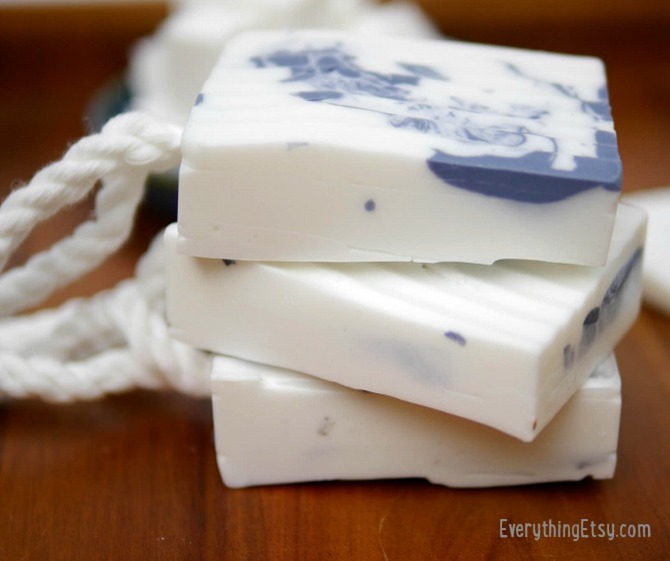
Don’t they look amazing? These are super chunky and made to last awhile.
Have you made any handmade soap lately? I’d love to hear about them. I’m always looking for new soap ideas.
I just finished writing a new book full of soap projects! It will be out in a few months…exciting!
Are you looking for a few more creative soap projects? I’m sure you’ll find a new favorite here…
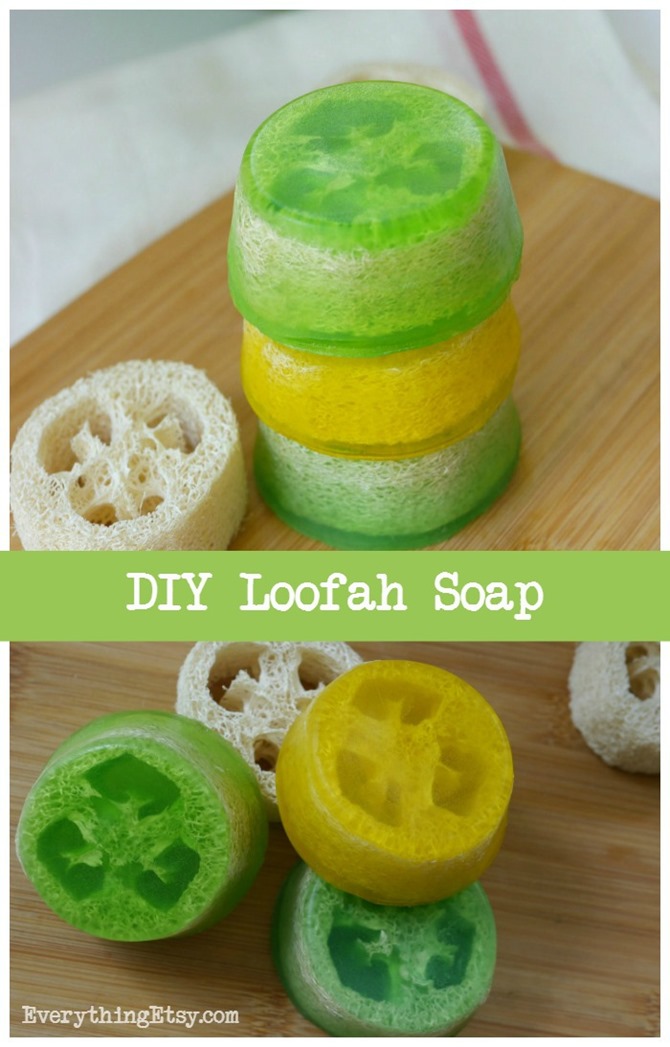
DIY Loofah Sponge Tutorial
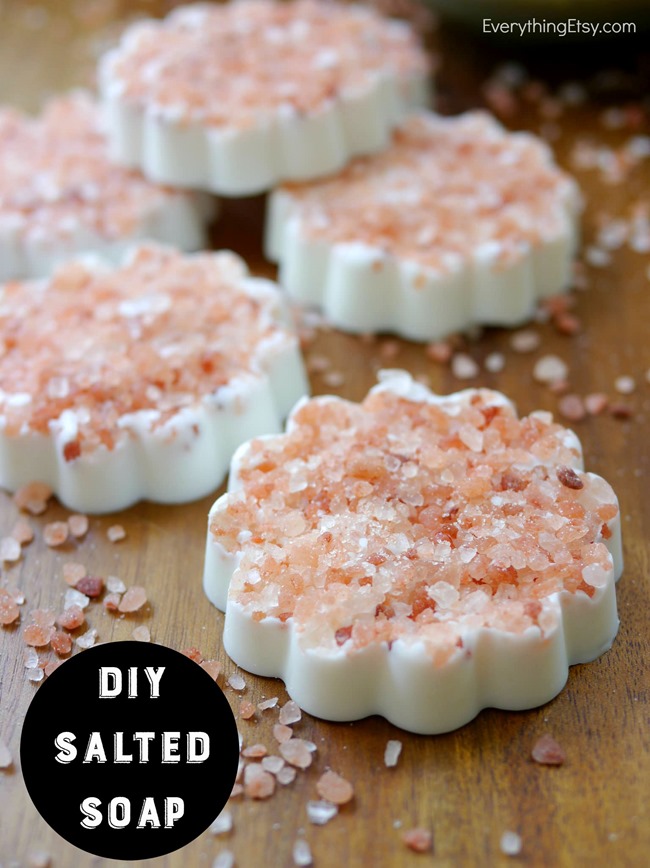
DIY Salted Soap Tutorial
Look for more soap tutorials and other DIY gift ideas in our Tutorials Gallery!
Have fun!
~Kim
Are you interested in learning more about essential oils? They really are amazing!
I’ve been selling essential oils for a few years now and have used them for over 5 years…so, please email me any questions you might have! I’d love to help you out! Kim@EverythingEtsy.com
You can join with a wholesale membership to save 25% and more! There are no required orders or sales! Read more about this month’s specials in this post about doTERRA Essential Oils.
I have read your full post! You shared a great post with us. How to make soap at home. Thank you for sharing this project. It looks adorable great for gifts.
Really Amazing idea. these are really useful.All of these ideas are just amazing!Thanks for sharing!
I remember soap on a rope from way back when, too! Great tutorial, makes me want to make my kitchen smell like exotic essential oils!
Thank you for sharing this Soap on a Rope project. I also purchased 2 of the molds that you included with the recipe. Thanks again.
Hi Dee!
Thanks for stopping by and for letting me know you’re going to try it! I feel like there are a million ways to work this projects, so please let me know if you try a different blend. Have fun…and thanks for using the Amazon links. 🙂
~Kim
This is AMAZING! I am just about ready to retire and was looking for a fun new adventure for the winter months when I am not gardening. You convinced me. I just bought the products and am excited to start!