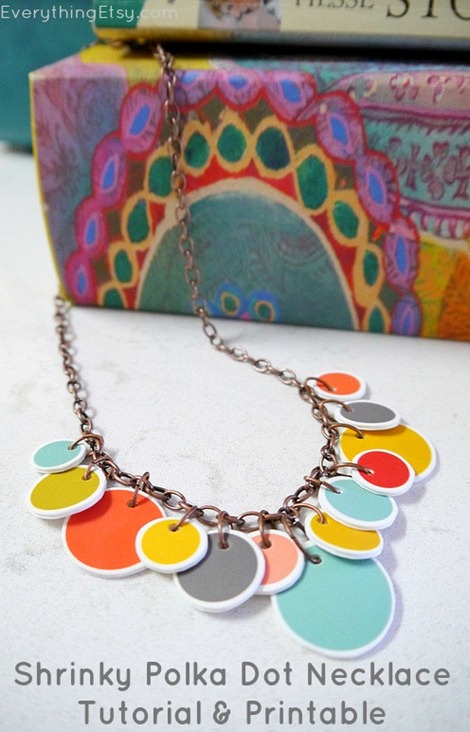
Wow…check out what you can do with the same shrinky plastic that you played with as a child. Helloooo, this isn’t exactly what would expect when you recall those shrinky dink memories, is it?? I always ended up with little crooked animals and not-so colorful flowers, but I do remember it being fun…and it’s still a blast, trust me!
I love, love, love how my Shrinky Polka Dot Necklace turned out!
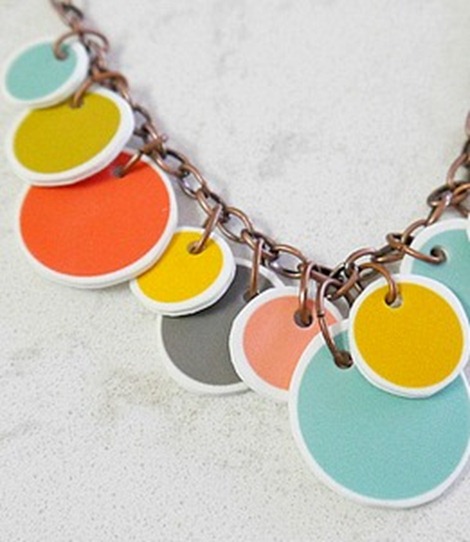
Have you made any shrinky jewelry lately? You might want to give it a try this summer. It’s the perfect afternoon project for any age.

We have weeks of summer tutorials, printables, giveaways and a brand new Crafty Girl Linky Party each Friday! Check back daily to find creative ideas for a fabulous summer!
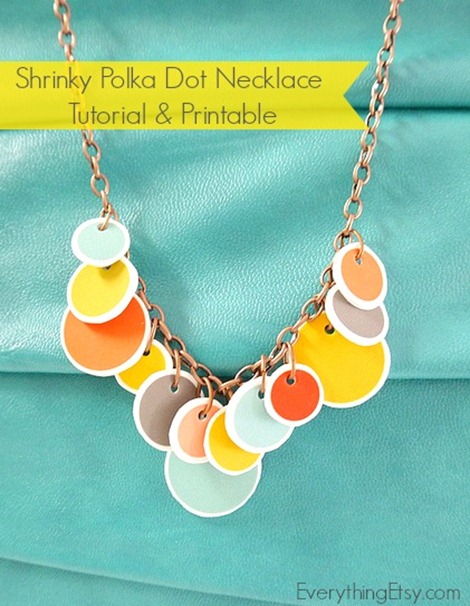
This necklace would look amazing with so many outfits and no one will believe you when you tell them you made it for just a few dollars…and that the charms are Shrinky Plastic!
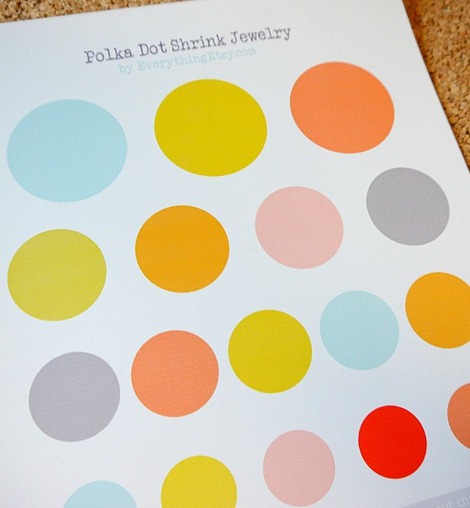
We created a printable just for this Shrinky Polka Dot Necklace. Print it out and you’re on your way to making beautiful jewelry. I’m thinking you need earrings to match, don’t you think? Get creative with these fun little dots!
You can download it right here.
Make sure you use the highest quality printer setting for the best results.
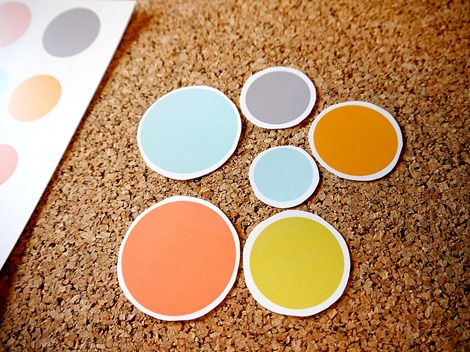
Cut around each circle leaving a good bit of white. You won’t be able to cut it perfectly, but don’t worry. This stuff is very forgiving when it shrinks. These are fun and funky and the circles won’t shrink in an even manner anyway.
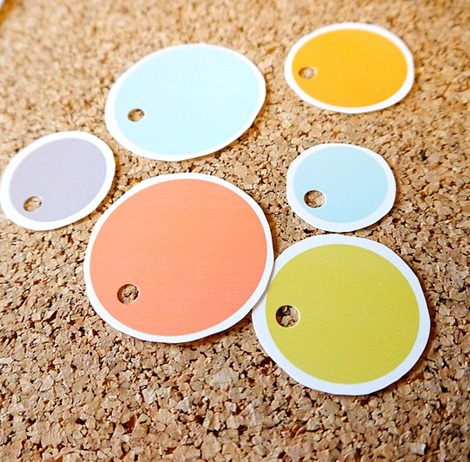
Use a hole punch on each circle so you can connect your jewelry findings.
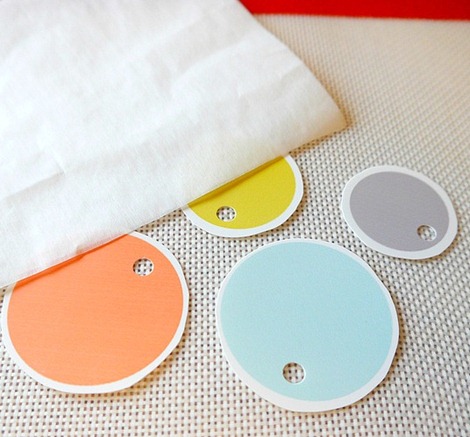
Preheat the oven to 300 degrees.
Lay them out on a baking sheet. I used an awesome non-stick liner and covered them with a couple sheets of parchment paper. It worked perfectly. I didn’t have any sticking and they all turned out flat.
Bake for 2-5 minutes.
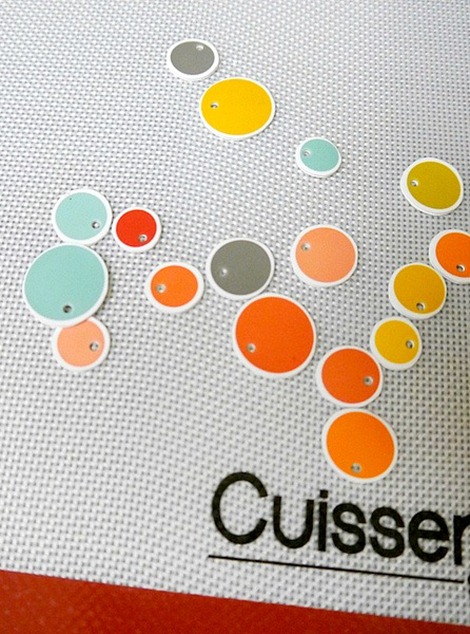
You will see them curl a bit and then flatten out when they’re finished shrinking.
They shrink! How cool is that!?!
Remove them from the oven. If they aren’t perfectly flat you can press down on them with a spatula while they’re still hot.
You can use any pre-made necklace and matching findings from your local craft store. I attached the first large circle to the bottom and worked my way up the sides. You can skip every other link on the chain like I did or spread them out even more.
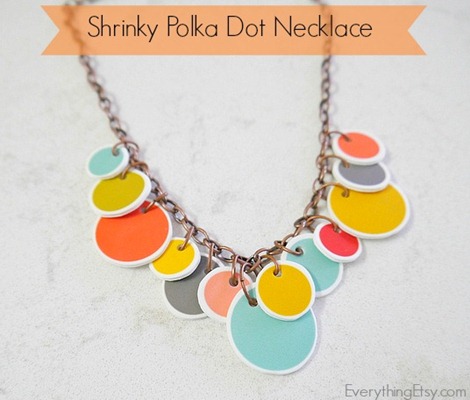
This won’t be the last shrinky plastic project you’ll see around here. It was so easy and I was seriously impressed with the results.
To make shopping for this tutorial a bit easier I’m including links to some of the products I used…
And don’t forget your free Polka Dot Necklace Printable!
Have you made any shrinky jewelry lately?
~Kim
Keep up with the latest Summer Splash tutorials, printables and all-around cool, crafty stuff by following me on Pinterest, Facebook,Twitter,Google+ and subscribing to Everything Etsy with the email subscription box below!
Join us on Fridays for our Crafty Girl Link Party with your latest creation!
This is so darling and unique. . . I would never have guessed you made it from Shrinky Dinks! Too cool!
So cute and easy too! Love the colors.
My daughter loves this! Definitely going to make!
How cute! I love how they turned out. Gotta bust out my Shrinky Dinks now 🙂
So fun! This is a very creative use of shrinky dinks. Thanks for sharing!
Haven’t worked with shrink dinks for years….Now inspired.
Thank you for all patterns and tutorials.
So pretty, thank you!
I think polka dots must be coming back into fashion ever since the Duchess of Cambridge was seen wearing a polka dot dress when she left the hospital after the birth of Prince George!
Will share on my blog!
Cute necklace! Want to try it soon!
Thanks for sharing your thoughts about crown knot instructions.
Regards
Feel free to visit my blog post: ハンドバッグ 専門店 ルイ ヴィトン
looking good
nice post