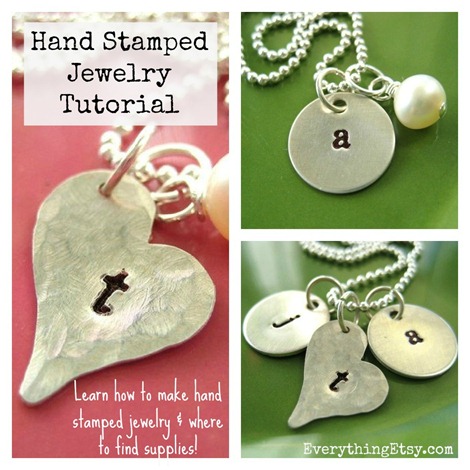
Hand Stamped Initial Necklace {DIY Gift}
Learn how to make your own hand stamped jewelry and create amazing gifts for any occasion. It’s the perfect DIY gift for yourself {ha!}, Mother’s Day, new moms, graduation gifts, birthdays, Christmas and any other holiday Hallmark can think up!
I wear one of these necklaces almost every day and I get so many compliments! I’ve been selling them on Etsy for a few years, and I thought I’d share how I make them with you!
I’ll also give you some tips and information on buying supplies that should save you a ton of time and money getting started.
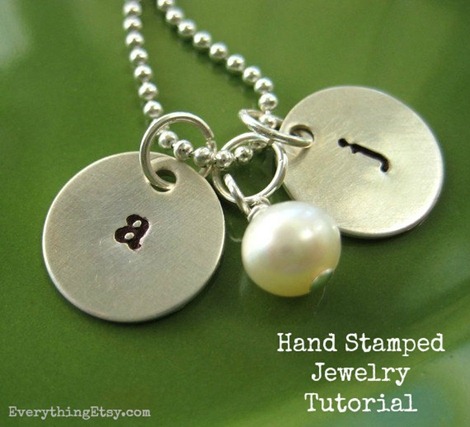
Here’s an example of a “Mother’s Necklace” that’s always been a popular gift. You can add as many charms as you would like, or just have one initial charm for your name.
This is the kind of gift that’s cherished forever!
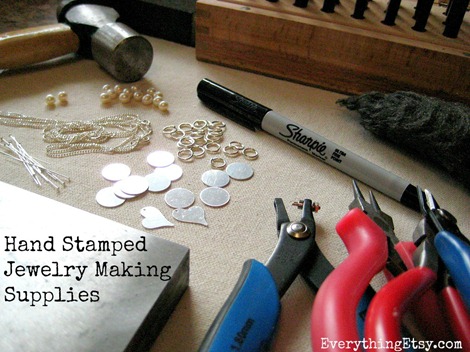
Here’s a peek at my supplies…
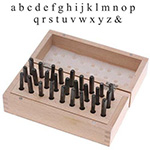
- Letter stamp set
- Hammer
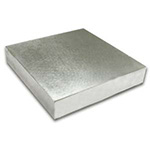
- Steel bench block
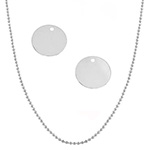
- Sterling silver ball chain necklaces
- Sterling silver blanks {hearts and circles}
- Open Jump Rings
- Sterling Silver Head Pins – 2 in.
- Freshwater pearls
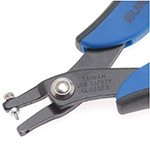
- Metal hole punch pliers
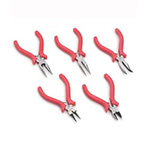
- Round tip pliers
- Wire cutters
- Long-nose pliers
- Sharpie marker
- Steel Wool
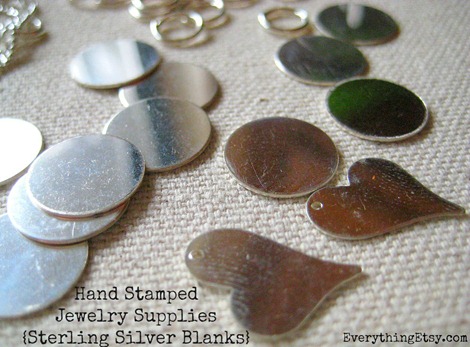
I usually work with sterling silver blanks, but it’s best to practice on less expensive metal until you get the feel for stamping with the right pressure. Trust me…you will be sad if you mess up a silver charm.
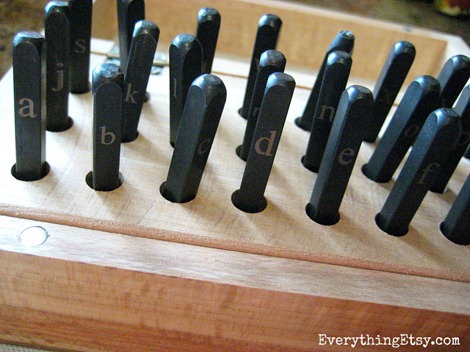
These are my favorite letters…they’re a lowercase typewriter font. You can find a million different fonts, but I think this one is really easy to read when stamping.
Here’s how I make a hand stamped necklace…{with lots of step-by-step photos}
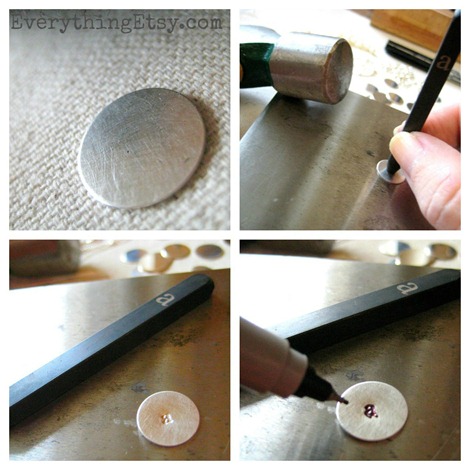
I start with my sterling silver circle blank and rough it up a bit with the steel wool. Of course this step is optional. If you prefer a shiny blank, just skip this step!
Wipe any dust off of the blank and place it flat on the steel bench block. You can secure the edge of it with a piece of tape if you like…it’s up to you.
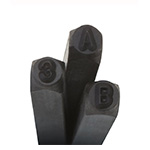
Make sure you are holding your stamp with the letter facing you {the one written on the stamp}.
Center it and hold the stamp straight up and down so it stamps evenly.
Take your hammer and give it a good whack!
I’ve read about using more than one hit, but I only use one. You can’t be afraid to really hit it! This is where practicing with another metal will help you to know how hard and what angle works best for you and your stamps. Keep in mind that some metals are softer, so you will need to adjust to that a bit. {It’s really not as hard as I’m making it sound…lol!}
Take a Fine Black Sharpie and fill in your letter. You don’t have to be perfect, but make sure you really get the ink down in the grooves.
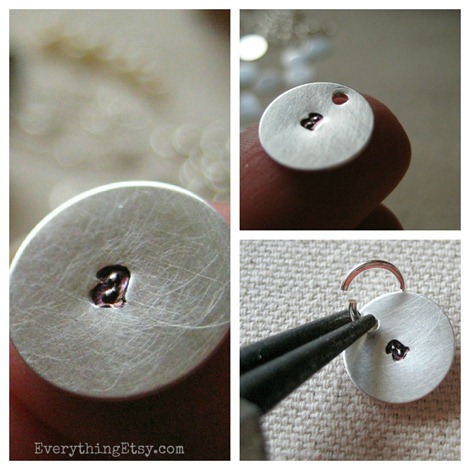
Let it dry a bit and the use your steel wool to lightly rub the charm until you only have ink down in the grooves of the letter. You can touch it up a bit and repeat this step if you need to. Then I use a little jewelry polish cloth to brighten it up a bit.
Punch a hole at the top using your hole punch pliers.
Attach your sterling silver open jump ring.
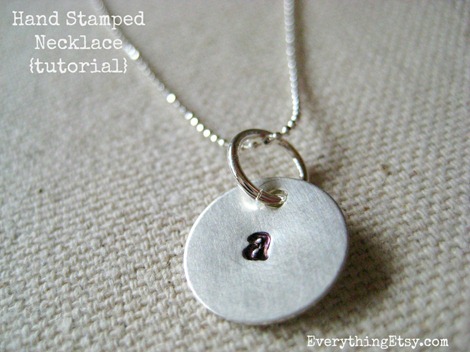
Slide it on your sterling silver necklace and stop right there if you want! It’ sweet and simple!
You can go on to make a pearl charm…
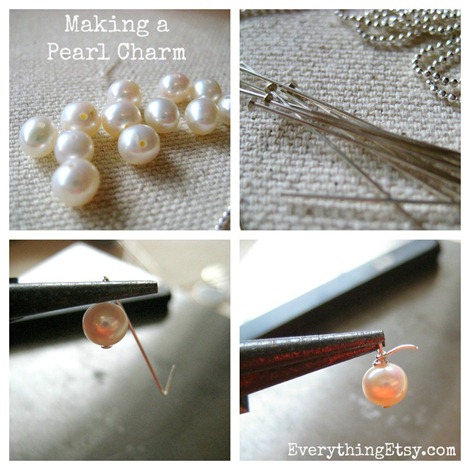
I use freshwater pearls that I buy from a local jewelry shop. They sell them by the strand, so I like to really check them out to find a size that I like. You can go really big or little with these!
I start with a 2 inch sterling silver head pin and make a loop around the tip of my round pliers.
While holding it right there I take my long nose pliers and start to wrap the head pin around to the top of the pearl. I usually make 2-3 loops and cut the remaining off with the wire cutters.
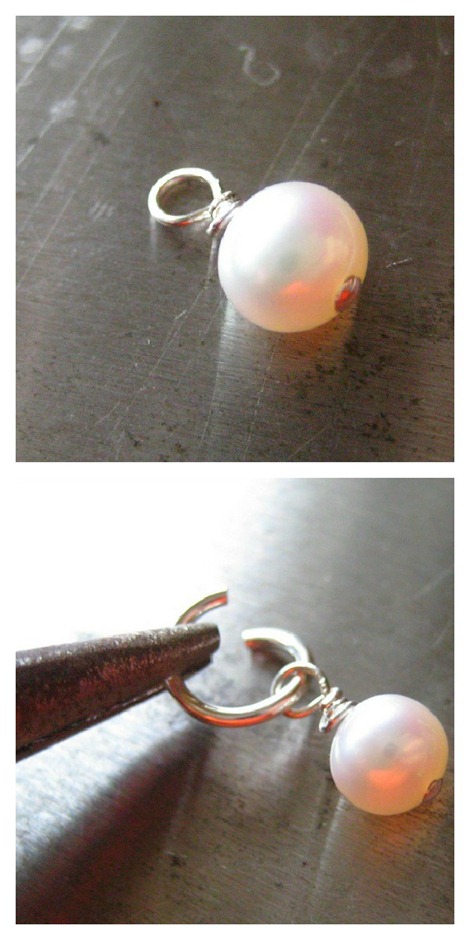
Add the sterling silver jump ring and you have a pearl charm! That was easy wasn’t it?!
You could also mix it up a bit by using any bead or crystals for birthstones.
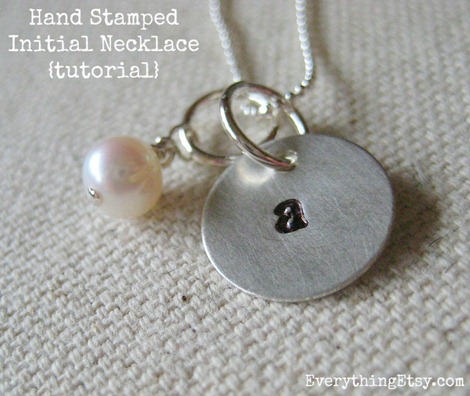
There you go! That’s all you need to do to make your own fabulous hand stamped jewelry at the fraction of the cost.
Once you start stamping you will want to make everything with a stamp…lol!
You can purchase large blanks for key chains, guitar picks and so much more! Think of all the gifts you can make!!
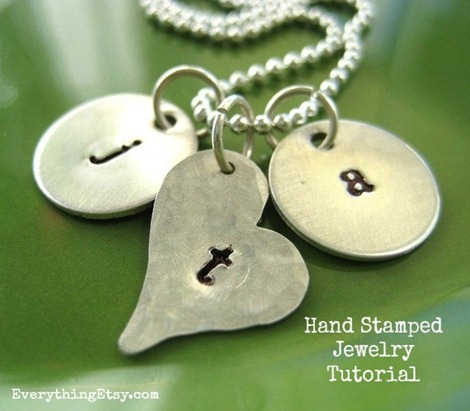
You can use any type of metal charm, so have fun with it!
If you love hand stamped jewelry and just want to buy a necklace or two…just visit my Handmade and Craft shop on Etsy. You will find these and other designs in my Hand Stamped Jewelry Section.
Please leave any of your questions in the comments!
~Kim
I’ve listed some of the supplies available on Amazon to make your shopping easier… {I seriously love the Prime shipping!}
A few other sources you might enjoy…
Dreamland Jewelry – Silver chains
Art Beads – Open jump rings – all sizes – 6mm-8mm and head pins
Beaducation – Metal Stamping Blanks
Looks like its from a store, love it. Will be using this tutorial.
Thanks so much, Virginia! If you have any questions at all when you try it, just email me!
~Kim
I would love to try this! Thank you for the tutorial!
Great tutorial! I can’t wait to try this – you make it look easy – we’ll see! Thanks!
Great tutorial! Thanks for the links to the supplies you use. I can’t wait to give this a try!
Marie – You’re welcome! I’ve always found it to be such a time consuming task to find the best suppliers for a project. I’ll be adding suppliers to posts more often. 🙂
Have fun!
~Kim
Love this tutorial!! I’ve been trying to find something that gave step by step directions and this is perfect…and you give links for the materials. Perfect! Thank you so much :0)
I really like the look of your stamps! And thanks for the great tutorial.
Thanks so much for the great tutorial. I am especially greteful for the supplies list with links. Figuring out good from inferior supplies when starting out can overwhelm me & so I don’t bother. Don’t have $ to waste on things that don’t work. Thanks again!
Hi Barbara! Thanks for stopping by and I’m happy you can use the tutorial. I know what you mean about supplies so I try to list the supplier when I can. Craft time is valuable!
Have fun!
~Kim
Thanks for the tutorial. I have been practicing my stamping and have made a couple of necklaces for my daughters. I made one with the washer and middle disc and one with two stacked discs. I would love to start selling but don’t know how to show examples. The etsy sites I see have so many options to choose from, but that would be very expensive to make all those different necklaces just to show perspective buyers. Do you have a solution? Thanks
Hi Mary Anne! Since I’ve sold hand stamped jewelry on Etsy…and still sell some, I can tell you it’s hard to work around not having examples of each product you offer. Shoppers really want to see what they are getting and multiple photos of each new product works best. I suggest just starting with a few simple designs and when they sell a few times you can invest in a couple new products. If you slowly grow your shop it might make spending that money less painful. It does usually take spending some to make some, right? Good luck!
Thanks for stopping by!
~Kim
Hey! This is so great for a DIY gift for Holidays! Just wondering what size those stamps are! I was looking on Amazon and they have 1/16 inches, 5/32 inches, etc. Just wondering what size you use!
Thank you!
Hi,
I saw these on etsy a few weeks ago and I am all about me and DIY. I bought the sterling silver 8mm charms and they came today in the mail; so of course I went right for the hammer with my stamping kit and tried to hit it really hard on the charm and it didn’t even make a mark. I tried lots of little hits and then harder ones over and over again and still it barely made a dent in the sterling silver. Do you have any tips on what I can do to make it appear on the charm? I would really appreciate it! Thanks so much!
Hi Tiffany!
Do you have a steel block under the charm when you hit it? I can’t think of any other reason why it wouldn’t work. Let me know how it goes. 🙂
~Kim
I am so surprised there are not more comments thanking you for taking the time to create this helpful tutorial. As someone who is about to give this new (to me) craft a try, I am so grateful to you for sharing your experience. Thank you!
What size jump rings would you suggest using for a 22mm/.86″ circle blank? I am having trouble gauging this while shopping online for supplies. I am making up to 40 necklaces for a project at church. Thanks!
Awesome hand stamped necklaces!!Great tutorials tips!Thanks for sharing……
Great breakdown, I hope it is alright if I can share this but we make metal stamping blanks and our aluminum seems to be a great metal for beginners to start with since it is a lower cost than silver. We sell them on our website http://handstamping.com we appreciate it! We’ll pass along the tutorial to our customers as well!
Hi, I tried metal stamping recently but couldn’t get it right. This blog looks so helpful, so I’m hoping you may be able to help. When I stamp, the metal significantly bends and the letter isn’t defined on the metal, so I’m wondering if it may be the supplies I bought. I tried hammering harder and more softly, on the block I bought and on a different surface, and on both types of metal discs I bought, but I get the same result. The supplies I have: Tekton 5/32” number & letter stamp set, Cousin weighted steel head 6-inch mini hammer, Solid rubber bench block (2-1/2″ x 2-1/2″), Thumb-safe Stamp Holder, Round Bronze Tone Blank Stamping Tags Pendants 20mm(6/8″), frosted anodized aluminum 1” 21-gauge discs. Any thoughts or advice? Thanks so much!!
Though I am not a jeweller maker but I enjoy this post by reading some basic ways to make a hand stamped jewellery. Really it’s a skill full work. However I have a friend who loves hand stamped jewellery. Last time he ordered a bracelet from an online store as jjensendesigns. I will share this post with him May he loves it.
Thanks so much for the time it must have taken to provide this! What size stamps did you use here?
You can find the exact ones by clicking on the links in the post. I thought that would make it easy to get them just right. Figuring out the perfect size can be hard.
Have fun!
~Kim
Thank you so much for this tutorial. So helpful and great that you included the links!!! Follow up question, though…. The link to the stamps takes me to uppercase letters and I can’t seem to find lowercase by the same brand. Did you get off Amazon?. Thanks!
I love the heart blank. Where can I purchase those? They have more rustic look that I love. The one you show on your page with the T
Thanks! The rustic look was made by hammering it on the metal block until it looked just right. Then I used a wire scouring pad to add some scratches. 🙂 I love that one!
~Kim
Nice Article. Nice tutorial about stamped jewelry gifts for any occasion. I like it.
Loved the hand stamped designs, they look pretty cool. Keep up the good work.
Great post on jewelry stamping.
looking good
nice post