Handmade soap has become very popular and for very good reason. Soap making is a great hobby with endless creative possibilities with the added bonus of being great for your skin. But with so many colors,fragrances and soap bases, where do you start?
It is best to start with the basics. Don’t start with large loaf soap or a detailed soap mold.Start with a basic mold, a small amount of fragrance oil and a quality soap base. Eventually you will learn how to incorporate color and use more sophisticated techniques such as layering,embeds and detailed soap design.
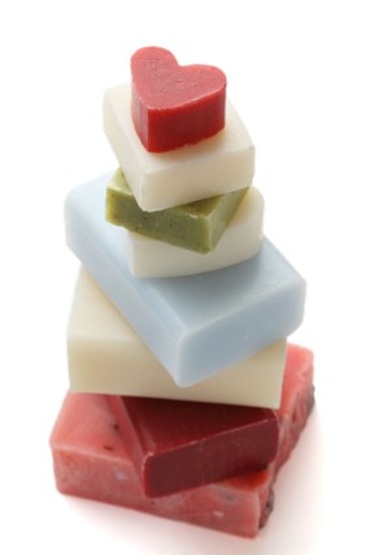
Here are a few of the basics you need to know before beginning to make your soap.Each soap base has it’s own characteristics. Some soap bases are very soft with soft ivory,yellow or greenish tones. Other soap bases are very clear(you can see through them) or very white. White soap bases are great when you want to use a lot of vibrant color in your soap. Clear soaps are great if you want a stained glass effect or you want your soap to glisten.
Once you pick your soap you’ll want a fragrance that will match your soap mold or soap style. The important things to remember about fragrance is that fragrances have color ranging from clear to a dark amber or sometimes green. Many of your fragrances will also contain vanilla. Fragrances with vanilla will turn a soap brown. The more vanilla a fragrance contains the deeper brown the soap will turn. You can use a vanilla neutralizer to mix with your fragrance. This will keep your soap from turning brown.
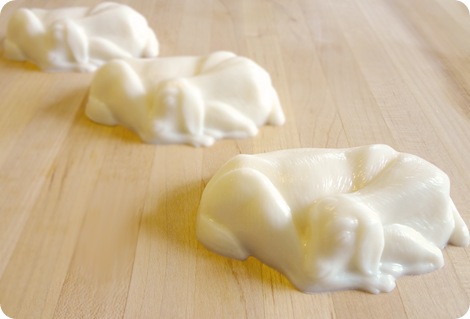
Our Goats Milk Soap is a great beginners project and makes a beautiful soap with using a colorant. Goats milk soap base is our number one seller and for good reason. Soap made with goats milk gives your skin a very soft feel and acts as a slight exfoliate due to the lactic acid in the milk.The Milk and Honey Fragrance oil will give your soap a very creamy ivory color over the period of a few days to give you a beautiful soap.
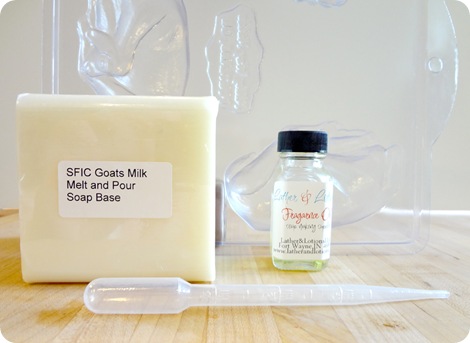
Supplies
1/4 oz Milk and Honey Fragrance Oil
Glass Microwave Safe Bowl (a Pyrex measuring cup works great)
Instructions
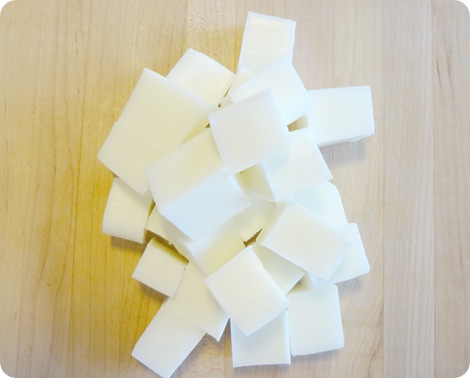
1. Cut up soap base into 1/2 inch squares.
2. Place in your microwave safe bowl and set microwave for 15 seconds.
3. Take bowl out and stir until remaining soap chunks are melted.
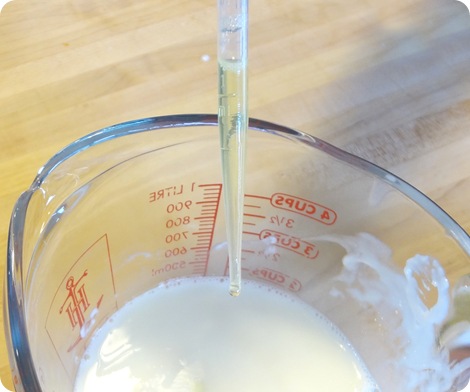
4. Add five to ten drops of fragrance oil to soap and gently stir(too much stirring causes unwanted bubbles)
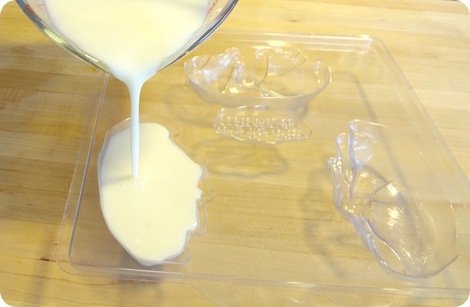
5. Pour your soap into mold.
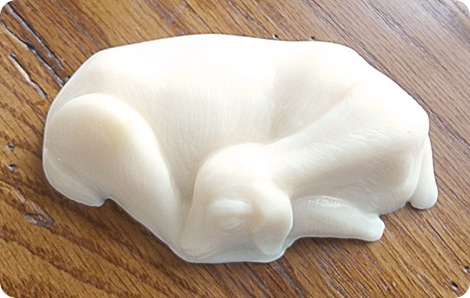
6. Let set for at least six hours and then pop out of mold and enjoy your soap!
This lovely Guest Post was written by Christine from Lather and Lotions!
- Soap Supply Shop
- Lather and Lotions Blog
- Lather and Lotions on Facebook
- Follow Lather and Lotions on Twitter
Thanks for all the great information, Christine!
Have you ever made your own soap? What kind do you like?
What fun!!!
Janet xox
like it =)
hehe I really love the molds! They are sooooooo cute! It took me a few seconds to see it was a dog and it made me smile!
Thank you! What a fun summer project this will be with my kids!
So much fun! I just love that little goatie! 🙂
I have made my own soap. I tried to replica it off my favorite soap I got while I was in Tarpon Springs, FL. It was 100% olive oil soap and truly divine. So I made my own 100% olive oil soap. I made 9 bars, which my family is slowly working through.
Great tutorial…thanks for sharing!
Thank you so much for the information, its very valuable and informative, i want to start the same project for the unemployed women in our church, so if i can know where to buy the ingredients and the molding equipments.
How do you get the color(s) in the soap?