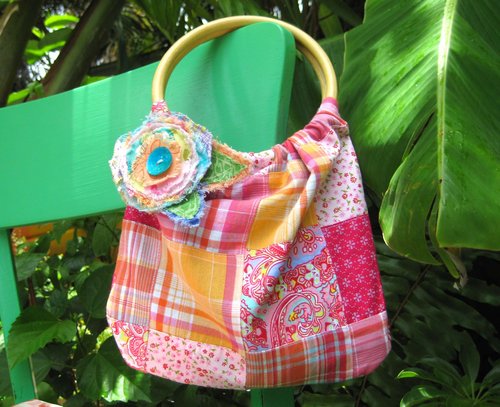
How do you like my new little bag? I even made this little beauty without making one trip to the store. Hmmm…is that a good thing or does that mean I have too much stuff. Anyway, I had two sets of bamboo handles just waiting around for me to make something with them. They’re really too nice to let them just sit in a closet, so I grabbed the smooth ones and came up with a plan.
My ideas was to not measure a thing and just make a bag in about an hour. Well, I did it…but I think it took a little over an hour. 🙂
I’ll show you how you can whip one of these up for yourself!
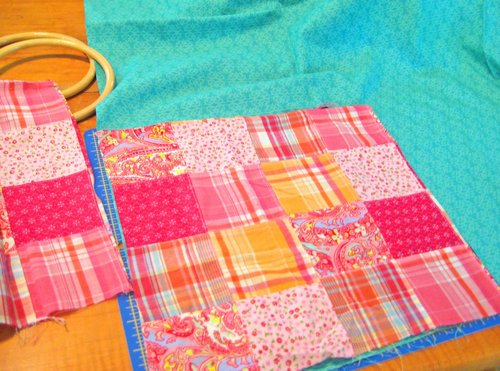
The purse handles that I used were 6″ in diameter. I cut my fabric about 12″ wide and 10″ high because that’s how it worked out with the square pattern on my fabric. I cut a matching piece of fabric for the back and two pieces of a different fabric for the inside.
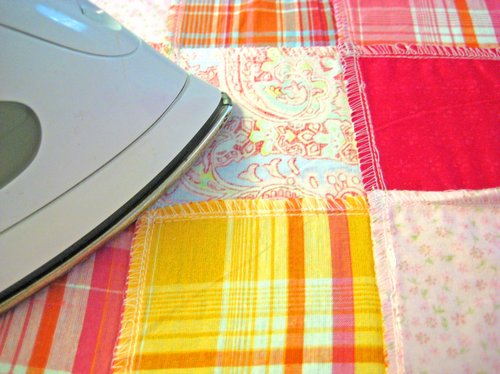
Yes, I went ahead and ironed them. They were so wrinkled from being stashed away or I wouldn’t have bothered…I hate ironing!
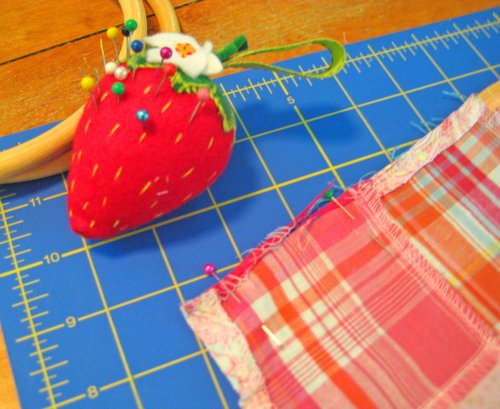
I quickly pinned the right side of my plaid fabric {outside fabric} to the right side of my turquoise fabric {inside fabric}. Just repeat this for the other side of your bag.
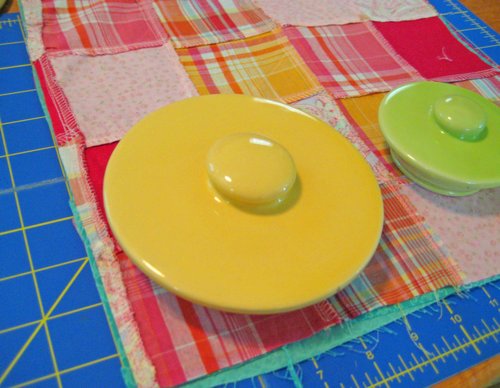
I wanted the bag to have slightly rounded corners on the bottom, so I took a look around the house for something to help me out. I came up with canister lids! I tried two sizes and found the right curve. I traced the lid and cut one of the corners.
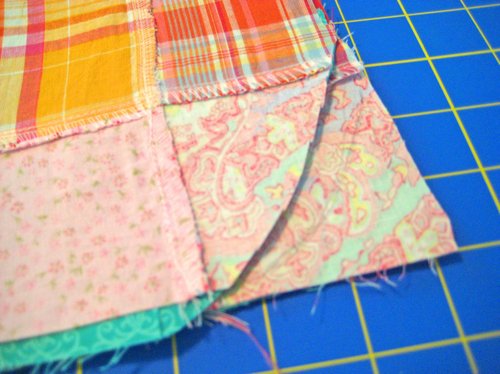
I started to worry about the other corner matching exactly, so I decided to fold the fabric in half and cut it to match. It worked!
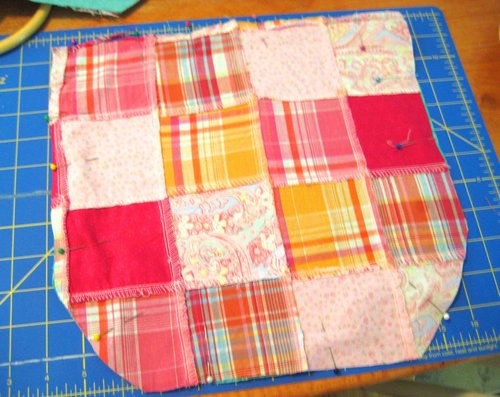
Here’s what it looked like. Time to head to the sewing machine…
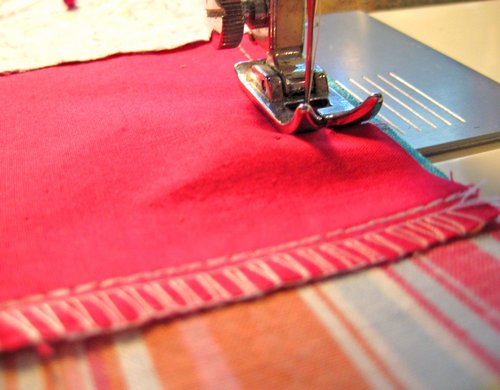
Sew the the front panels together. I felt like I was going to finish the purse in less than an hour at this point.
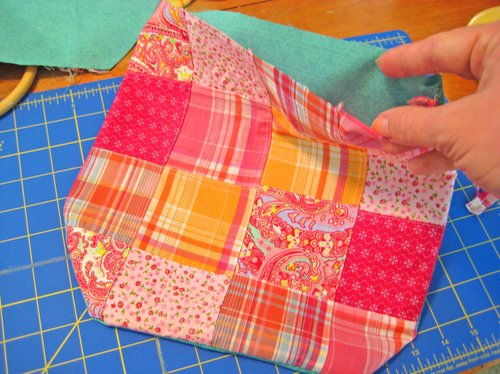
Flip your fabric so the right side is right. 🙂
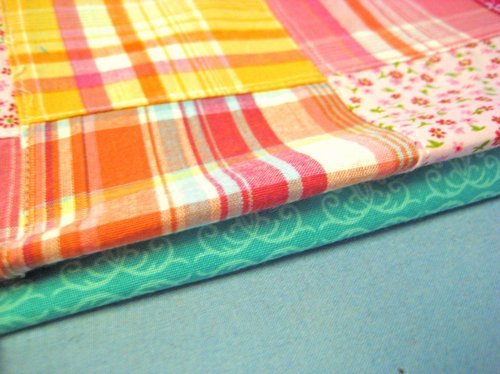
I took the open top of the bag and folded it in a bit on both sides. Then I sewed it together to have nice edges at the top of my bag.
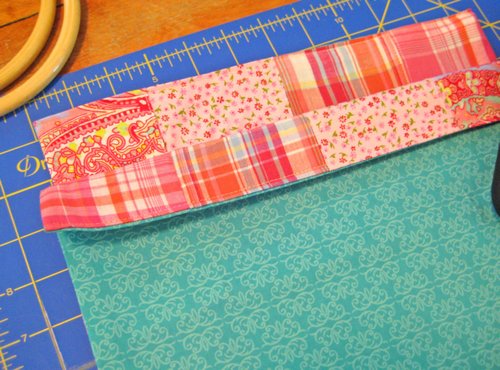
Repeat with the back side of your bag. I lined them up with the right sides together, and folded them down about 2 inches.
*This is the one spot I’m planning to change on my next bag. It would be better to fold it down to about 3 inches to make the open larger.
Pin it from your fold down. You will not sew above it.
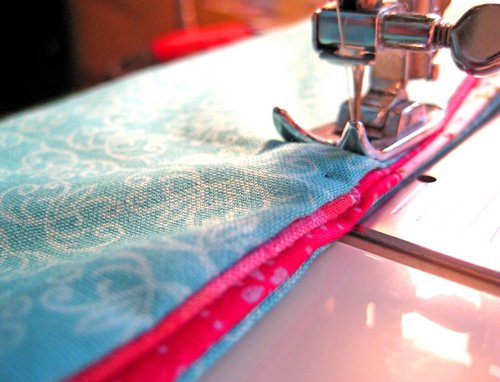
Sew the right sides together starting at your first pin. Go slow so you take those bottom curves evenly.
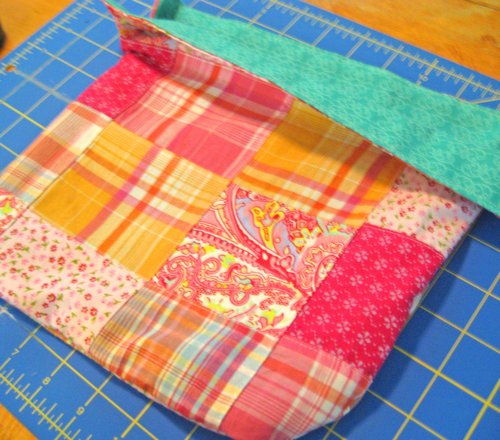
Flip it. It’s starting to look like something now!
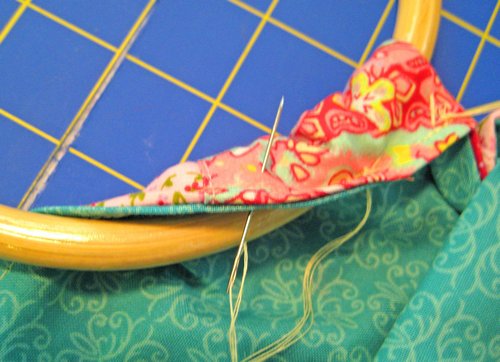
Now for the part that takes a few minutes…sewing the handles on.
I started by doubling my thread so it would be extra strong. I’m used of using embroidery thread, so I felt like this regular thread was a bit too wimpy to hold the handles on forever.
Just fold the the top around the handle and start sewing at one end.
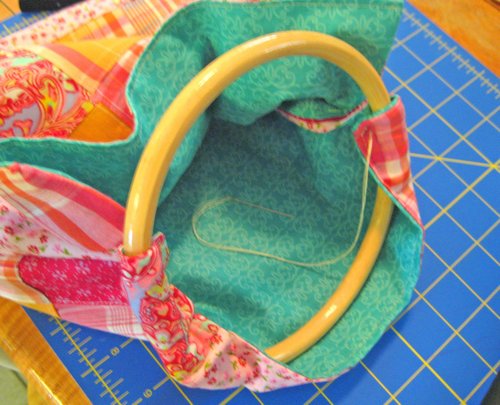
When I ran out thread I started from the other side. I didn’t want to run into problems with the fabric being uneven when I made it all the way there. This kept my ends nice, and gave a nice little scrunched look to the rest.
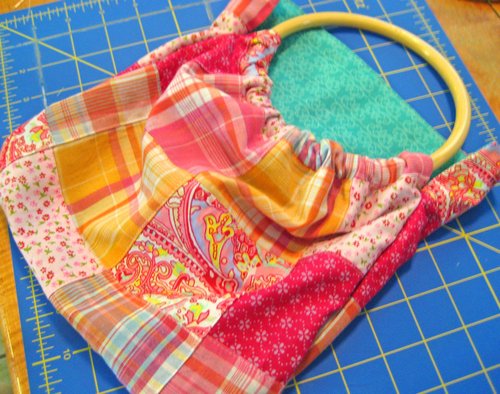
Lookin’ good! Just repeat with the other handle and you got yourself a fun bamboo handle bag!
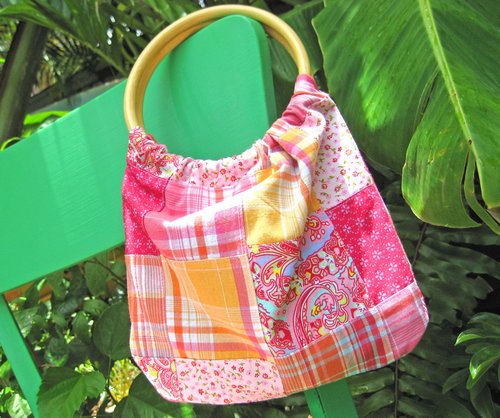
The finished size is about 10″ x 7-8″ and I love how it turned out. The corners worked out and the bag went together easily…and no pattern. Yay!
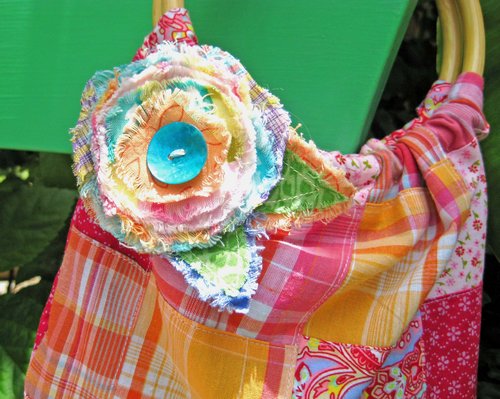
I thought it needed one of my funky fabric flowers…and it thanked me.
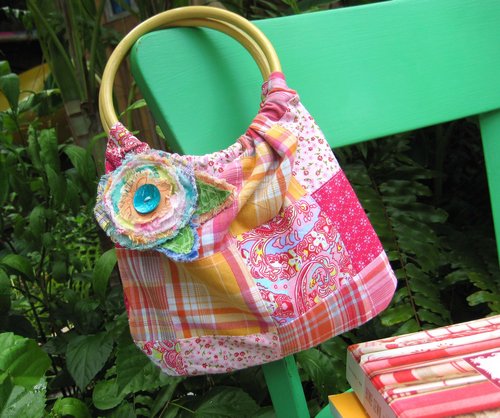
Give it a try! Little bags like this would make great gifts. I think I’m going to use a beautiful linen fabric for my next one.
Note to all my sewing friends…
I don’t claim to know what I’m doing with a sewing machine. I pin stuff strange and rip them out way before I get to them. I didn’t measure and I didn’t use a pattern. Please don’t write me about what I should have done. 🙂
Attempt at your own risk and have fun!
~Kim
Hahaha Kim, you sound like you sew like me 😉 Pinning stuff and ripping them out because they ‘are in the way,’ tee hee! I love your bag…that would make a super fun gift. I might have to try one…thanks for the inspiration.
Jamie 🙂
.-= A Forest Frolic´s last blog ..Be Yourself =-.
that is super cute! I love it and the flower sets it off perfectly!
.-= Jillian´s last blog ..Happy Birthday to the best Mom ever! =-.
That was a fabulous tutorial! I have an old purse with round handles that has finally seen it’s day. I could not throw it out as it was a gift from my son when he was young! Now I know how I am going to upcycle those old handles.
Wow…you get the prize of the day! What an amazing job, Kim! Thanks so much for sharing. Going to twitter about it.
really I do know how to spell my name… oops. when I make the bag I will show it off.
.-= megan´s last blog ..Pender Island Farmers Market =-.
Wow, that is so cute!! I might need to try that!
I love your bag, Kim…now I want one, too!
.-= Mary Beth´s last blog ..When You’re Disappointed =-.
awesome, you just taught me what to do with these 2 beautiful handmade identical pieces of felt I’d made, and wanted to turn into a purse! So easy too !
Thank you so much 🙂
I’ll send you a pic when I’m done 😉
.-= Sophie Grun´s last blog ..Scarf- handmade- eco friendly- felted- luscious – light =-.
Darling ! I don’t sew myself but do you ever sell
what u make 🙂
ohhh how adorable and EASY!!! too cute!! thanks for sharing. i want to add this to my huge list of fun stuff i want to make!!
.-= terri´s last blog ..fun friday! =-.
Absolutely adorable!!!!!
.-= Steph´s last blog ..Captain Devil Duck pirate ring =-.
Kim, This is a great bag and I love the flower. I think you did a fabulous job. 🙂
.-= Tammy/ StitchnStudio´s last blog ..August giveaway sneak peek! =-.
THANK YOU for this amazing tutorial! I think I may have found my very first venture with my new sewing machine with this…and a great Christmas present as well. Have a great day!
C:)
http://mbcscrapbooking.blogspot.com
Link up your crafts each Thursday!
.-= Memories by Christine scrapbooking´s last blog ..My baby girl album =-.
thanks, love the bag, will give it a try.
The tutorial was easy to follow…I love the purse and so does everyone else…I have already made five of them.
Thanks!
i love your fabric choices!! good idea about the fabric flower too!
Well, aren’t you clever? It’s almost enough to make me try to learn to sew. Again. But no, that never ends well.
Adorable!
Ok, now THAT is the cutest thing I’ve seen lately! Really, super cute!
It makes me want to get my sewing machine out. You make it look so easy. 😉
-Lauren
Cute! Cute! Cute! Loved the plaids and the cute little flower accent!
LeAnn aka pasqueflower
Love this bamboo bag! Can’t wait to make it!
Hi I Really Like your great tutorials!!!
I Link to you on my Blog,
http://paneamoreecreativita.it/blog/2011/07/raccolta-di-progetti-di-cucito-creativo-per-lestate
Thanks for sharing 🙂
please also show how to make the lovely flower!
Kim, I love your bag! I just got some bamboo handles so I’m gonna try it. I love your no stress attitude about sewing and no measuring. I’m right there with you. I love my sewing machine but sometimes I want to make something I don’t have to measure and stress about it turning out right. Thanks for sharing your awesome bag 🙂
I like the bamboo bag pattern it looks easy to sew and the pattern fabric squares are good too. and I like the flower on the bag.
I like the Bamboo bag pattern looks easy to make.
Thanks Kim it’s beautiful just what l wanted. I love makng things up as l go along.
I have made this type of bag with wooden handles but with a difference.
Instead of stitching the handle , which means you cannot remove it without undoing the stitches. I made buttonholes and attached buttons to the fabric so that the handles could be removed and used for another similar type of bag but with different fabric. This way you can have a different bag
for different occasions.